EPSON BRIGHTLINK
QUICK-START USER’S GUIDE
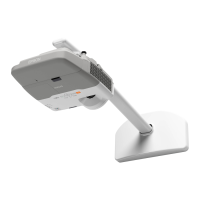
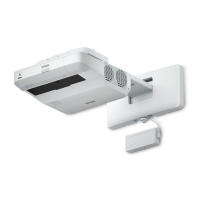
After the Epson BrightLink interactive projector has been installed and the image has been adjusted by the
installer to t the screen, whiteboard, or desired projection area on the wall, please follow these simple steps:
1. INSTALL the software (both Driver AND Tools) onto your PC/Mac.
• Download the Epson BrightLink software at www.Epson.com/brightlinkdownloads.
2. INSERT batteries into the projector remote control and interactive pen. Press the button on the pen
and the LED will illuminate green when the batteries are correctly installed and charged.
3. CONNECT the video cable and USB cable to your PC/Mac.
4. TURN ON the BrightLink projector using the power button on the remote control or on the projector.
5. DISPLAY AN IMAGE from your computer on the projector.
• On some PC’s, you need to press Fn + F7 (at the same time) on your keyboard.
• If the computer screen still does not appear on the projected image, press SOURCE SEARCH
on the remote control until the BrightLink projector displays the computer screen.
• On a Mac, in most cases, your computer will recognize that it is connected to an LCD projector and
will begin projecting your image. If this does not happen, you need to turn on DISPLAY MIRRORING.
6. LAUNCH Easy Interactive Driver (EID) on your computer.
• For Windows, click Start > Programs > EPSON Projector > Easy Interactive Driver.
• Install BOTH Easy Interactive Driver (EID) and Easy Interactive Tools (EIT).
The Ultimate Collaboration Tool
BrightLink
™