EasyManuals Logo

Epson DFX-9000 Reference Guide

Epson DFX-9000
198 pages
To Next Page IconTo Next Page
To Previous Page IconTo Previous Page
Page #150 background imageLoading...
Page #150 background image
150 Options and Consumables
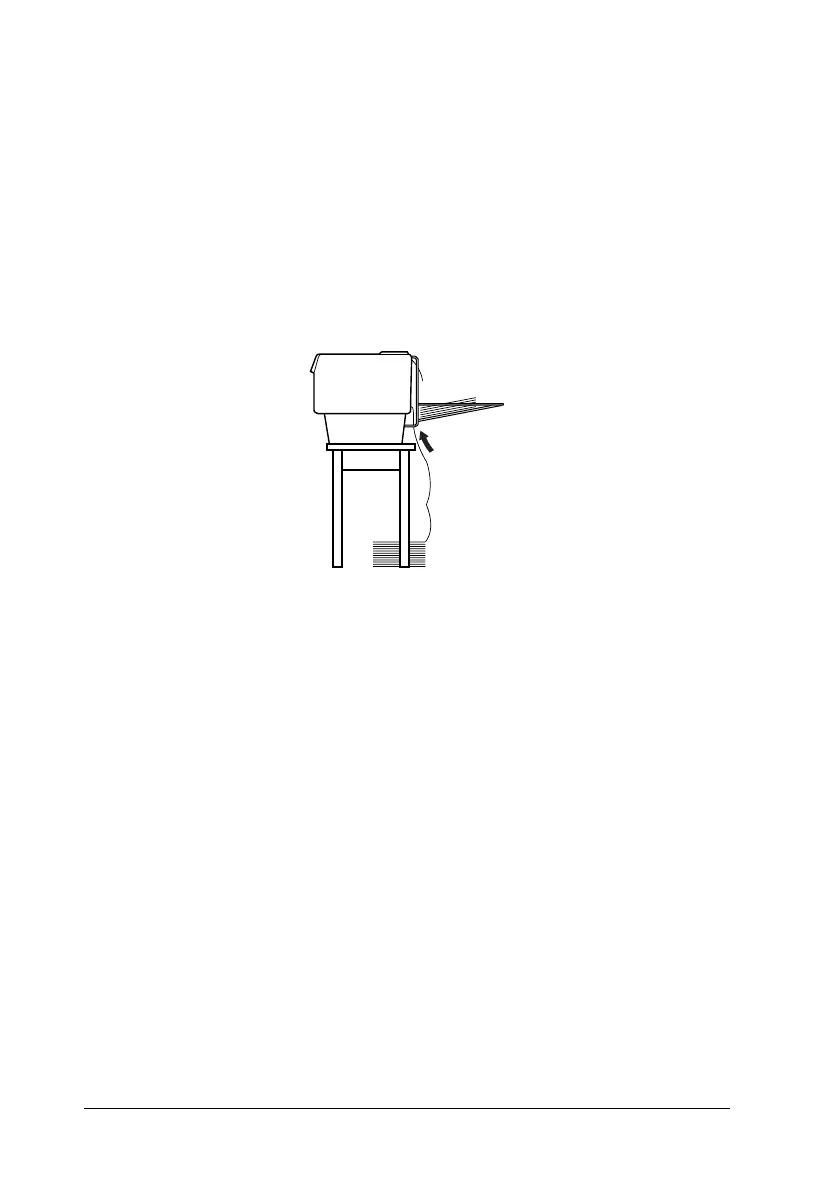
If you plan to load continuous paper from the rear tractor, be sure
to leave enough room around the printer for the attached
perforated paper output attachment and the output tray, and for
the stack of fresh paper. Make sure you align your paper supply
with the paper loaded in the tractor so the paper feeds smoothly
into the printer.
The following illustration shows a way to position your paper
with the rear tractor loaded.
Installing the perforation cutter
The steps below show you how to install the perforation cutter.
You will need a cross-head screwdriver.
Note:
If you plan to use the perforation cutter with the built-in rear tractor,
you need to load paper onto the rear tractor before you install the
perforation cutter. See “Loading Paper onto the Rear Tractor” on page
22 for instructions.

Table of Contents

Other manuals for Epson DFX-9000

Questions and Answers:

Question and Answer IconNeed help?

Do you have a question about the Epson DFX-9000 and is the answer not in the manual?

Epson DFX-9000 Specifications

General IconGeneral
ColorNo
Built-in barcodesCode 39, POSTNET, UPC-A, UPC-E
Maximum resolution240 x 144 DPI
Maximum print sizeA4 (210 x 297 mm)
Standard interfacesSerial
Dimensions (WxDxH)700 x 378 x 363 mm
Power requirements100-240V, 50-60Hz
Connectivity technologyWired
Compatible operating systemsMicrosoft Windows 95 / 98 / 2000 / Me / XP/ Windows NT 4.0
Sound pressure level (printing)58 dB
Mean time between failures (MTBF)20000 h
Sustainability certificatesENERGY STAR
Power consumption (standby)1.85 W
Power consumption (typical)7.5 W
Operating temperature (T-T)5 - 35 °C
Operating relative humidity (H-H)10 - 80 %

Related product manuals