103
Note: The test pattern's shape is determined by the Screen Type setting. Be sure to set the correct
screen type before adjusting with the test pattern.
1. Turn on the projector.
2. Press the down arrow button on the control panel.
Note: You can also display a test pattern from the menu using the remote control.
3. Press the left or right arrow button on the remote control, or press Enter on the control panel to cycle
through the available test patterns.
4. Adjust the image as necessary.
5. Press the Esc button to clear the test pattern.
Parent topic: Using Basic Projector Features
Related references
Projector Feature Settings - Settings Menu
Related tasks
Setting the Screen Type
Adjusting the Image Height
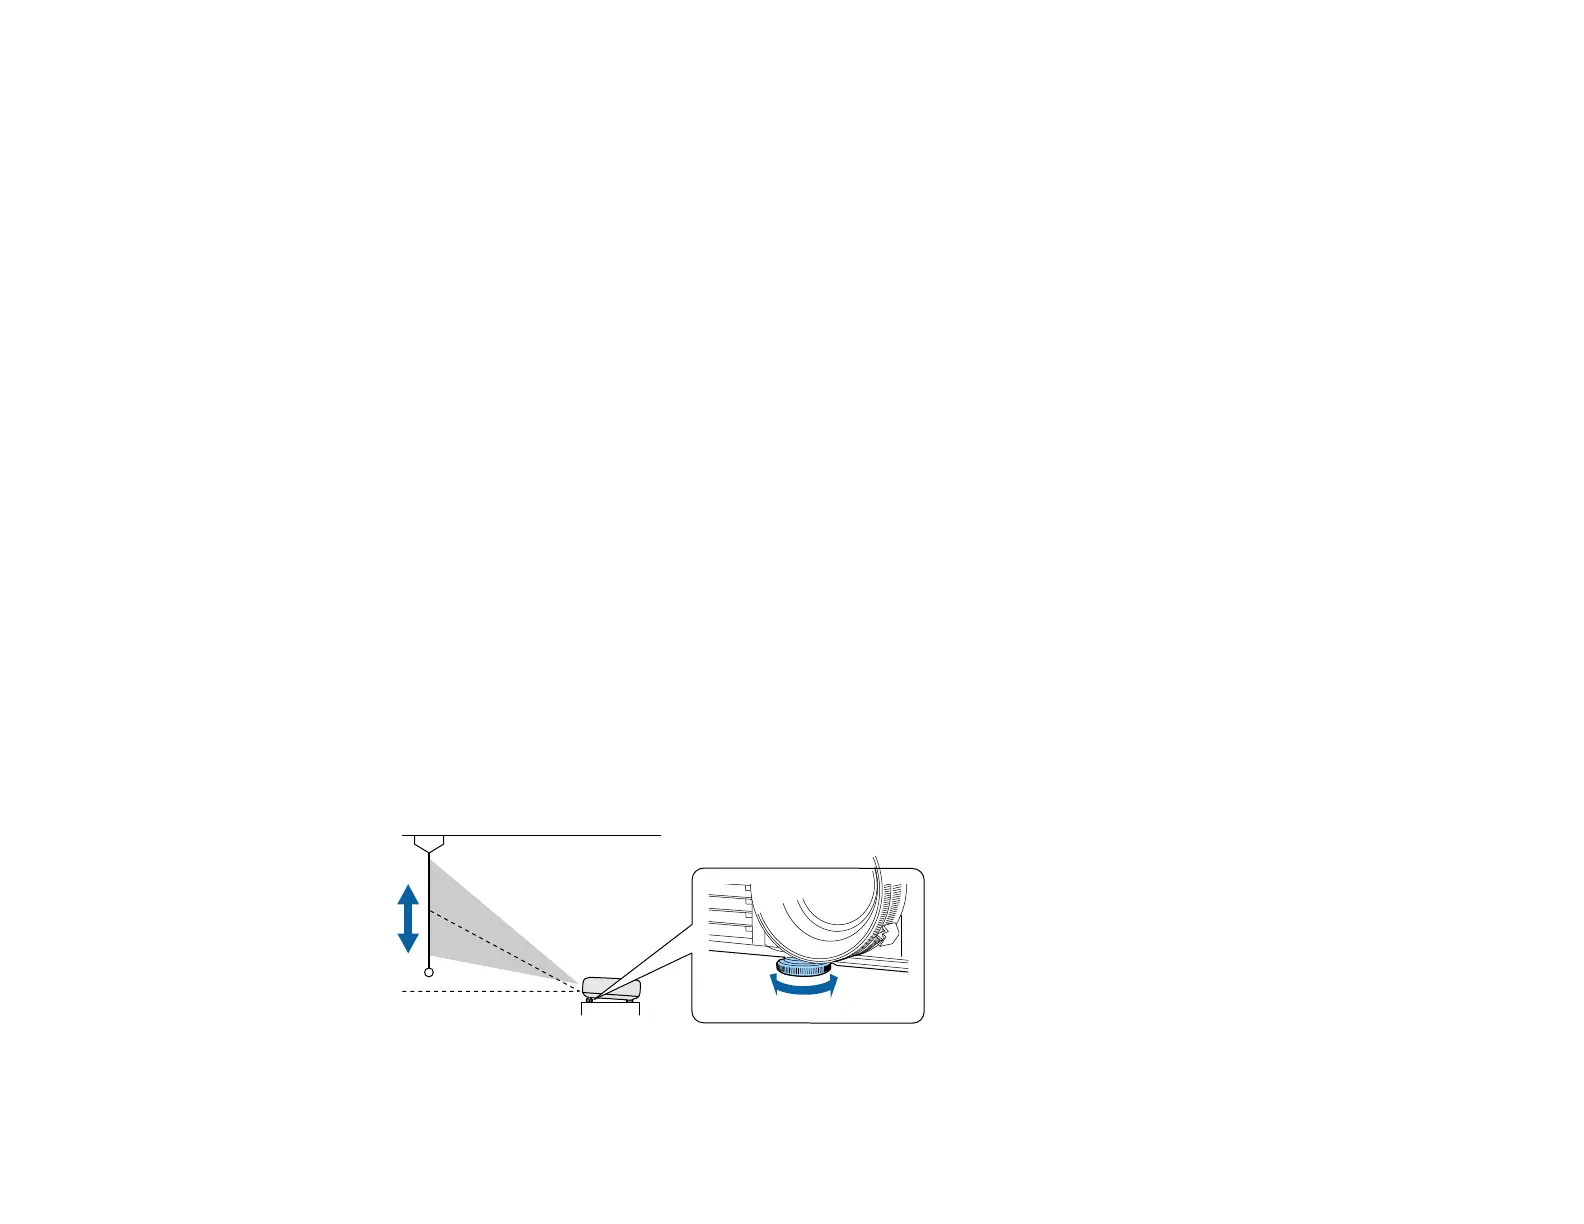
If you are projecting from a table or other flat surface, and the image is too high or low, you can adjust
the image height using the projector's adjustable feet. The larger the angle of the tilt, the harder it will
become to focus. Place the projector so that is only needs to be tilted at a low angle.
1. Turn on the projector and display an image.
2. To adjust the image height, rotate the front foot to extend or retract it.
 Loading...