112
Correcting Image Shape with Point Correction
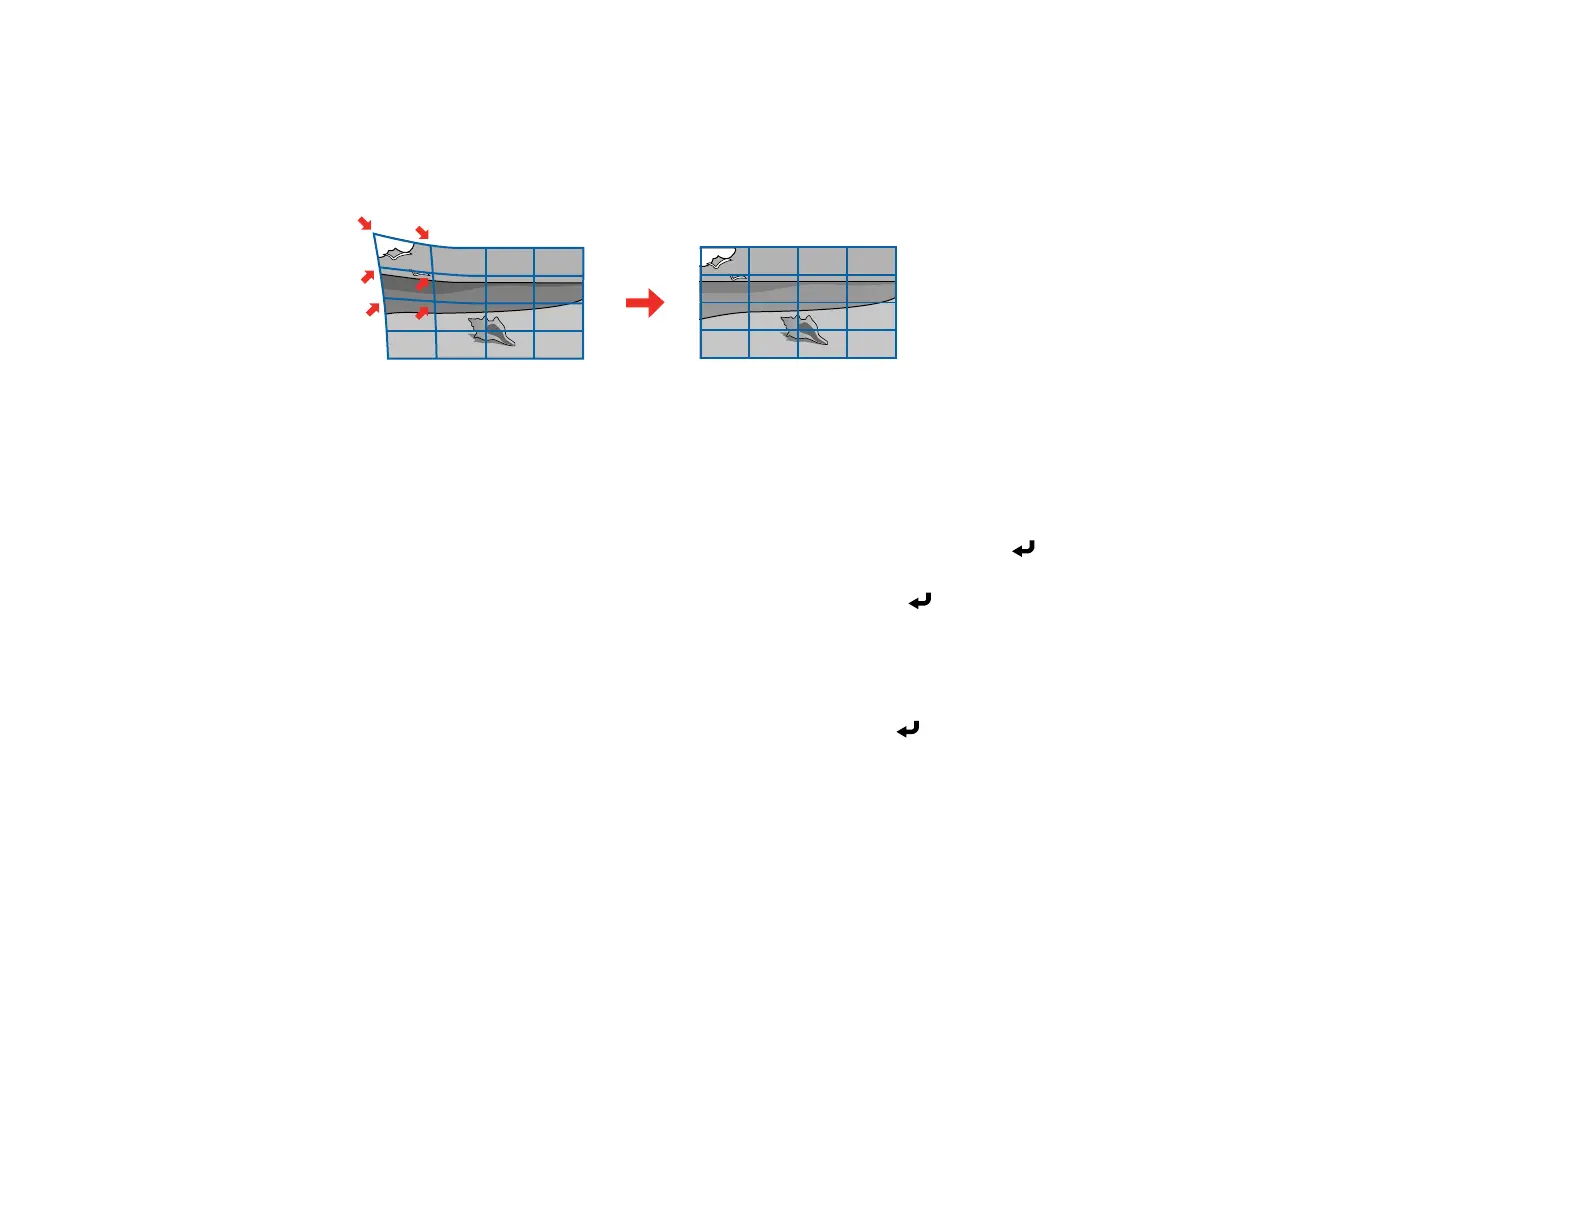
You can use the projector's Point Correction feature to fine-tune the image shape using points on a grid.
This is useful for adjusting overlapping areas in multiple projected images that do not line up correctly.
1. Turn on the projector and display an image.
2. Press the Menu button.
3. Select Settings > Geometry Correction > Point Correction.
Note: If you see a confirmation message, select Yes and press Enter.
4. Select the Point Correction setting again and press Enter.
Note: For fine tuning, select Quick Corner to roughly correct the shape and size of an image and
then select Point Correction to adjust them more precisely.
5. Select the number of grid lines to display and press Enter.
You see a grid on the projected image.
Note: If you need to change the color of the grid lines, press Esc, select the Pattern Color setting,
and select a suitable color.
 Loading...