Do you have a question about the Epson EX7200 and is the answer not in the manual?
| Number of colors | 16.78 million colors |
|---|---|
| Native aspect ratio | 16:10 |
| Projection distance | 0.84 - 8.13 m |
| Projection technology | 3LCD |
| Supported aspect ratios | 4:3 |
| Contrast ratio (typical) | 2000:1 |
| Screen size compatibility | 33 - 320 \ |
| Projector native resolution | WXGA (1280x800) |
| Focal length range | 16.9 - 20.28 mm |
| Aperture range (F-F) | 1.58 - 1.72 |
| Lamp type | UHE |
| Lamp power | 200 W |
| Light source type | Lamp |
| Service life of light source | 4000 h |
| Service life of light source (economic mode) | 5000 h |
| DVI port | No |
| USB connector type | USB Type-A, USB Type-B |
| USB 2.0 ports quantity | 2 |
| S-Video inputs quantity | 1 |
| Component video (YPbPr/YCbCr) in | - |
| Analog signal format system | NTSC, NTSC 4.43, PAL, PAL 60, PAL M, PAL N, SECAM |
| Supported graphics resolutions | 1440 x 900, 1024 x 768 (XGA), 1400 x 1050 (SXGA+), 1440 x 900 (WXGA+), 1680 x 1050 (WSXGA+), 640 x 480 (VGA) |
| RMS rated power | 1 W |
| Placement | Desktop |
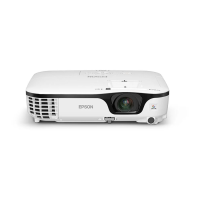
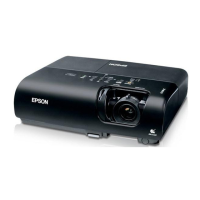
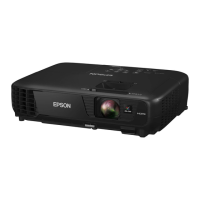
| Product type | Standard throw projector |
| Product color | Black |
| Cable lock slot type | Kensington |
| Power source | AC |
| AC input voltage | 100 - 240 V |
| AC input frequency | 50 - 60 Hz |
| Power consumption (standby) | 0.3 W |
| Power consumption (typical) | 280 W |
| Noise level | 37 dB |
| Noise level (economic mode) | 29 dB |
| Cables included | AC, VGA |
| Depth | 228.6 mm |
|---|---|
| Width | 294.6 mm |
| Height | 76.2 mm |
| Weight | 2300 g |
Connect a PC or Macintosh computer via USB for display.
Connect using a standard VGA cable for video output.
Connect various video sources like HDMI, Composite, S-Video, Component, RGB.
Output sound from the projector to external speakers with a built-in amplifier.
Follow steps to power on the projector and ensure automatic image detection.
Enable automatic startup when plugged in or powered on via wall switch.
Procedures for safely powering off the projector using the power button or unplugging.
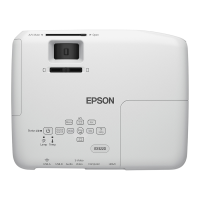
Choose the active input signal from connected devices such as computers or DVD players.
Make adjustments to image position, shape, focus, color, and aspect ratio for optimal viewing.
Sharpen the image focus using the focus ring and adjust its size with zoom controls.
Choose preset color modes (Dynamic, Theatre, etc.) for optimal viewing environments.
Adjust the image aspect ratio (e.g., 4:3, 16:9) for different display needs and input signals.
Guidelines and tips for effective remote control operation, including range and aiming.
Temporarily mute image/sound, freeze action, zoom in, and adjust volume using remote buttons.
Use the remote as a mouse or to navigate presentation slides by connecting via USB.
Use the pointer tool to call out important information on the screen and customize its appearance.
Display .JPG image files from a USB device as a slideshow, with options for display order and effects.