Cattleya
booklet.fm RevC
A5-Format Booklet.fm
2/27/01 Durchlauf 2
R
Proof-Abzeichnung:
ABE M. Miyagawa, Takahashi_______
Takahashi _______
ABE G. Kok _______
7
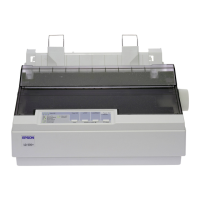
■ Assembling the Printer
This section provides you with information on how to get your printer up and running.
See "Printer Parts" on the last page of this manual for the names of the individual printer
parts.
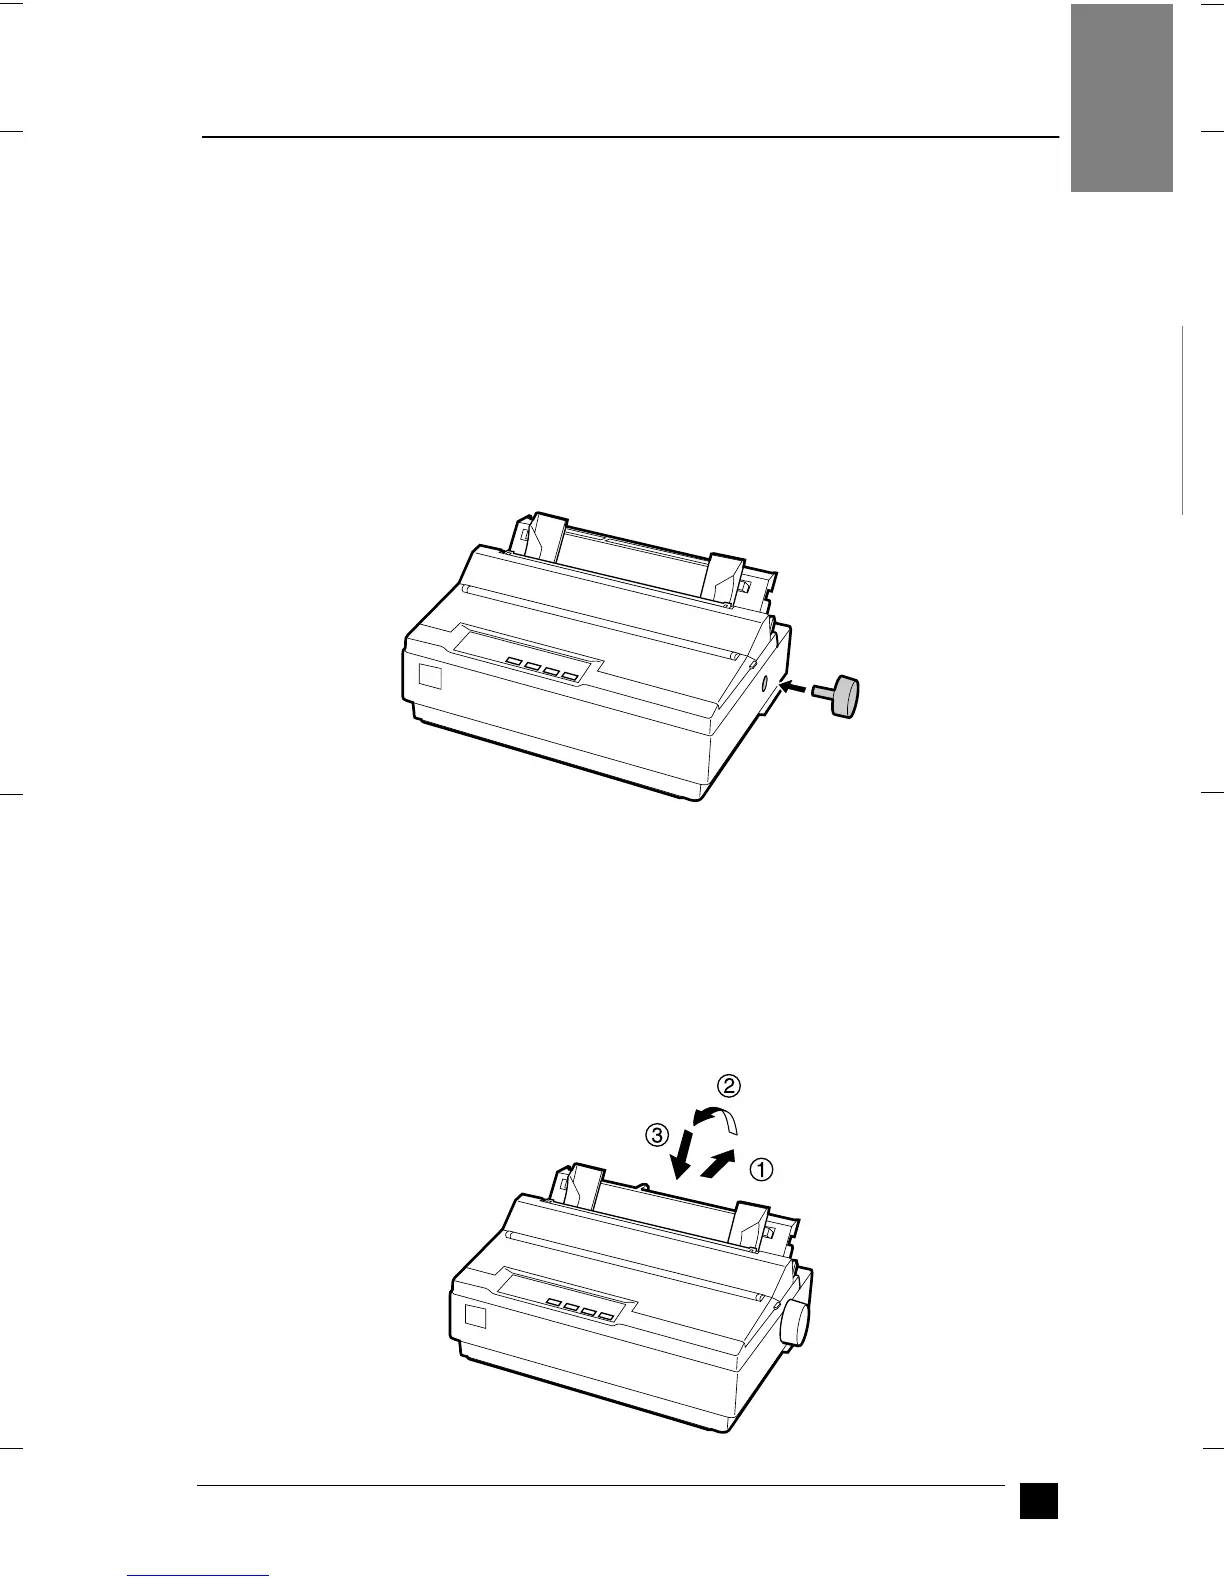
❚ Installing the paper-feed knob
The first step in assembling the printer is installing the paper-feed knob.
Follow these steps to install the paper-feed knob:
1. Insert the knob into the hole on the printer’s side and rotate it slowly until it slips
onto the shaft.
2. Push firmly on the paper-feed knob until it fits against the printer case.
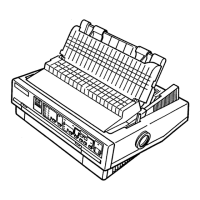
❚ Attaching the paper supports
You should install the paper supports before you begin using the printer.
Follow these steps to attach the paper supports onto the printer:
1. Pull the paper guide backward. Raise it up, and then push it firmly until it fits in
place.
English
 Loading...