Proof Sign-off:
Y.Nakano
J.Hasegawa
R41AA1880
Rev.A
SH.fm A2 size
8/12/13
Start Here
Continued Continued on back
4125915
1-F
Rev.0
Black
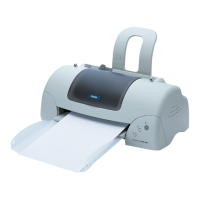
Unpacking
Connecting the Power Cord
Assembling the Printer
Connecting the Printer to Your Computer
1
Remove all protective tapes
Connect
Plug in
OFF
2
Confirm the (OFF)
3
Turn on the power
ON
Print head moves to home position.
c
Caution:
Do not touch the white cable inside the printer.
Confirm the print head is in the middle
OFF
Turn off the power
Insert until it clicks
Tense
c
Caution:
❏ The interface cable connectors have only one correct orientation. Make sure the orientation of the connector is correct before inserting it
into the appropriate port.
❏ Please do no plug-in and plug-out during power on.
USB
IEEE1284 (PARALLEL)
Connect firmly
Connect firmly
Connect firmly
Connect firmly
4