Displaying and Adjusting the Image 15
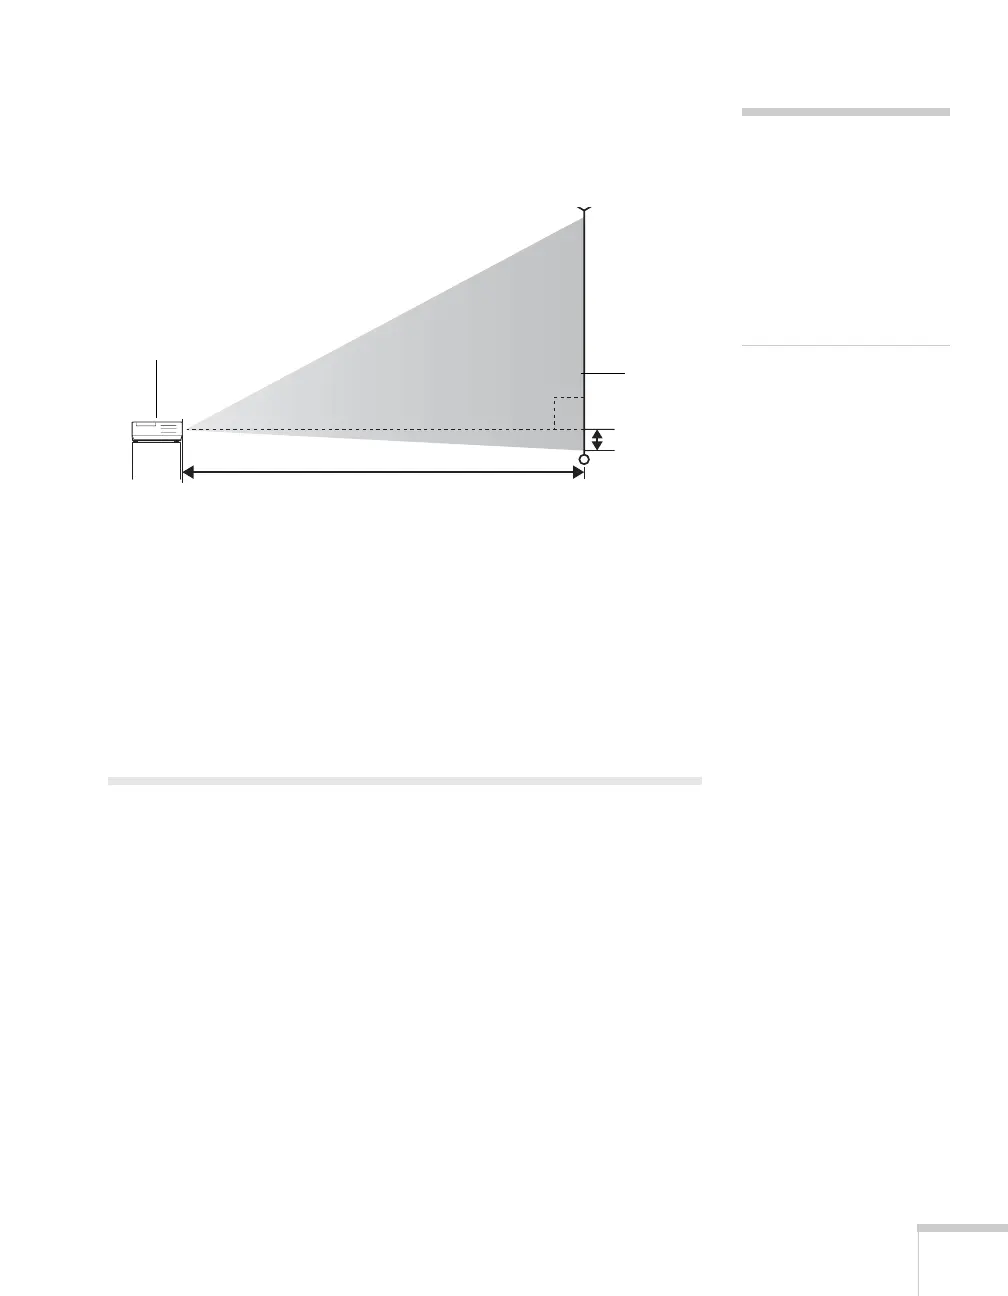
Ideally, you should place the projector directly in front of the center of
the screen, facing it toward the screen squarely. The base of the lens
should be at about the level of the bottom of the screen.
If you place the projector below screen level, you’ll have to tilt it up by
extending the front adjustable foot. This causes the image to become
“keystone” shaped, but you can correct the distortion by pressing the
buttons on the projector. See page 21 for detailed information about
correcting the image shape.
For instructions on installing the projector in a permanent location,
such as a theater or conference room, see page 81.
Projecting the Image
Make sure your projector and other equipment are set up as described
on page 33. Then follow the instructions below to start the projector
and display an image.
Turning On the Projector
Turn on any connected computer or video equipment before starting
the projector so it can automatically detect and display the image
source. If you turn on the projector first, or have multiple pieces of
connected equipment, you may have to select the image source
manually (see page 17).
note
After positioning the
projector, you may want to
connect a Kensington
MicroSaver
®
anti-theft
device to the lock port on the
projector. You can purchase
this from Epson; see
page 11.
Screen
Projector
 Loading...