Using Quick Wireless Connection (Windows Only)
You can use the Quick Wireless Connection USB Key to quickly connect the projector to a Windows
computer wirelessly. Then you can project your presentation and remove the key when you are done.
Note: The Quick Wireless Connection USB Key is not included with your projector.
1. Turn on the projector.
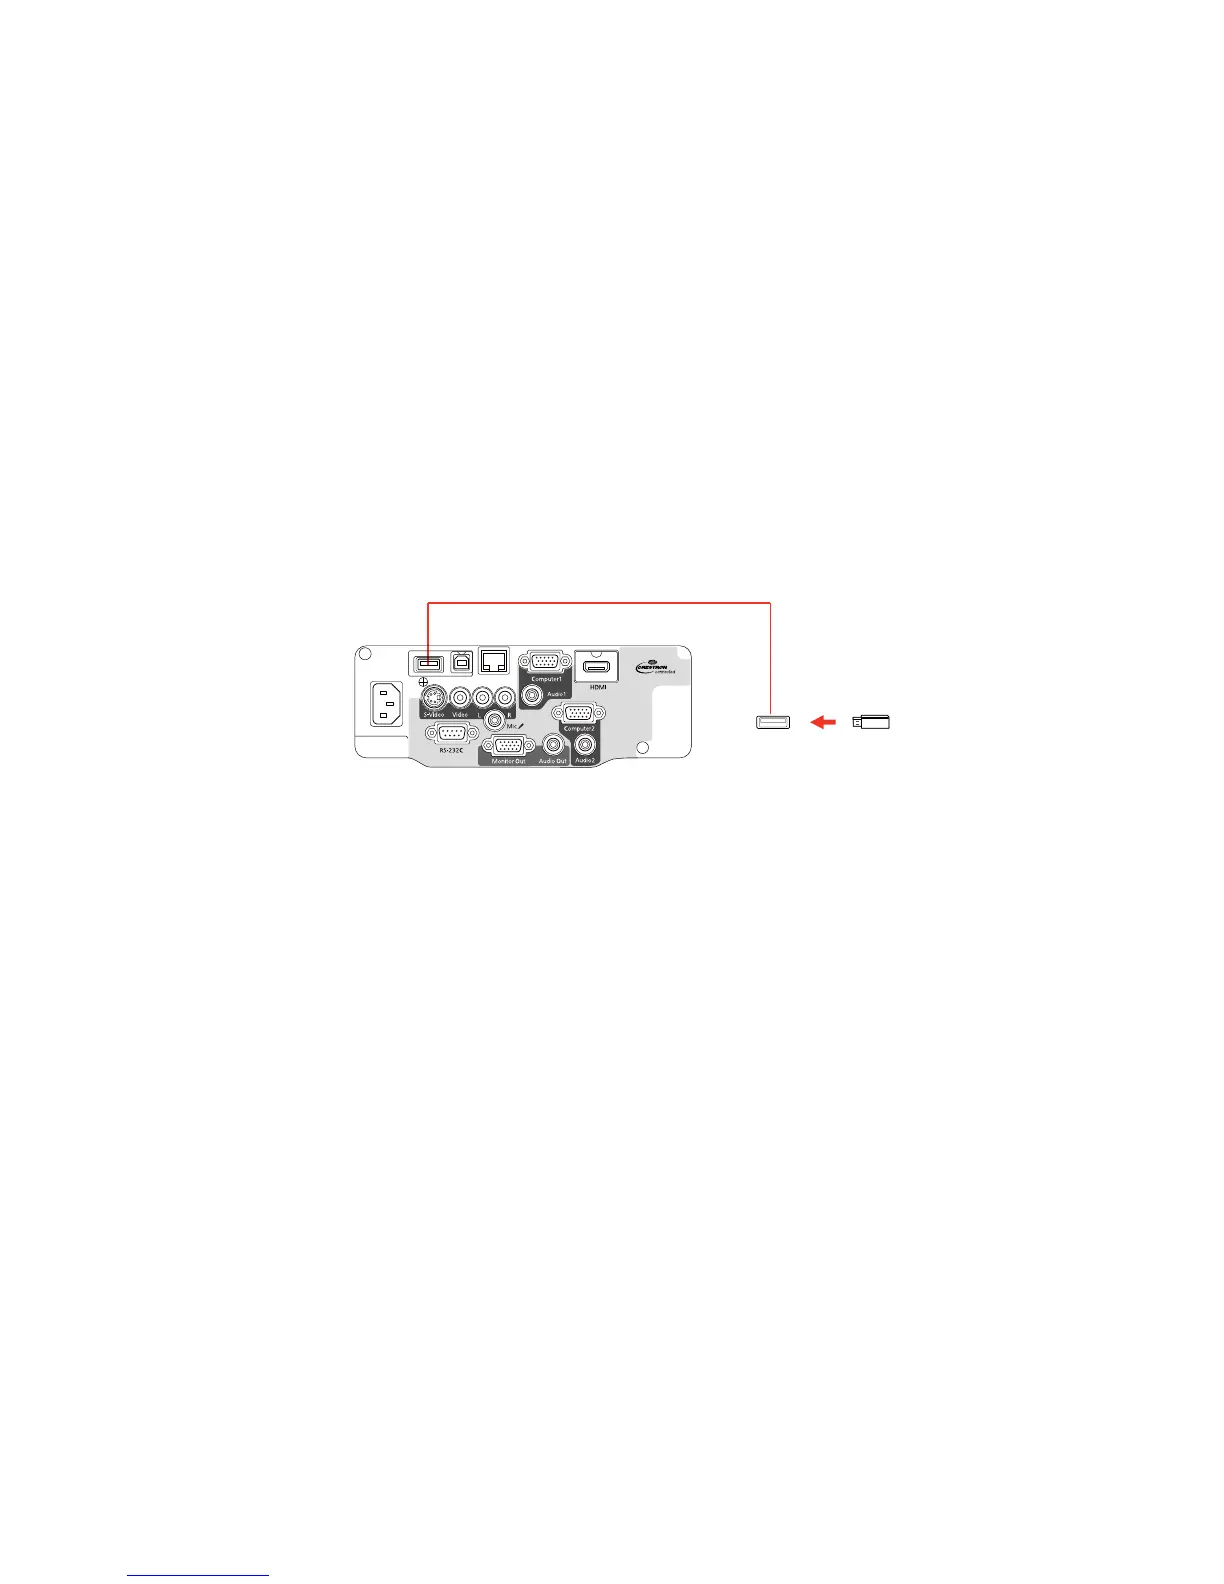
2. Connect the USB key to the projector's USB-A port.
You see a projected message that the network information update is complete.
3. Remove the USB key.
4. Connect the USB key to a USB port on your computer or laptop.
Note: In Windows Vista, if you see the AutoPlay window, select Run LaunchU3.exe, then select
Allow on the next screen.
5. Follow the on-screen instructions to install the Quick Wireless Connection driver.
Note: If you see a Windows Firewall message, click Yes to disable the firewall.
After a few minutes, your computer image is displayed by the projector. If it does not appear, press
the LAN button on your remote control or restart your computer.
54