3. Connect the other end to any available USB port on your computer.
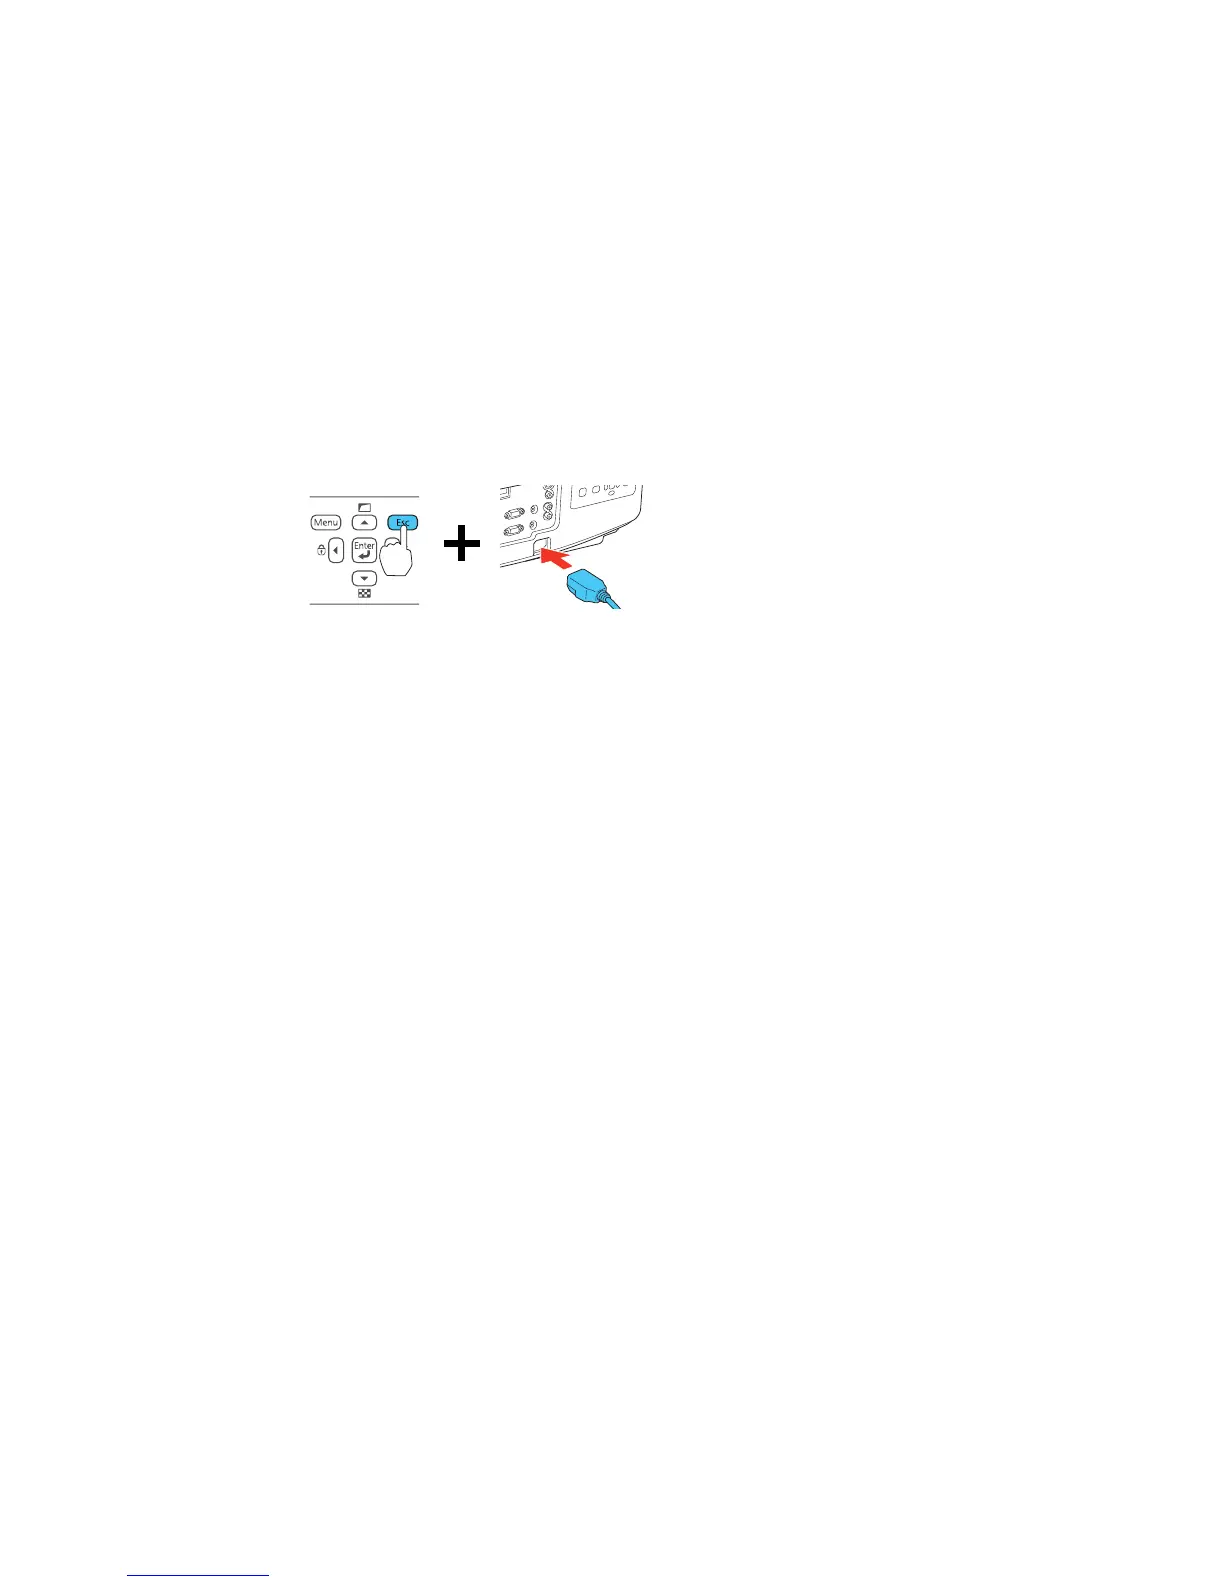
4. Press and hold the Esc button on the control panel or remote control as you connect the power cord
to the projector's power inlet.
5. When the power, Lamp, and Temp lights turn orange, release the Esc button.
The projector shows up as a removable disk on your computer.
6. Open the removable disk and copy the pjconfdata.bin file to your computer.
7. Once the file has copied, do one of the following:
• Windows: Open the My Computer, Computer, or Windows Explorer utility. Right-click the
name of your projector (listed as a removable disk) and select Eject.
• OS X: Drag the removable disk icon for your projector from the desktop into the trash.
The projector enters standby mode.
Parent topic: Copying Menu Settings Between Projectors
Related references
Projector Light Status
Transferring Settings From a Computer
After saving projector settings to a computer, you can transfer them to another projector of the same
model (PowerLite Pro G6870/G6970WU).
Your computer must be running one of the following operating systems:
• Windows Vista
• Windows 7
• Windows 8.x
• OS X 10.5.8
171

 Loading...