19
19
This chapter includes the following information:
• Connecting to the network
• Installing the software
• Updating your printer firmware
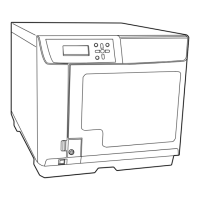
Connecting to the Network
Make sure you have the correct cable for connecting the printer. To connect
to a network switch or hub, you need a standard RJ-45 “straight-through”
network cable. To connect directly to your computer’s network interface,
you need an RJ-45 crossover cable.
1. Turn off the printer.
2. Connect one end of the appropriate cable to the printer’s Ethernet port.
Then connect the other end to your network switch or hub or your
computer’s Ethernet port.
3. Turn on the printer.
Once the printer is connected to your network, you need to configure it. See
“Configuring the Network Interface” on page 20 for instructions.
Chapter 1:
Setting Up
the Printer
On a Network
Note: If you are using the
USB interface, follow the
steps on your Start Here
sheet to configure the
printer and install the
software.