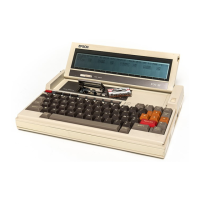
1.4 SENDING FILES
The PX-8 can send files to an external device by working the opposite way round
to
the procedure for receiving a file.
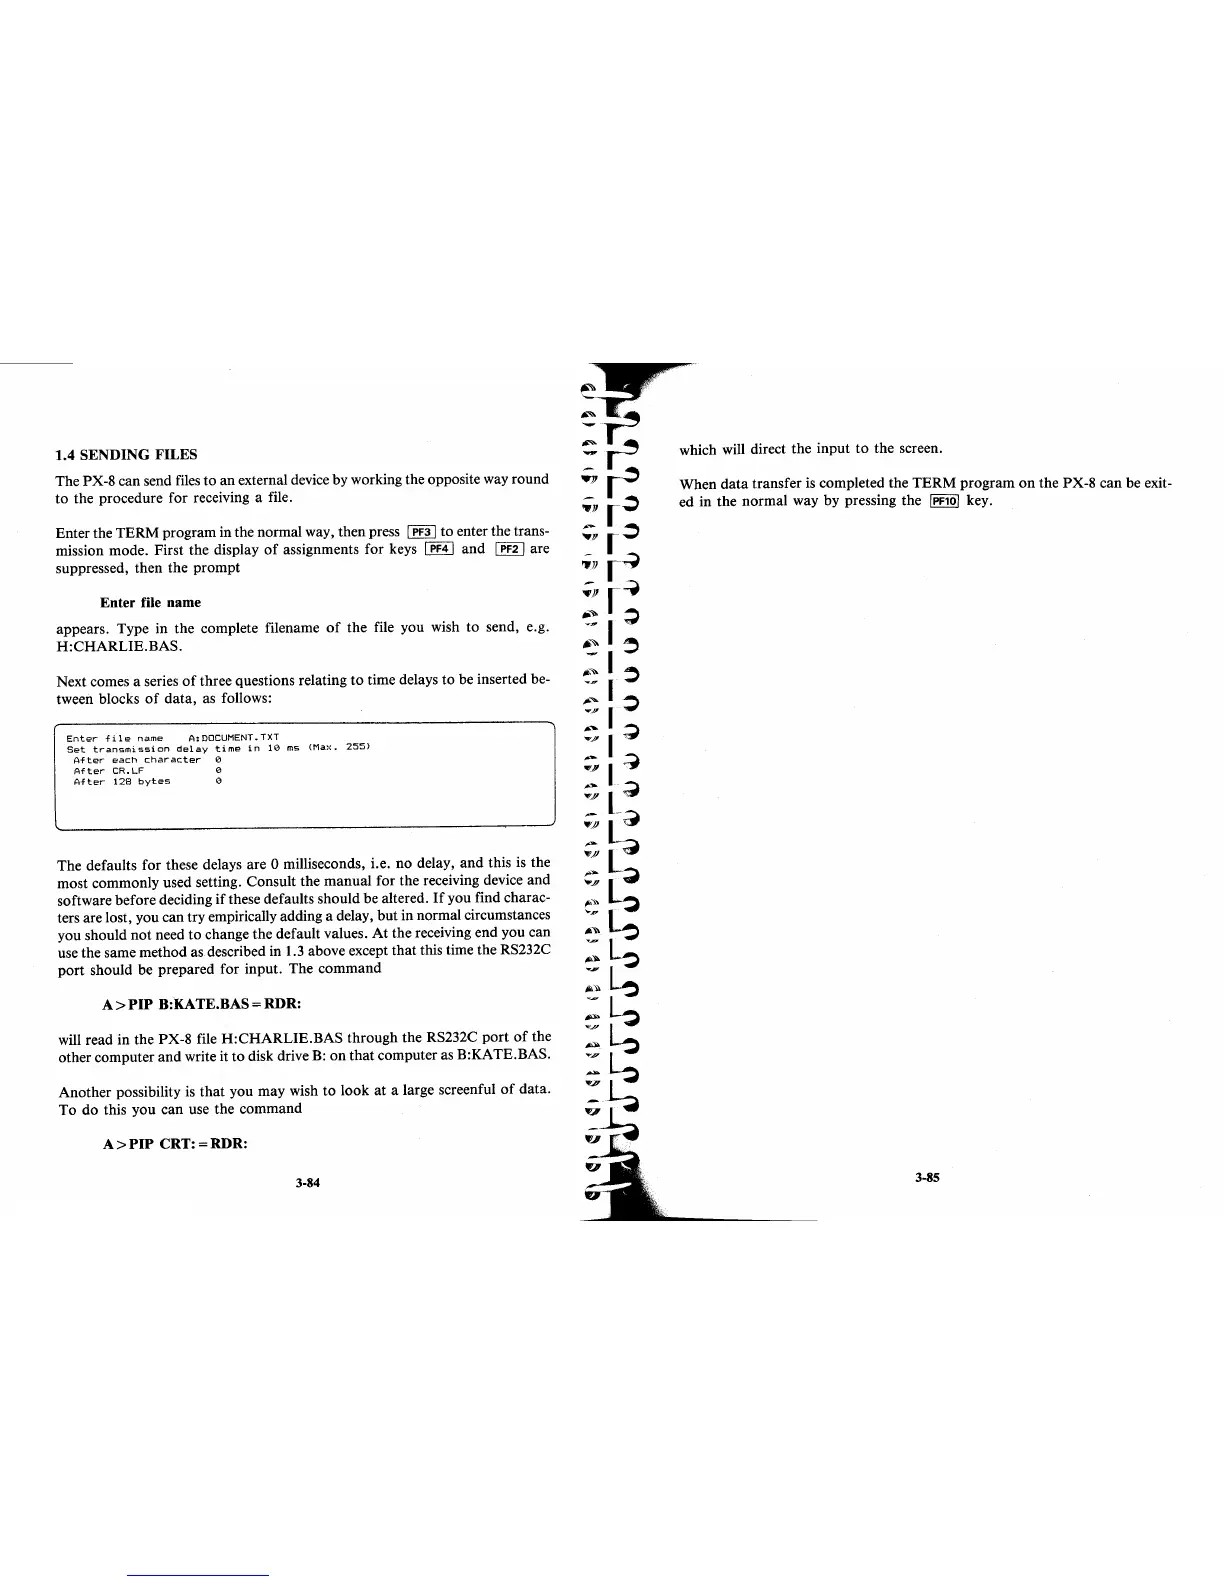
Enter the TERM program in the normal way, then press
I PF3 I to enter the trans-
mission mode. First the display
of
assignments for keys I PF4 I and I PF2 I are
suppressed, then the prompt
Enter
file name
appears. Type in the complete filename
of
the file you wish to send, e.g.
H:CHARLIE.BAS.
Next comes a series
of
three questions relating
to
time delays to be inserted be-
tween blocks
of
data, as follows:
Enter-
file
name
A:
DOCUMENT.
TXT
Set
transmission
delay
time
in
10
ms
(Max.
255)
After
each
character
0
After-
CR.LF
0
After-
128
bytes
0
The defaults for these delays are 0 milliseconds, i.e. no delay, and this
is
the
most commonly used setting. Consult the manual for the receiving device and
software before deciding
if
these defaults should be altered.
If
you find charac-
ters are lost, you can try empirically adding a delay, but in normal circumstances
you should not need to change the default values.
At
the receiving end you can
use the same method
as.
described in
1.3
above except
that
this time the RS232C
port should be prepared for input. The command
A>PIP
B:KATE.BAS=RDR:
will read in the PX-8 file H:CHARLIE.BAS through the RS232C
port
of
the
other computer and write it to disk drive
B:
on
that
computer as B:KATE.BAS.
Another possibility
is
that
you may wish to look at a large screenful
of
data.
To
do this you can use the command
A>
PIP
CRT: = RDR:
3-84
which will direct the input
to
the screen.
When
data
transfer
is
completed the TERM program
on
the PX-8 can be exit-
ed in the normal way by pressing the
IPF101
key.
3-85