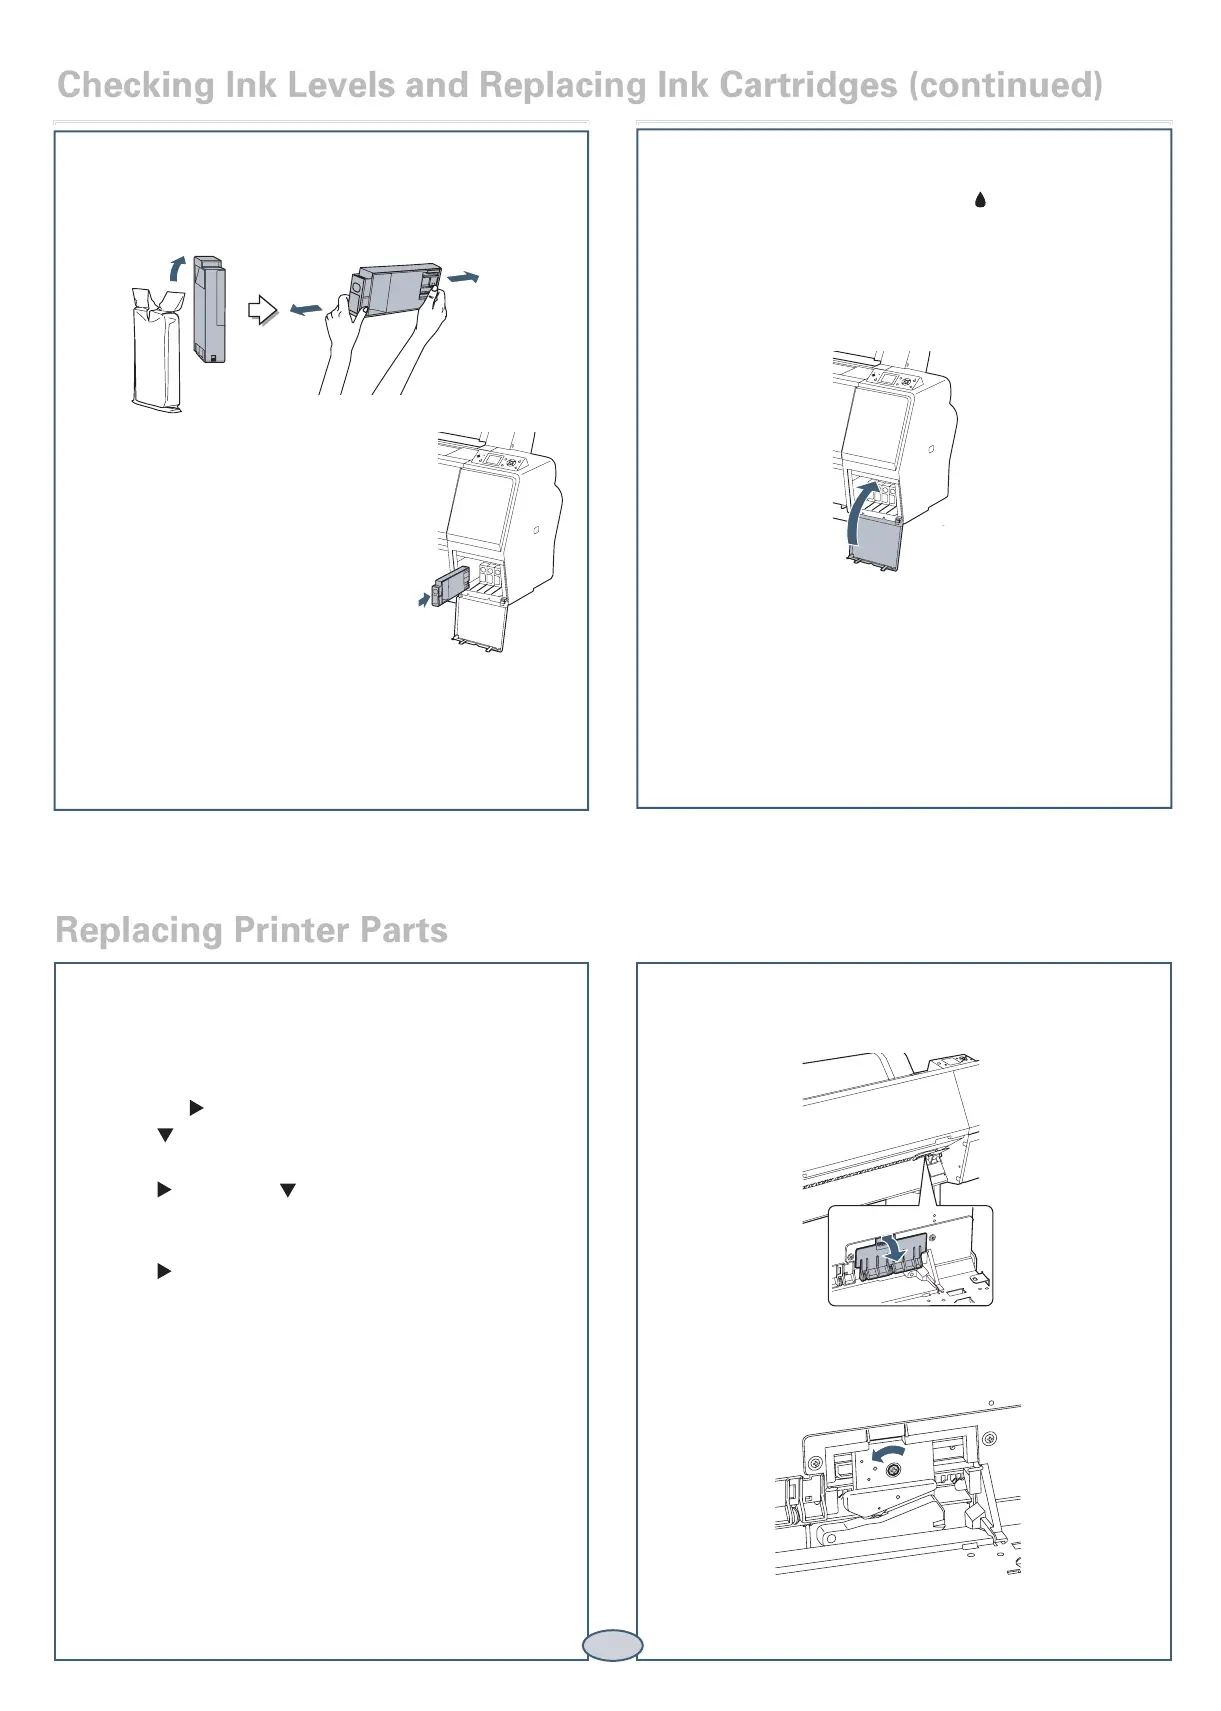
5 Make sure the replacement cartridge is the correct
color, and remove it from its package. Gently
shake the cartridge before installing it.
6 Hold the cartridge with the arrow
mark pointing toward the printer.
Then insert the cartridge into the
slot. Don’t force it.
Note: If you can’t insert the cartridge smoothly,
you may have the wrong cartridge. Check the
package and product code. If the Ink light remains
on after installing the cartridge, try removing and
then reinserting it.
7 Close the ink cover.
Checking Ink Levels and Replacing Ink Cartridges (continued)
Replacing Printer Parts
Replacing the Paper Cutter
If you notice that the paper isn’t cut cleanly, you may
need to replace the cutter (part # C12C815331).
1 Press the Menu button on the printer, then
press until MAINTENANCE is highlighted.
2 Press again. Press to highlight CUTTER
REPLACEMENT.
3 Press to display EXECUTE, then press OK.
The paper cutter moves to the replacement position.
4 To remove the cutter cover, press in the tab and pull
down the cover.
5 Loosen the screw using a cross-head screwdriver.
7
 Loading...


