EPSON Stylus Photo 820
8 -
EPSON Stylus Photo 820 9/01
8. If you need to replace the other ink cartridge, repeat steps 3
through 7 before continuing with step 9.
9. Press the
e ink cartridge replacement button and close the
printer cover. The printer begins charging the ink delivery
system.
The green
P power light flashes and the printer makes
noise. Charging takes about half a minute. When it’s
finished, the green
P power light stops flashing and stays
on, and the red
b
error light goes out.
Never turn off the printer while the green
P
power light
is flashing, unless the printer hasn’t moved or made
noise for more than 5 minutes.
Cleaning the Print Head
If your printouts are unexpectedly light or faint, or dots or
lines are missing from the image, you may need to clean the
print head. This unclogs the nozzles so they can deliver ink
properly. Print head cleaning uses ink, so clean it only if
quality declines.
This section explains how to clean the print head using the
Head Cleaning utility. This is the recommended method
when the printer is connected directly to your computer (not
over a network).
You can also clean the print head by holding down the
b maintenance button on the printer for three seconds (when
the red
b error light is off). See the electronic Reference Guide
on your printer software CD-ROM for detailed instructions.
When you don’t turn on your printer for a long time, the
print quality can decline. It’s a good idea to turn on your
printer at least once a month to maintain good print
quality.
Running the Head Cleaning Utility
Follow these steps to run the Head Cleaning utility:
1. Make sure the printer is turned on but not printing, and the
red
b error light is off. (If the red
b error light is flashing
or on, you may need to replace the ink cartridge; see page 6
for details.)
2. Do one of the following:
❏ Windows: Right-click the printer icon on your
taskbar (in the lower right corner of your screen). Select
Head Cleaning
.
❏ Macintosh: Open the File menu and choose
Page
Setup
or
Print
. Click the Utility button, then click
the
Head Cleaning
button.
3. Follow the instructions on the screen to clean the print
head. Cleaning takes about 30 seconds, during which the
printer makes some noise and the green
P power light
flashes.
Never turn off the printer while the green
P
power
light is flashing, unless the printer hasn’t moved or
made noise for more than 5 minutes.
4. When the green
P power light stops flashing, run a nozzle
check to confirm the print head nozzles are clean.
Make sure paper is loaded in the printer and click
Print
nozzle check pattern
. Then click
Print
. The nozzle check
pattern prints (see the next section for details).
5. If the nozzle check pattern has no gaps or lines, click
Finish
.
If the pattern has white lines, click
Clean
to clean the print
head again.
If you don’t see any improvement after cleaning three or
four times, check the solutions in the Printer Basics book.
You can also turn the printer off and wait overnight
(allowing any dried ink to soften); then try cleaning the
print head again.
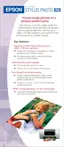
Examining the Nozzle Check Pattern
Examine the nozzle check pattern you print. Each black and
colored area should be complete, with no gaps or lines, as
shown below:
❏ If your printout looks okay, you’re done.
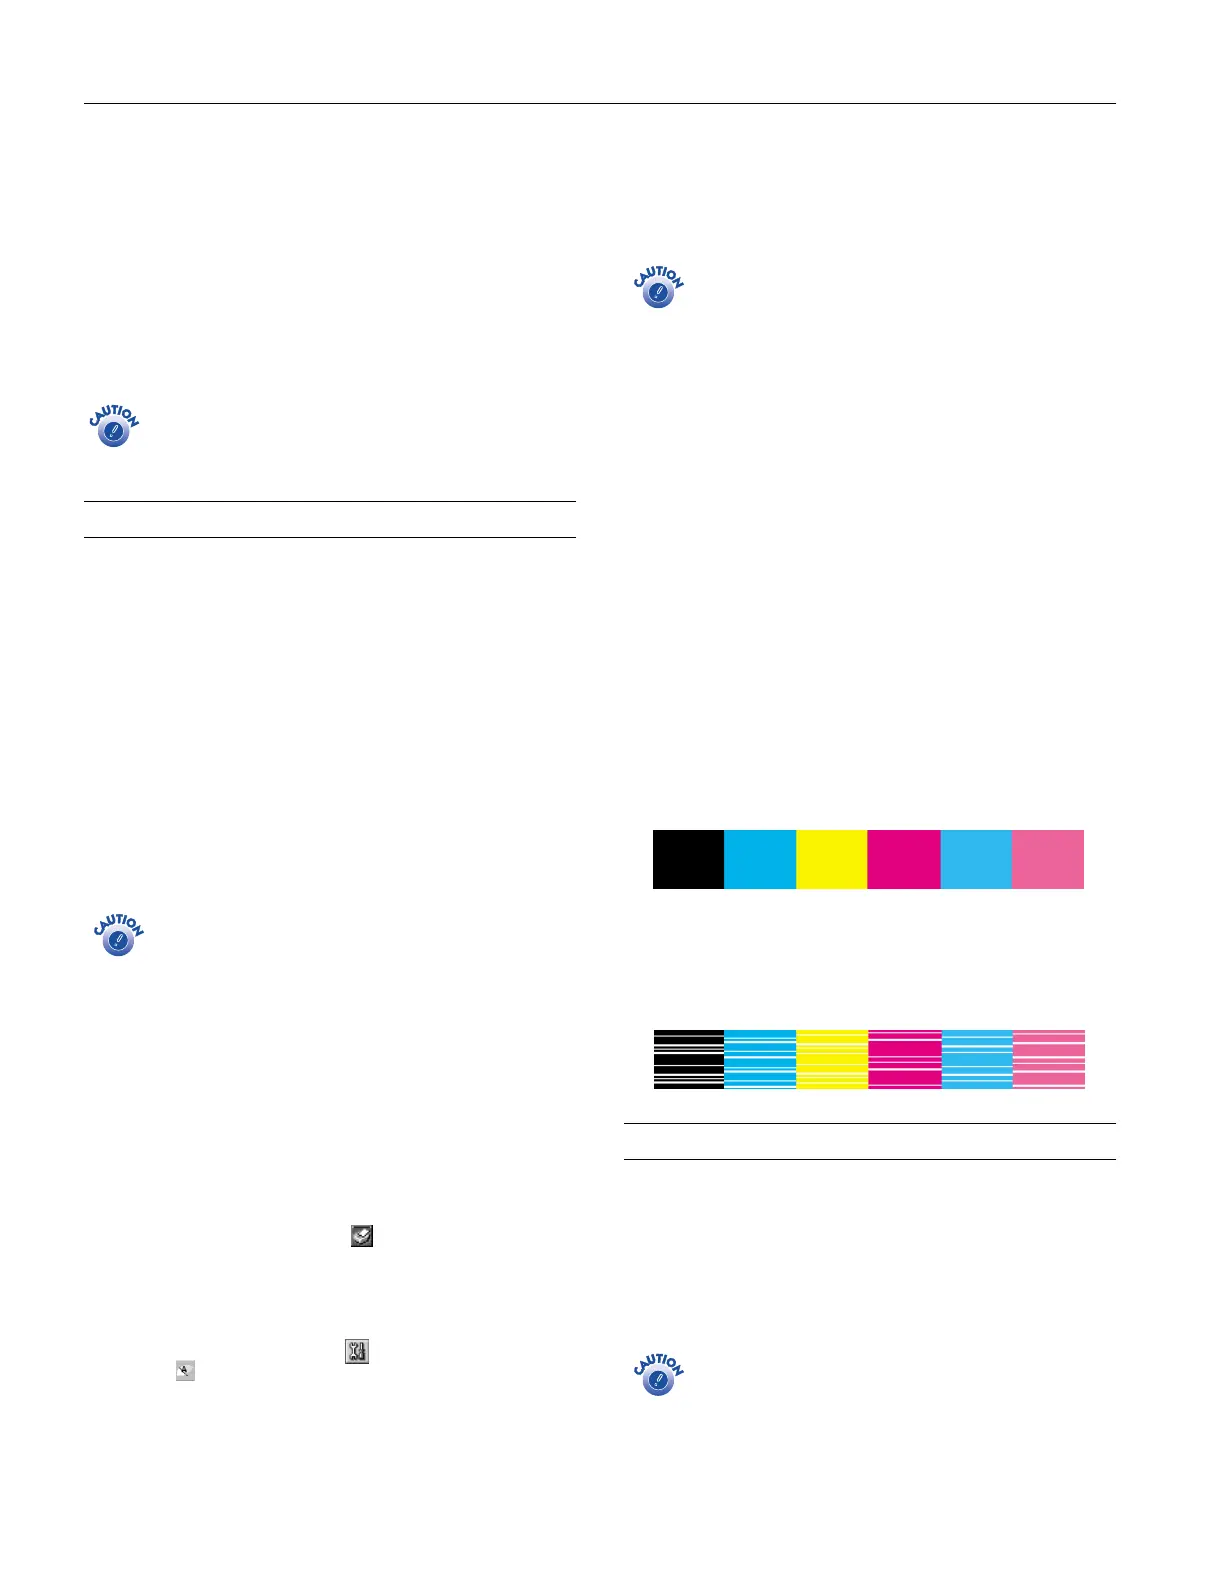
❏ If you see any white lines or gaps (as shown below), clean
the print head again; see the previous section for
instructions.
Aligning the Print Head
If your printouts contain misaligned vertical lines, you may
need to align the print head. Your printer must be connected
directly to your computer (not over a network) to use the
Print Head Alignment utility.
1. Make sure the printer is turned on, but not printing, and
plain letter-size paper is loaded.
Load paper that’s at least 8.27 inches (210 mm) wide to
prevent ink from spraying inside the printer and smudging
your printouts.
 Loading...