67
English
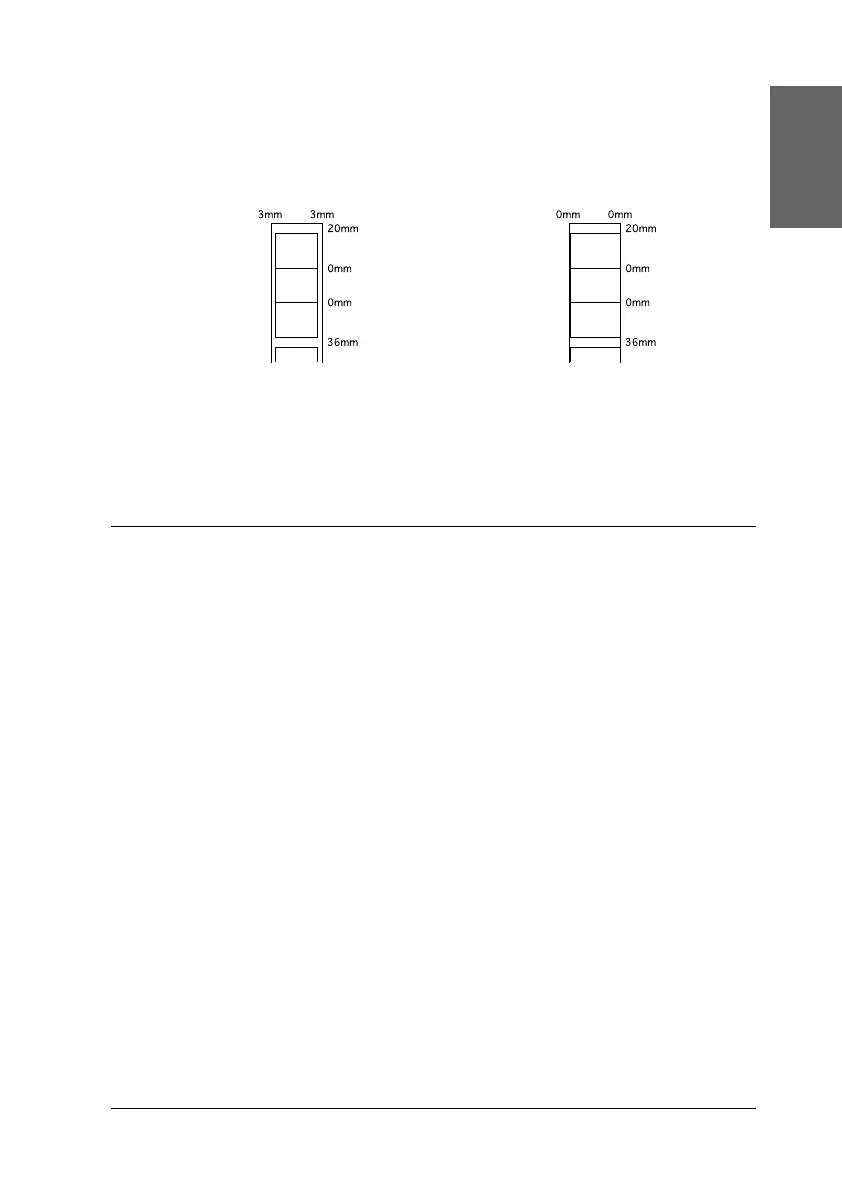
To print data with no margins between separate files, as shown
below, do not press the
z roll paper button between print jobs.
Note:
The top margin is automatically set to 20 mm, regardless of the margin
setting.
Removing Roll Paper
Follow the directions below to remove the paper from the printer.
1. After printing is completed, the last photo printed remains in
the printer without being cut. Press the roll paper button to
cut the photo remaining in the printer.
Note:
❏ Depending on the size of the photos, two photos may remain in the
printer without being cut. Press the roll paper button in this case as
well; both photos are cut.
❏ The Auto Cut settings can be changed. See “Using Automatic Roll
Paper Cutter” in the online Reference Guide for the detailed
explanation on how to do this.
Standard margins No margins

 Loading...


