4.2.4.4
CSIC Assy
Parts/Components need to be removed in advance:
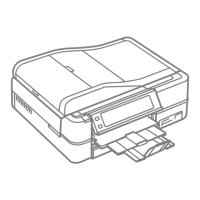
ADF Unit (Artisan 800/PX800FW/TX800FW only)/Scanner Unit/Upper Left
Housing/Paper Guide Top Assy/Upper Housing
Removal procedure
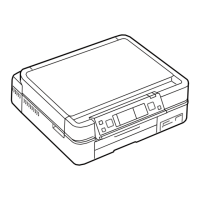
1.
Disconnect the CSIC FFC from the CSIC connector.
Figure 4-75. Removing the CSIC Assy (2)
Figure 4-74. Removing the CSIC Assy (1)
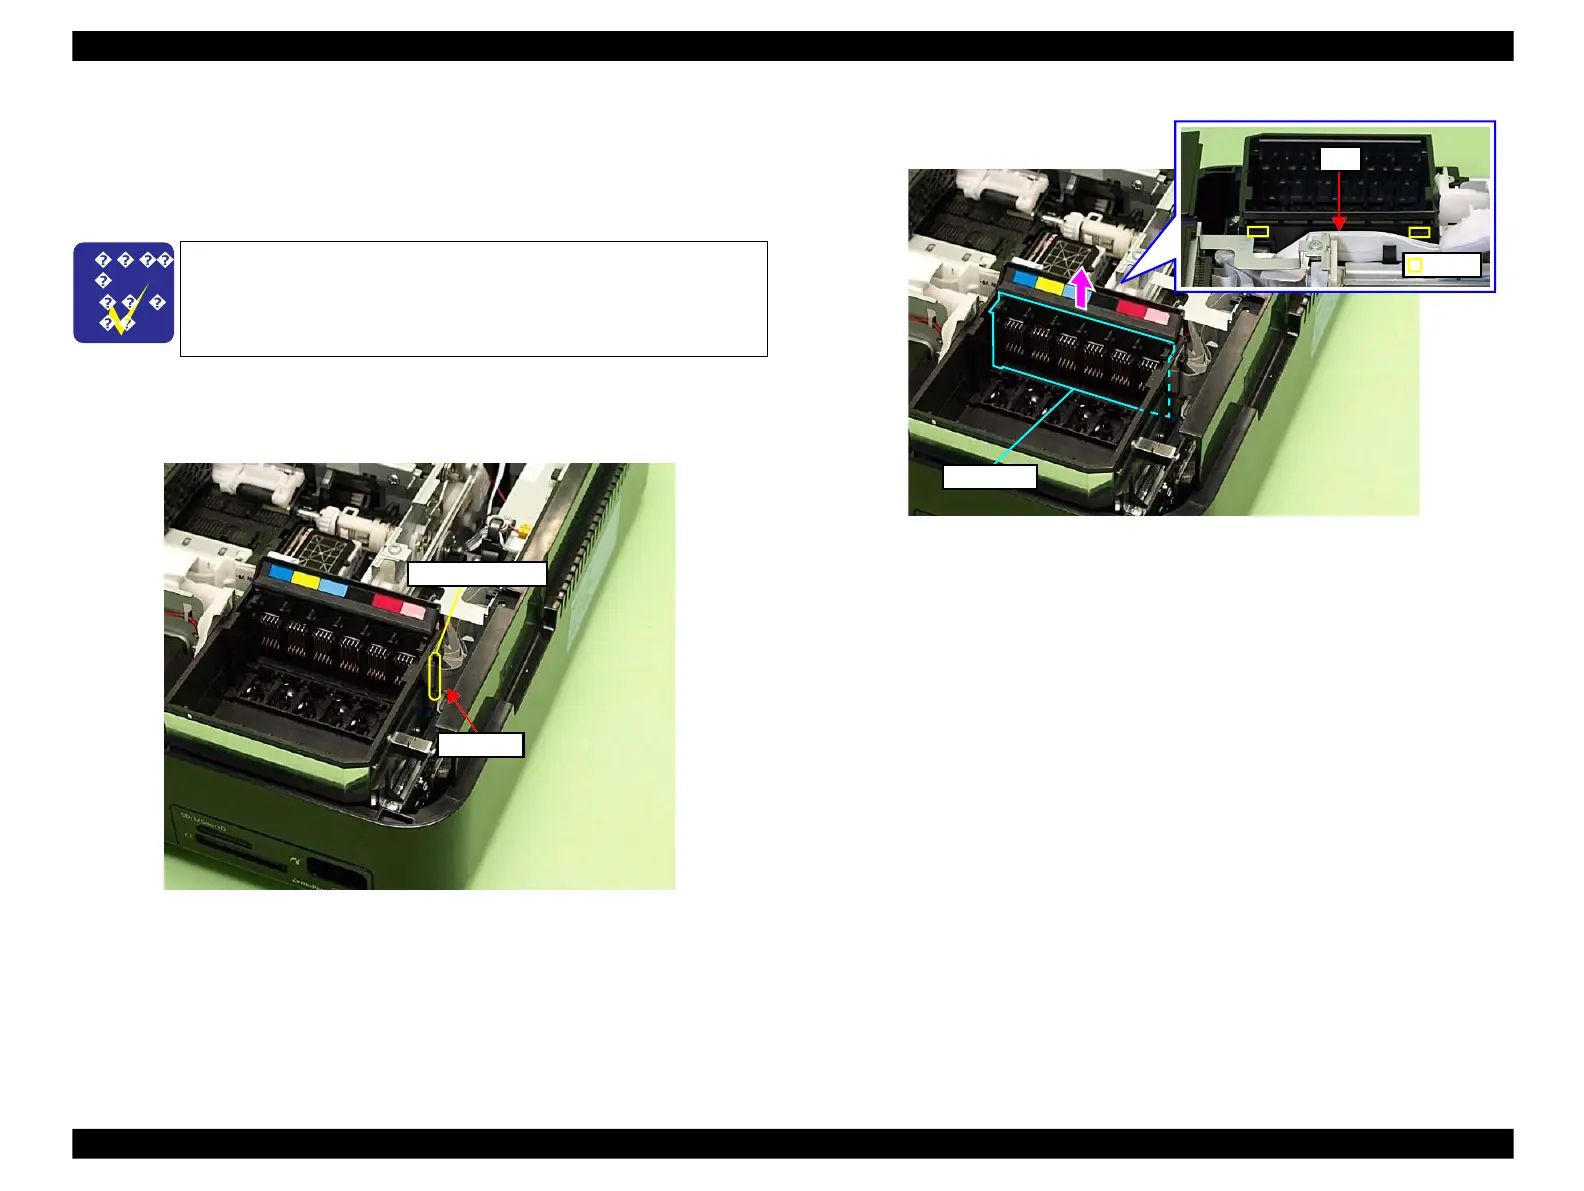
2.
Release the hooks (x2) on the rear of the Cartridge Box, and remove the CSIC
Assy upward.
In the case of Artisan 700/PX700W/TX700W, removing the Right
Rear Housing (p192) and the Right Housing (p193) earlier will make
the operation easier.
 Loading...