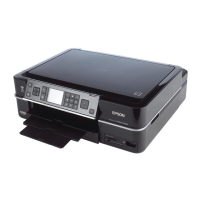
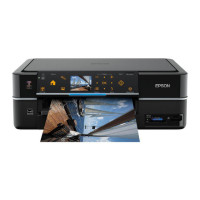
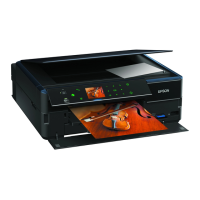
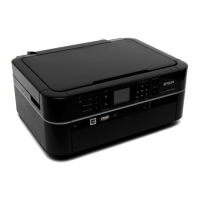
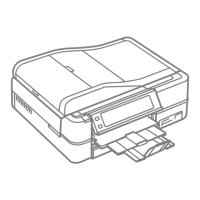
Epson Artisan 800/Epson Stylus Photo PX800FW/TX800FW/Epson Artisan 700/Epson Stylus Photo PX700W/TX700W
Overview
https://www.manualsbooks.com
Refer to the following figures for the lubrication points.
Apply the grease through the holes. (x2)
Carriage Shaft
<Lubrication Points>
1.
Two contact points between
the Carriage Unit and the
Carriage Shaft.
2.
Two contact points between
the Carriage Unit and the CR
guide plate.
3.
Two lubrication holes on top of
the Carriage Unit.
1. 100 ± 20 mg
2. 170 ± 20 mg
After installing the Carriage Unit
1. After lubrication, move the
Carriage Unit from side to side
while rotating the Carriage
Shaft to spread the grease
Figure 6-1. Lubrication of the Carriage Shaft and CR guide plate
<Lubrication Points>
1.
Contact points between the PG
Cam L and Left Parallelism
Bushing
2.
Contact points between the PG
Cam R and Right Parallelism
Bushing
Left Parallelism Bushing
PG Cam R
Right Parallelism Bushing
Application Point
<Application Amount>
1. 1 x sliding surface
2. 1 x sliding surface
<Application Timing>
After installing the PG Cam L and
the PG Cam R
<Remarks>
Apply with injector
Figure 6-2. Lubrication of the Left PG Cam and Right PG Cam
Left Front PG Cam
Right Front PG Cam
Application Point
<Lubrication Points>
1.
Sliding surface of the Left
Front PG Cam
2.
Sliding surface of the Right
Front PG Cam
<Application Amount>
1. 1 x sliding surface
2. 1 x sliding surface
<Application Timing>
Before installing the Left Front
PG Cam and Right Front PG Cam
<Remarks>
Apply with injector
Figure 6-3. Lubrication of the Left Front PG Cam and Right Front PG Cam
 Loading...

