SPO Epson TM-T20II User Guide
© IZUM, 3. 4. 2019, SPO-NA-EN-115, V3.0 7/15
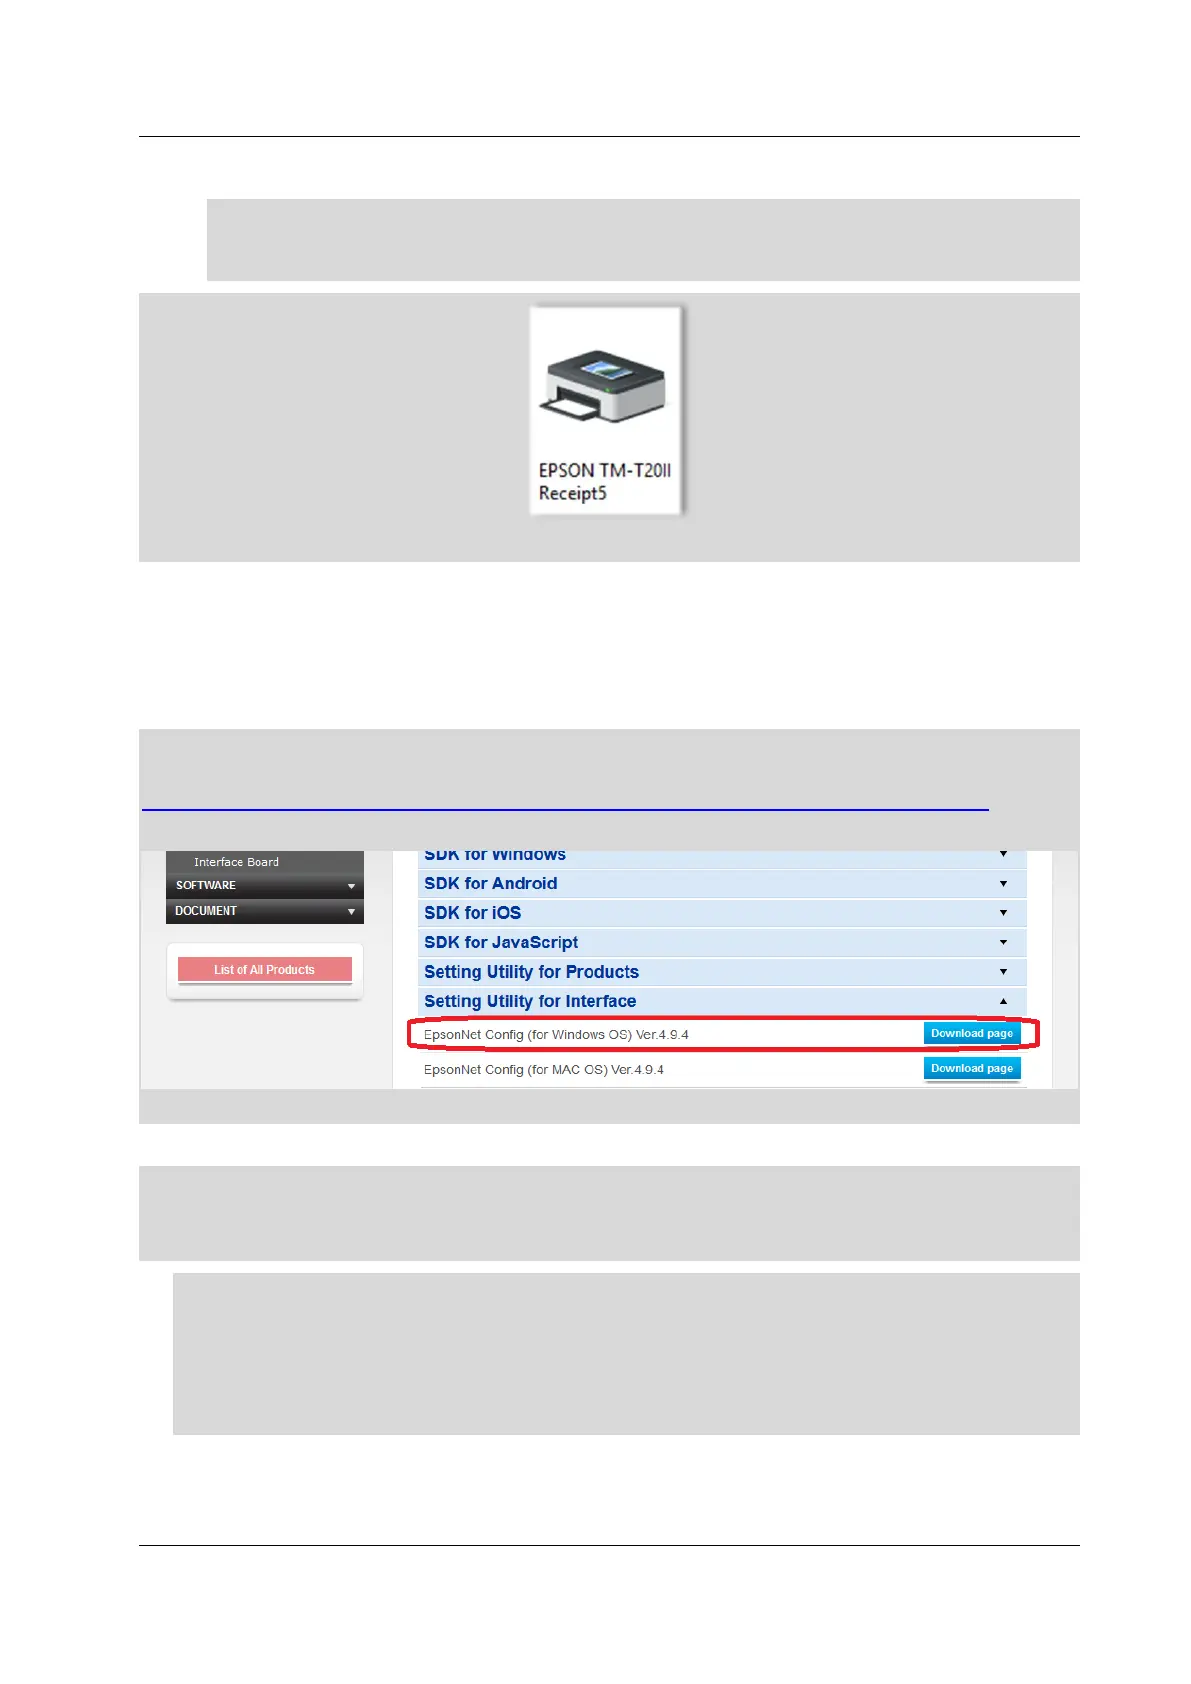
After installing the driver and the utility, connect the printer to the computer. In the
Devices and Printers window, an icon of the printer with the installed EPSON TM-
T20II Receipt5 driver will appear.
Figure 11: EPSON TM-T20II printer icon
5.2 Setting up the printer IP address via the network
connection
The IP address of the printer (only possible for a version with a network interface) is set with
the help of the EpsonNet Config tool, which is downloaded from the manufacturer's website at
https://download.epson-biz.com/modules/pos/index.php?page=prod&pcat=3&pid=3721.
Figure 12: EpsonNet Config Ver 4.9.4
Follow the installation procedure and install the software on the computer.
If the EpsonNet Config tool is already installed, run it by clicking Start – All Programs –
EpsonNet – EpsonNet Config.
1. First, add or decline a Firewall exception.
2. Check if the printer is on the list. If it is not, press F5 to refresh the list.
3. Select the printer from the list and click Configuration. Select Network Interface –
TCP/IP – Basic. Tick the options Manual and Set using PING. Set the IP address, the
subnet mask and the default gateway.

 Loading...