-- 6 9 --
ffa9d1ea
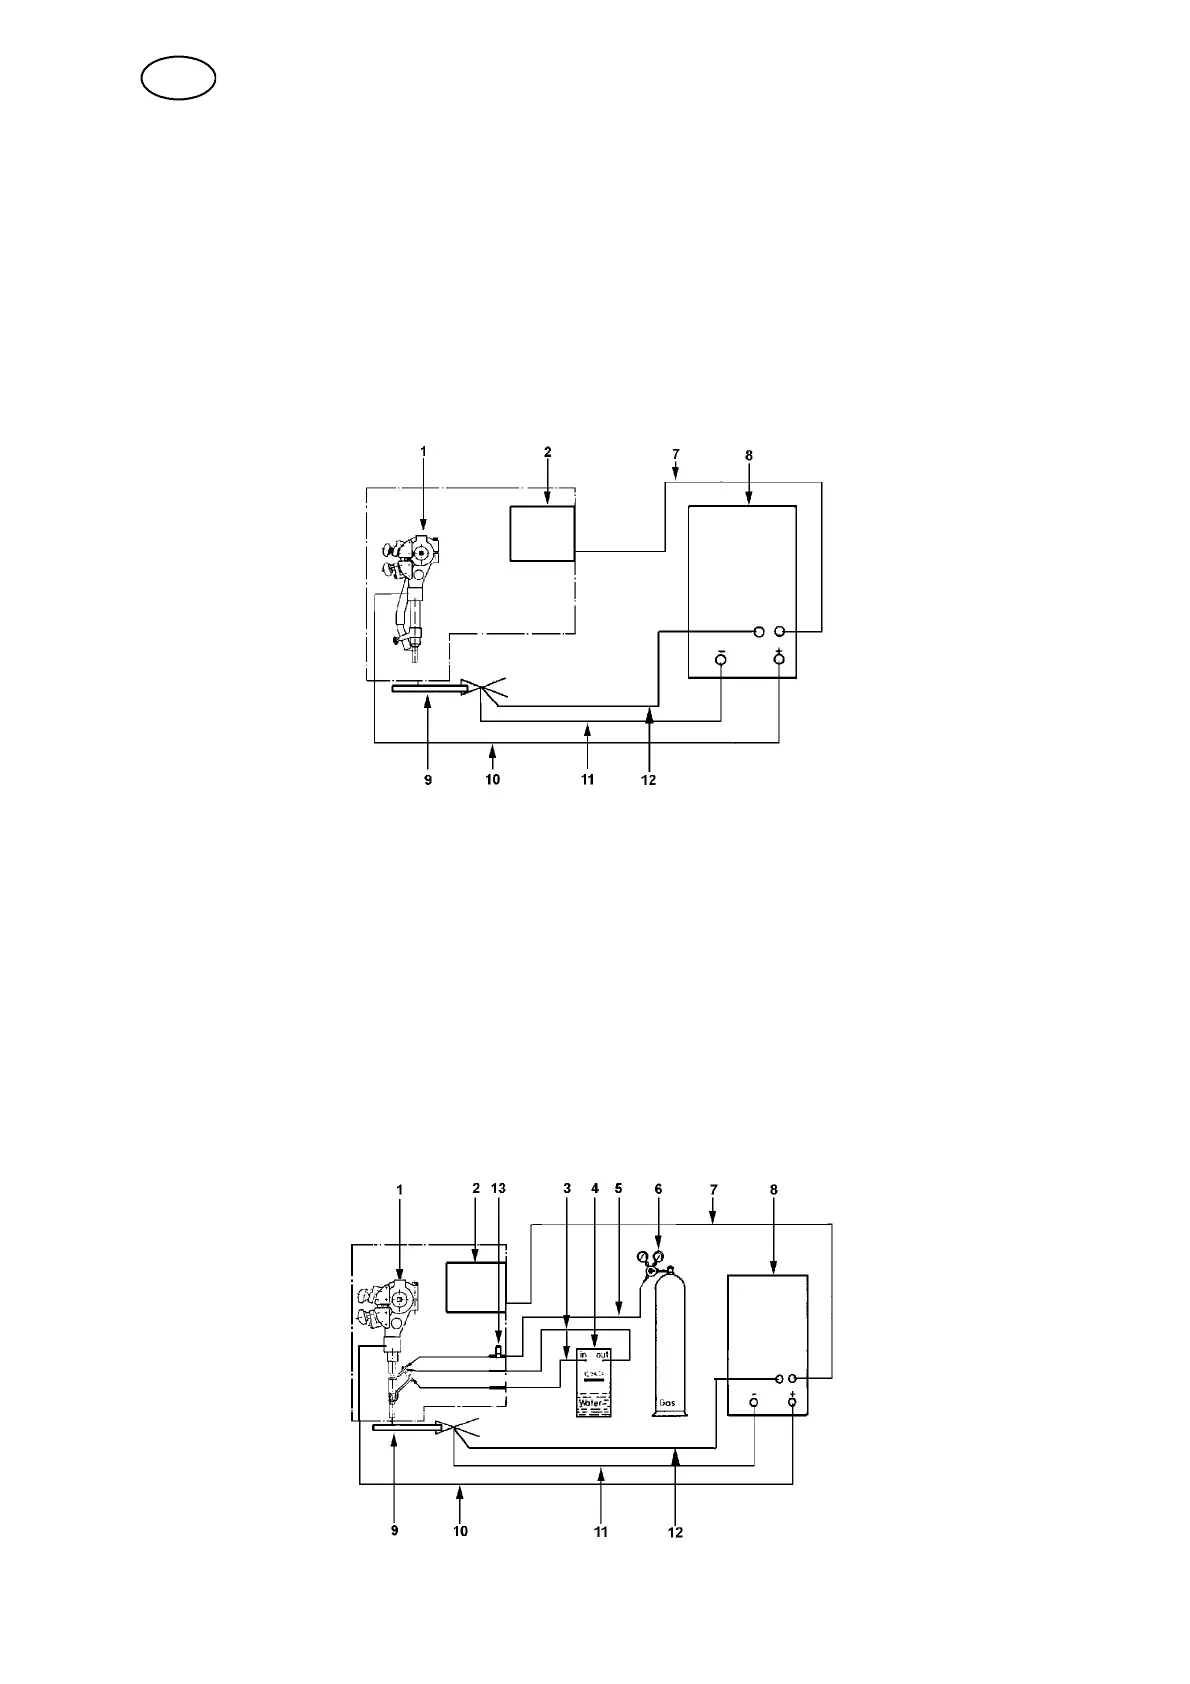
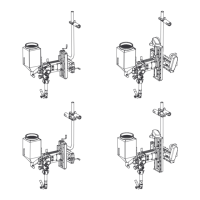
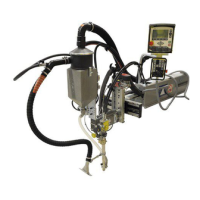
2. Connect the A6 welding heads as follows:
SUBMERGED ARC WELDING (SAW)
S Connect the control cable (7) between the welding power source (8) and the
A2--A6 Process Controller (PEH) (2).
S Connect the return cable (11) between the welding power source (8) and the
work piece (9).
S Connect the welding cable (10) between the welding power source (8) and
the automatic welding machine (1).
S Connect the measuring cable (12) between the welding power source (8)
and the work piece (9).
GAS METAL ARC WELDING (MIG/MAG)
S Connect the control cable (7) between the welding power source (8) and the
A2--A6 Process Controller (PEH) (2).
S Connect the return cable (11) between the welding power source (8) and the
work piece (9).
S Connect the welding cable (10) between the welding power source (8) and
the automatic welding machine (1).
S Connect the gas hose (5) between the reduction valve (6) and the gas valve
on the automatic welding machine (13).
S Connect the hoses for cooling water (3) between the cooling unit (4) and the
automatic welding machine (1).
S Connect the measuring cable (12) between the welding power source (8)
and the work piece (9).
GB