29
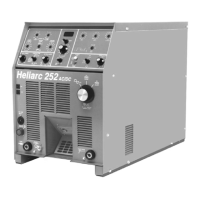
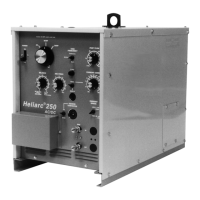
11. Place the Power ON-OFF switch to the ON position. This will immediately
energize the power source up to its solid state contactor.
12. To establish the welding arc, position the torch electrode near the
workpiece (i.e., 1/8" typical) and close the Remote Torch or Foot Control.
This will energize the solid state contactor and provide high frequency
and welding current to initiate the arc.
13. If necessary, readjust the panel or remote Current Control until you
secure the exact condition desired.
9. Depending on your welding application, place the High Frequency
Selector switch in the START or CONTINUOUS position.
10. Set the POSTFLOW control to provide the desired interval of post-flow
shielding gas (from 3 to 30 seconds) after the welding arc voltage is
broken.
SECTION 3 OPERATION