24
3.2 HANDLE ASSEMBLY INSTALLATION
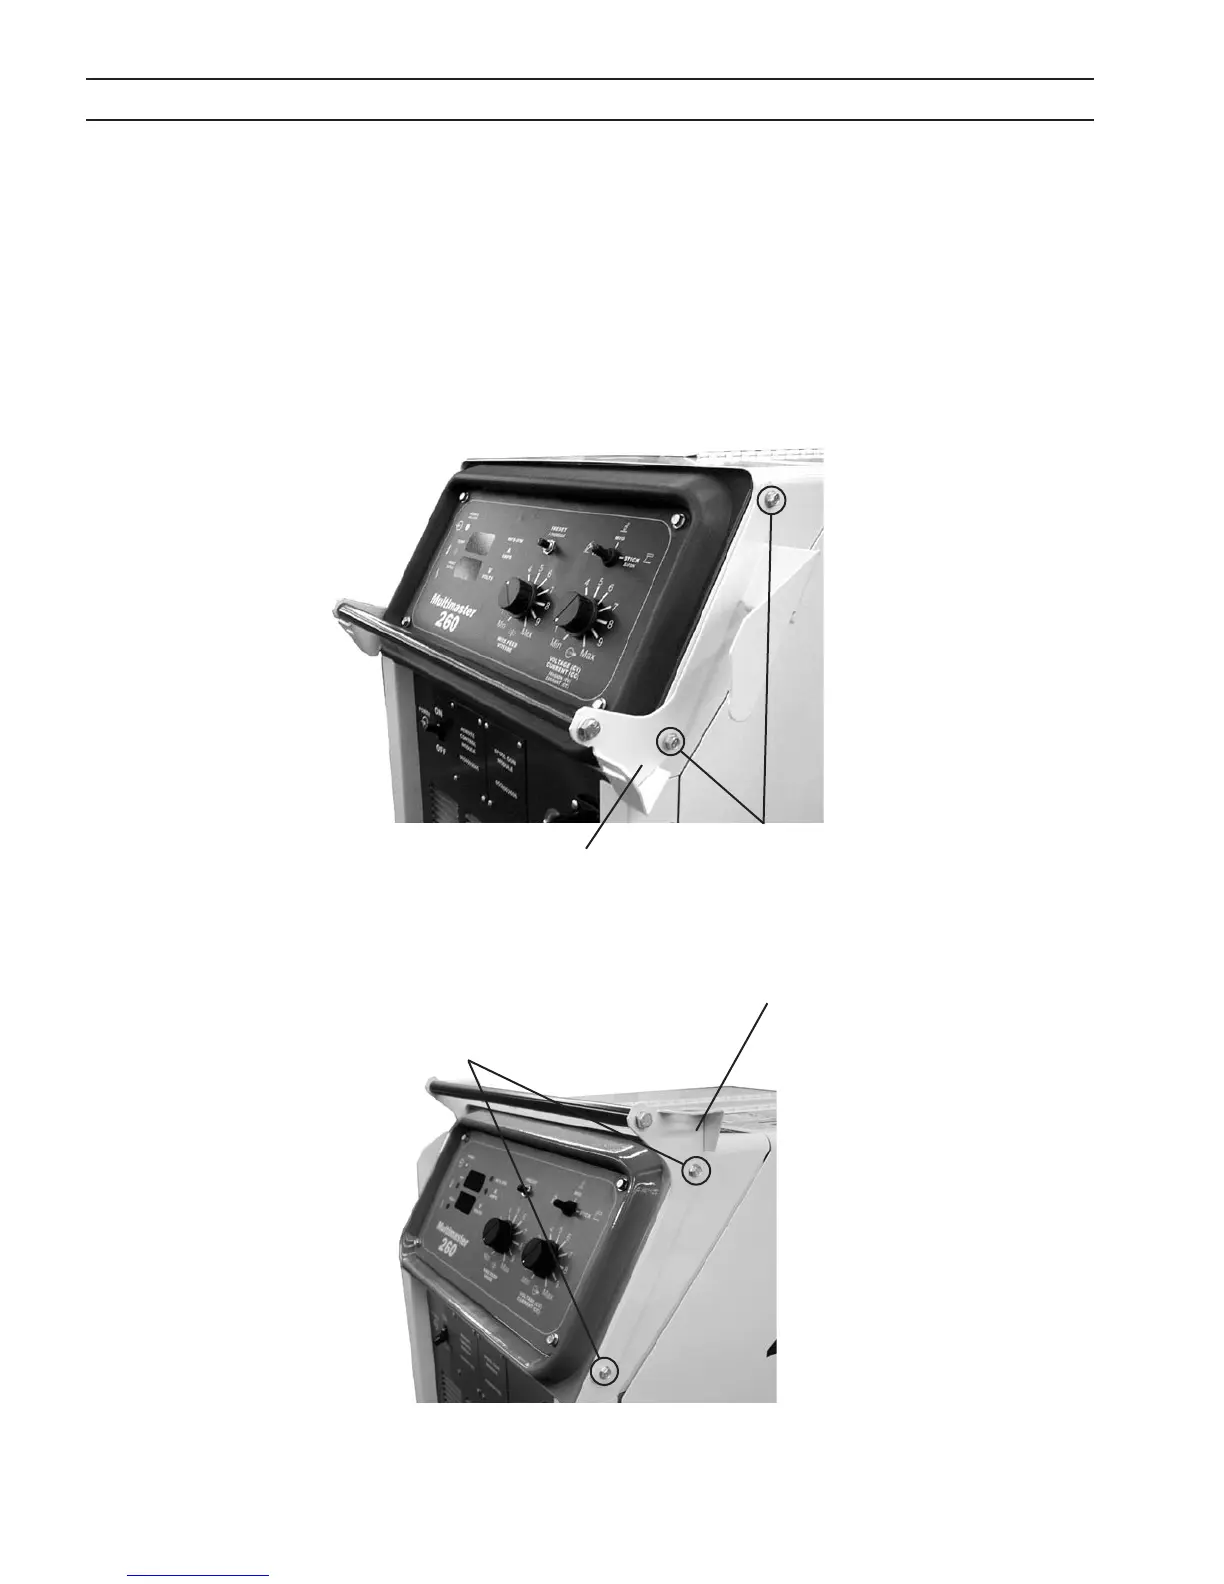
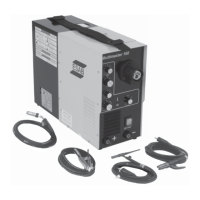
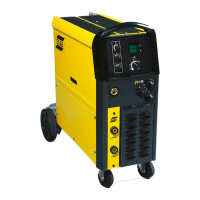
The Multimaster 260 is factory assembled except for the front handle assembly which is mounted to the machine upside
down for shipping purposes. The handle assembly consists of two brackets and a cross bar. To install the handle in its proper
position, do the following:
A. Remove the two sheet metal screws from the brackets on each side of the front handle assembly. See Figure 3A.
B. Remove front handle assembly and reverse sides with the mounting brackets. This will put the handle assembly in the
proper orientation. Reattach brackets using the sheet metal screws removed in Step A. See Figure 3B.
SECTION 3 INSTALLATION
Figure 3B - Handle Assembly Installation
Figure 3A - Handle Assembly Removal
Sheet metal Screws
Sheet metal
Screws
Handle Bracket
Handle Bracket