9
Check for parts online at www.GetEskimo.com or call 800-345-6007 M-F 8-5 CDT
ENGLISHENGLISH
Operator’s Manual
38500
|
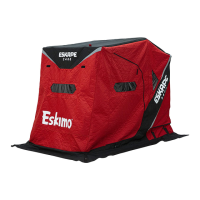
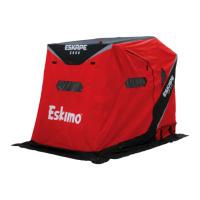
Eskape™ 2800 Flip-Style Sled Shelter
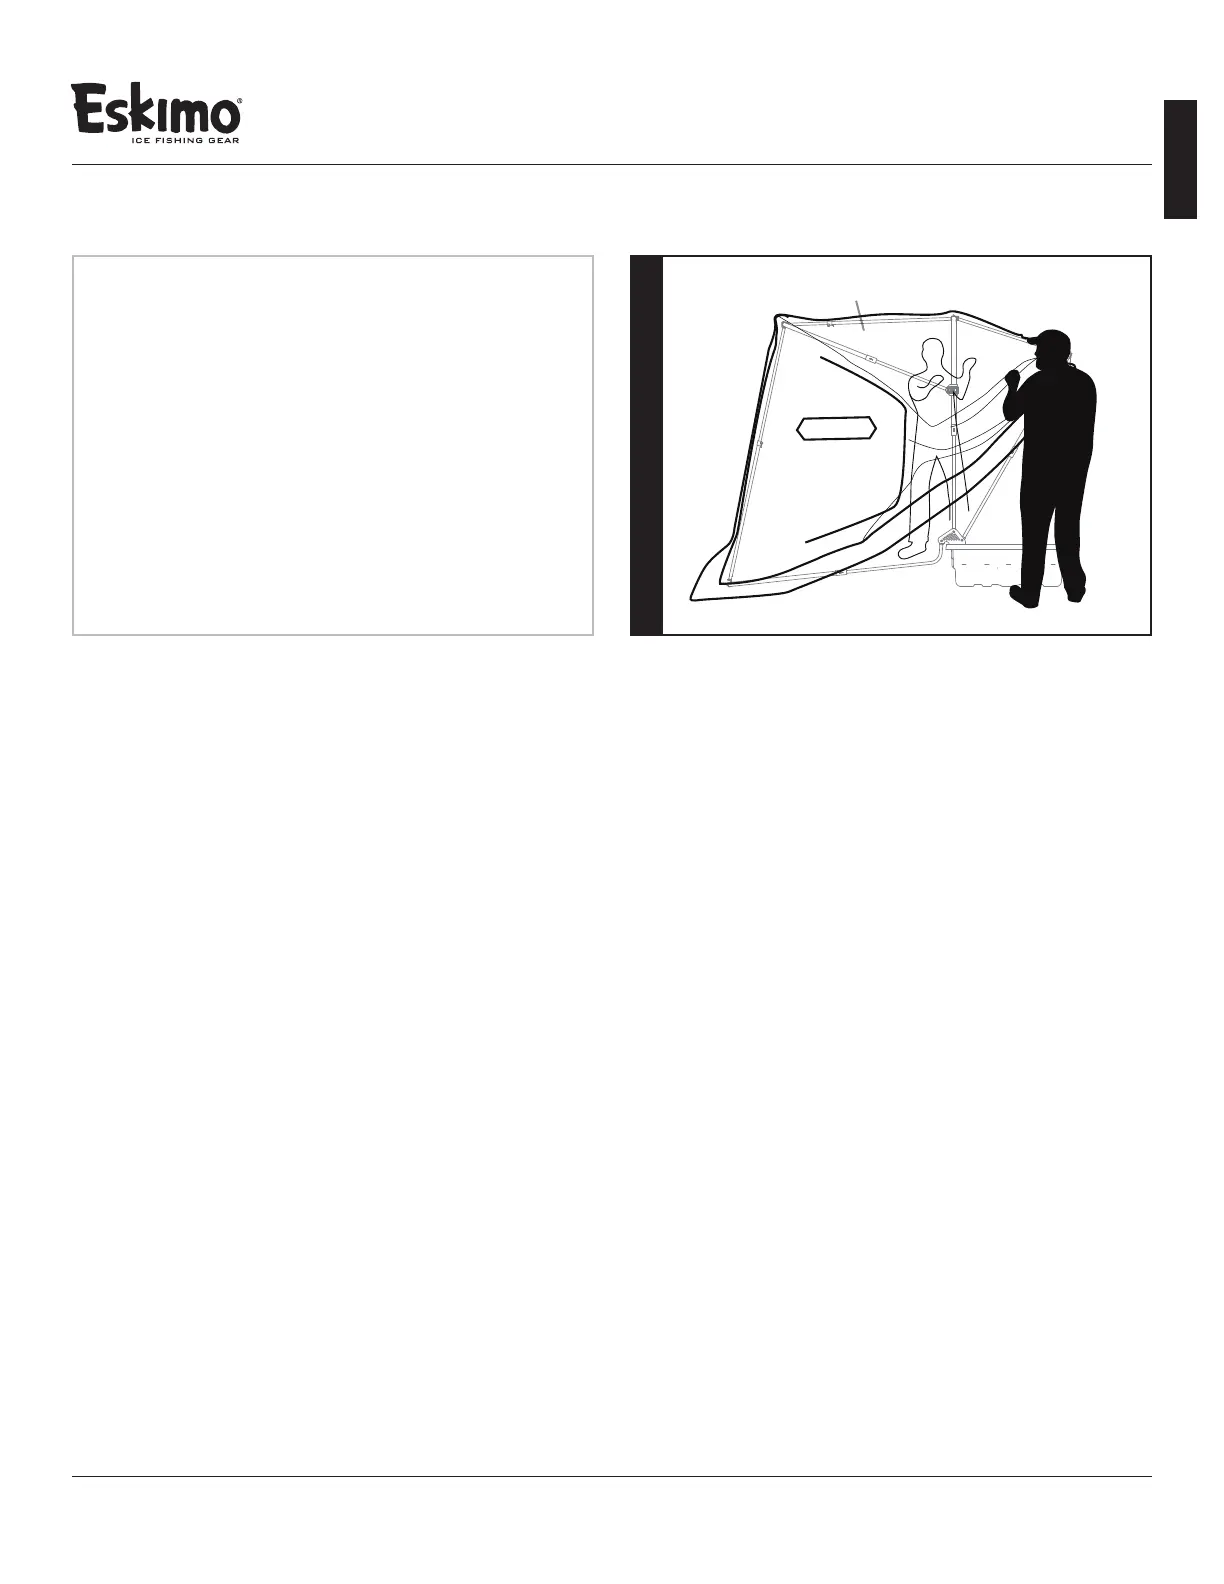
All spreader poles should be adjusted with hook and
loop skin attachments now in place. Each adjustable
spreader pole should keep poles in desired location
as shown in Figure 13. Make any adjustments needed
to t the skin. There should be equal skin tension
throughout, and no spreader poles creating more
tension than needed.
14
FIGURE 14
13
(A) With all spreader poles in place, begin working the
#34963 skin assembly over the aluminum frame work.
(B) There are hook-and-loop connections sewn on
the inside of the skin to attach/locate each aluminum
frame assembly. Secure each connection as snug as
possible. This will determine how tight the skin will
be once attached to the #30055 sled.
#34963
(A) Start by extending the (36625/26542/36626)
assembly.
(B) Next extend the (36916/26542/36916) assembly,
and attach the (2) #36628 front spreader poles to
the extended pole assembly and the bottom pole
assembly (spreader poles should be placed as far to
each corner as possible without being in the radius).
(C) Next push the #36642 assemblies up until there
is a click, setting them in the “up” position. Add the
#27729 spreader pole and appropriately adjust the
length to t while maintaining the vertical position of
the (36625/26542/36626) pole assembly.
(D) Finally add the #26544 spreader pole as shown.
12
Reference
Figure 13
on previous page
for spreader pole
assembly sequence.
Visit GetEskimo.com
for videos and
helpful tips on skin
attachment and more.