26
Settings (introduction)
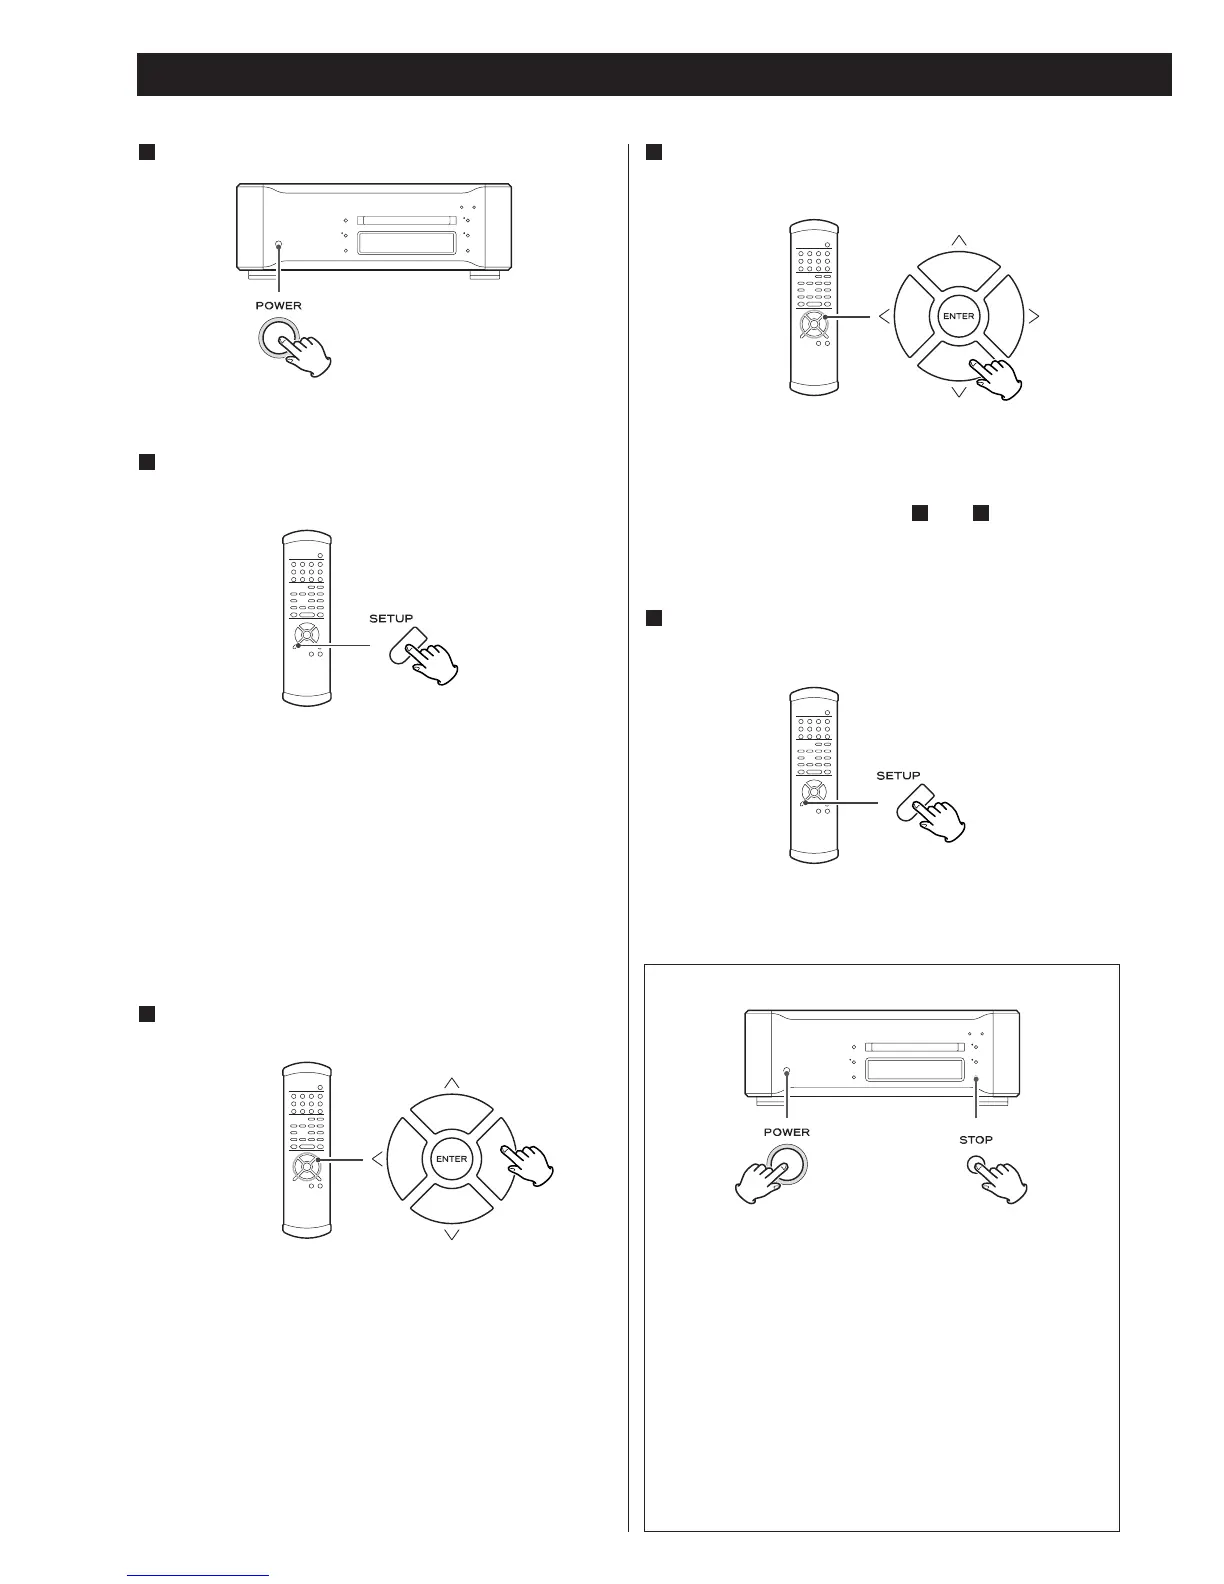
Turn the unit on.
1
Press the SETUP button.
2
The setup mode is engaged, the GUI indicator lights and
“AudioSetup”, the first item, appears on the display.
< Although setup menu entries are possible during playback,
not all items are available. Stop playback to make all items
available.
<
Exit the setup menu by pressing the SETUP button once
again.
Use the cursor buttons to navigate the menus.
3
The setup items are on multiple levels. Use the cursor buttons
to navigate while referring to the Setup Menu Chart on the
following page.
The character “>” is prefixed to options that can be adjusted.
Use the left and up cursor buttons (or the RETURN button) to
go back a level in the setup menu.
Use the up or down cursor buttons to change an option
and press the ENTER button to confirm it.
4
For details on individual settings, see pages 28-29.
Use the up or down cursor buttons to change numeric values.
(The ENTER button need not be pressed.)
Use the instructions in Steps and to set multiple
functions.
43
When all settings have been made, press the SETUP
button to exit the setup menu.
5
Restoring factory default settings
Made settings persist on a semipermanent basis even when
the power plug is disconnected.
Use the following procedure to clear all settings and restore
the unit to the factory defaults.
1. Turn the unit off and wait 30 seconds or longer.
2. Press the POWER switch while holding down the
STOP button.
Hold down the STOP button until the unit is powered up
and the display lights.