7.2 Controller System Test:
Switch on the power to the unit, check the display of the controller – it will display the water temperature when
the unit is in standby mode. If the controller display is showing an incorrect reading or an error code, please
refer to Section 10.
7.3 Preparing for refrigerants:
a) On completing wiring of the unit, please release a little refrigerant from the low pressure side, or use
the vacuum pump to create the vacuum in the system, until the pressure is below 70Pa.
b) Once the unit is in vacuum, please open the high pressure valve and the low pressure valve until the
pressure is balanced, then check the joints for leaks.
c) Ducting—Please ensure that ducting is safely and appropriately fitted.
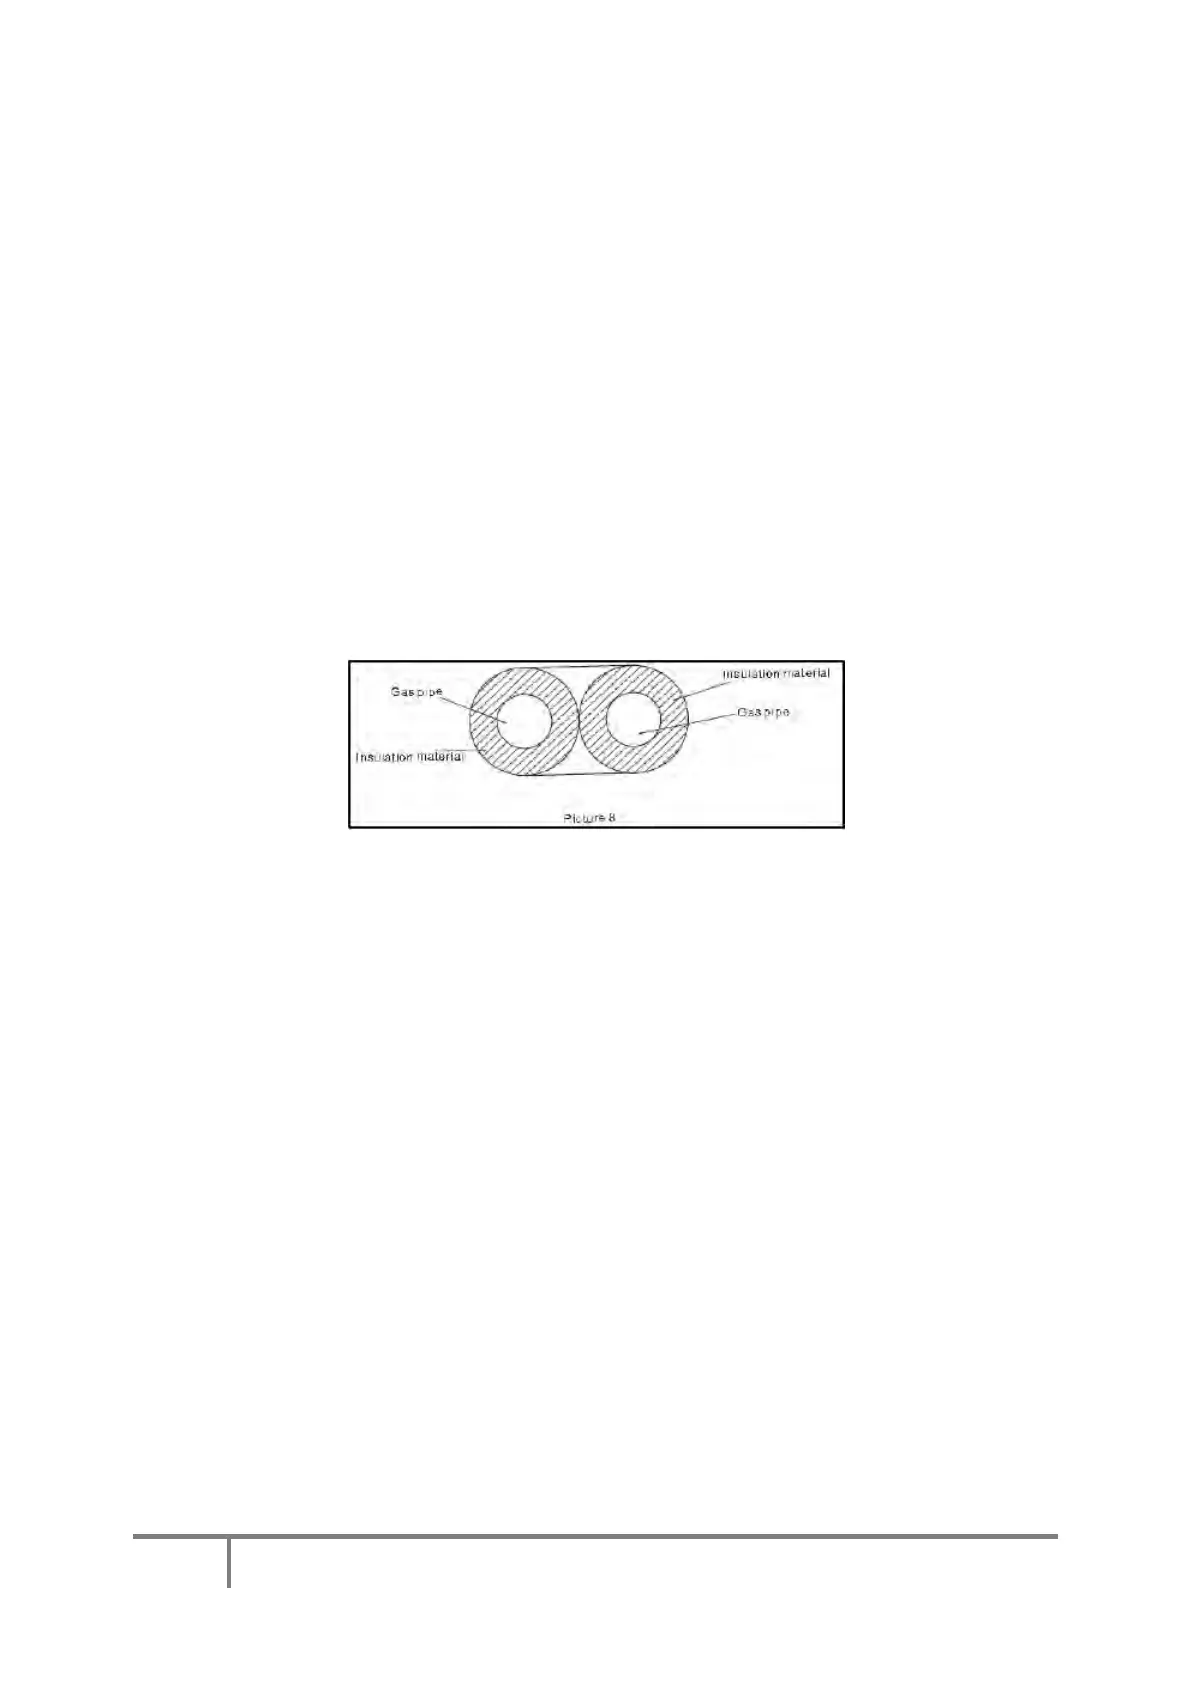
7.4 Insulation treatment:
As per the below picture, you must insulate all connecting pipes and you must use high quality, non flammable,
PVC insulating material, of 15mm-20mm thickness.
a) To keep the pipes in a tidy state, you may wrap the pipes together after being separately insulated.
b) Under no circumstances should you let electric wires come into contact with the plumbing.
7.5 Wiring:
All electrical wiring MUST be carried out by a competent electrician and be in accordance with the latest I.E.E.
Wiring Regulations. The wiring block diagram is set out below in diagram 14 and is the same for both 200L
and 300L units. Please see Appendix 1 for the layout of the PCBs.