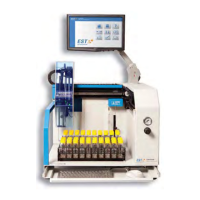
Figure 4mm: Vial 10 Calibration Screen
18. The F/R axis is the only axis that needs adjustment for the Vial 10 position. (Note:
If there are adjustments made to the L/R axis, they will not be saved.) If this axis
needs adjustment refer to step 10. When the position is calibrated, <click> Update
Calibration.
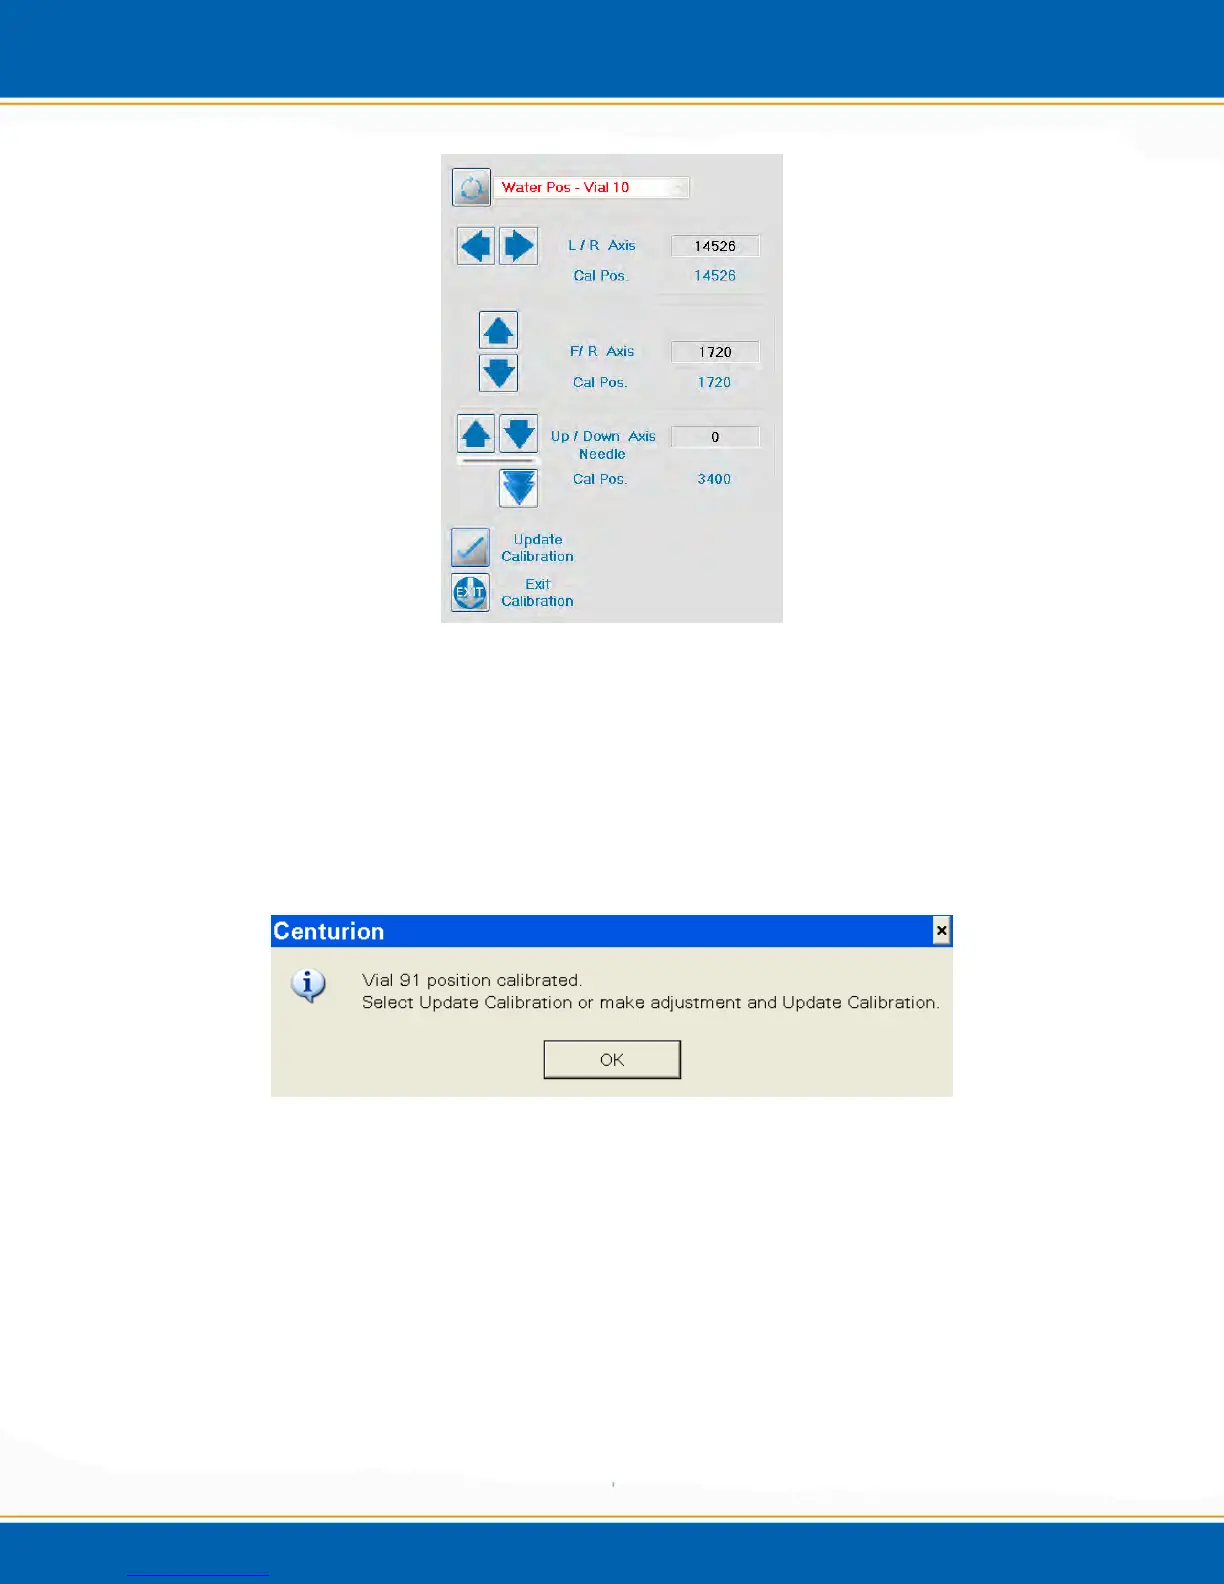
19. After Vial 10 position is updated, the calibration routine will take you to vial position
91 to be calibrated. See Figure 4nn.
Figure 4nn: Vial 91 Calibration Pop-up
20. <click> OK and the needle position over Vial 91 can be calibrated, see Figure 4oo.