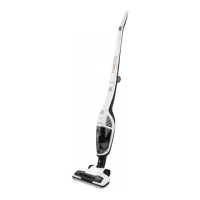
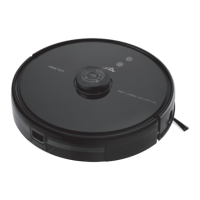
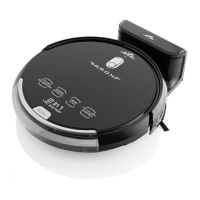
For trouble-free operation of the vacuum cleaner, please use the
tested micro-filters recommended by the producer.
II. EQUIPMENT AND ACCESSORIES
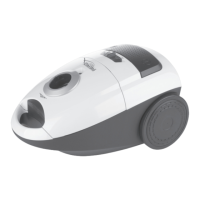
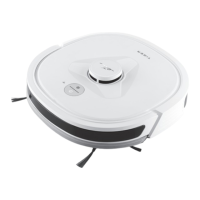
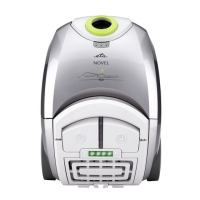
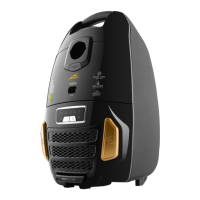
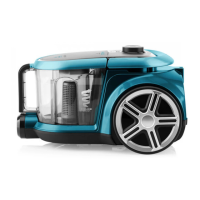
A – vacuum cleaner (Fig. 1, 2, 3)
A1 – ON/OFF ( ) button
A2 – power cord winding button
A3 – knob for suction power regulation
A4 – suction vent
A5 – handle
A6 – container lock button
A7 –
depression for attachment of accessories
A8 – power cord
A9 – rear wheels
A10 – exhaust grid
A11 – output HEPA filter
B – dust container (Fig. 4)
B1 – holder
B2 – cover lock button
B3 – cover
B4 – suction filter 1
B5 – suction filter 2
B6 – separator
B7 – foam micro-filter
C – accessories (Fig. 1)
C1 – floor nozzle (2 vacuum cleaning
modes)
C2 – small turbo brush
C3 – parquet nozzle
C4 – nozzle for vacuuming of animal hair
C5 – upholstery nozzle
C6 – brush
C7 – crevice nozzle
C8 – long crevice nozzle
C9 – suction hose
C10 – telescopic suction tube
C11 – telescopic suction tube locking
C12 – mechanical suction power regulator
III. VACUUM CLEANER PREPARATION
Remove all packing material, take out the vacuum cleaner and the accessories.
Remove all possible adhesion foils, stick-on labels or paper from the appliance.
VACUUM CLEANER ASSEMBLY
When assembling the vacuum cleaner, follow the procedure indicated in Fig. 1.
Choose appropriate accessories as required (C1 - C8) (Fig. 5). The telescopic suction tube
C10 can be set to an optimum length to suit the user´s height.
IV. USE OF VACUUM CLEANER
Before use, unwind (by pulling) the power cable A8 from the vacuum cleaner to a required
length and plug the vacuum cleaner to the mains.
CONTROL
A1 button -
vacuum cleaner ON/OFF switch
A2 button -
when pressed and held, the unwound part of the power cable rewinds
back inside
Knob A3 -
by turning it to the right, you increase the suction power
-
by turning it to the left, you reduce the suction power
20
GB
/ 39


 To Next Page