ETC Service Note
Congo™ jr Encoder Replacement
Congo™ jr Encoder Replacement Page 17 Electronic Theatre Controls, Inc.
Step 19: Replace encoders as needed on PCB or replace the whole board.
NOTE: Pins on this board are soldered, not socketed. You will need to de-
solder each of the 16 pins. DO NOT THROW THESE PINS AWAY. You will need
to re-solder the pins once the encoder/board has been replaced.
Step 20: Once the encoder/board has been replaced, re-solder the 16 pins on the left side of
this board. Re-attach all 10 screws of the encoder board to the appropriate stand off.
NOTE: The stand offs used on this board are plastic. DO NOT OVER TIGHTEN;
doing so will strip the standoff. Attach these screws with a manual screw
driver only.
Step 21: Replace the LCD Screen and attach all 8 of the screws on either side of the LCD
Jumper Board.
Step 22: Place the LCD Pressure plate back over the LCD Screen and attach the 8 short
screws back into their respective standoff.
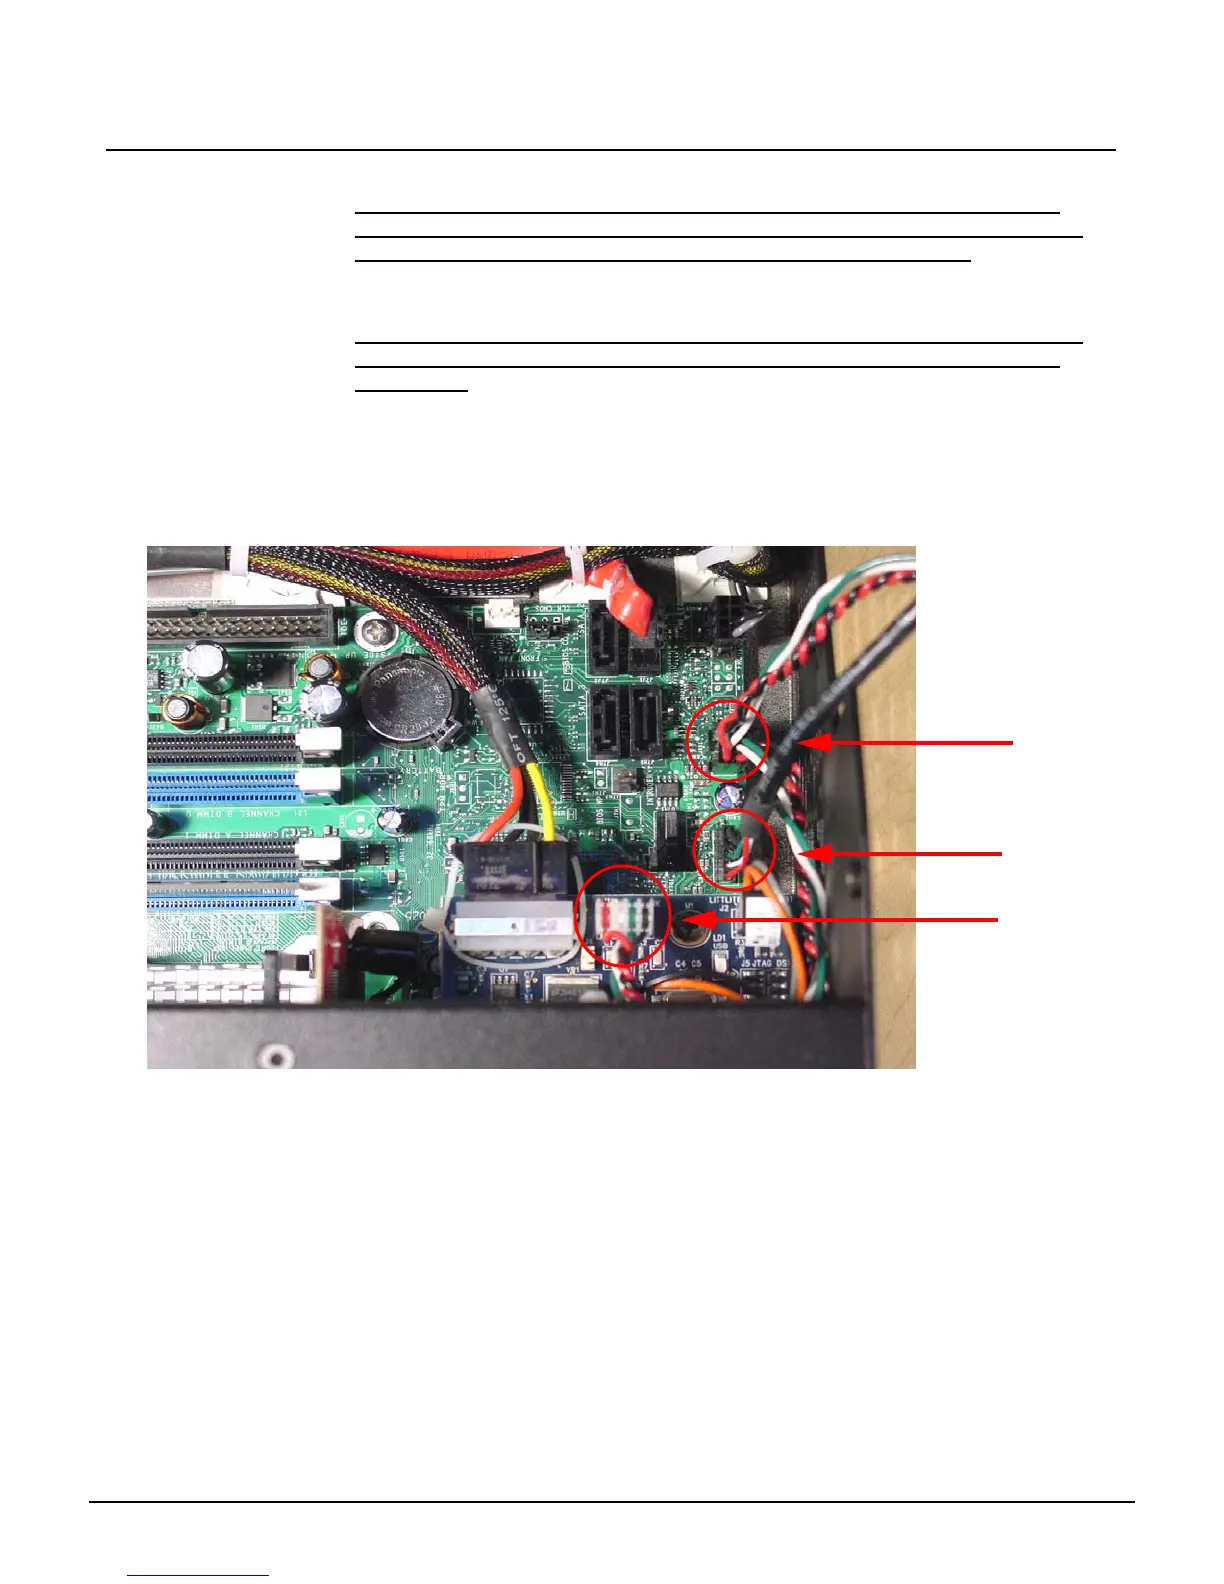
Step 23: Re-attach the USB Connectors to the motherboard.
FP USB 1
FP USB 2
J1- USB Uplink