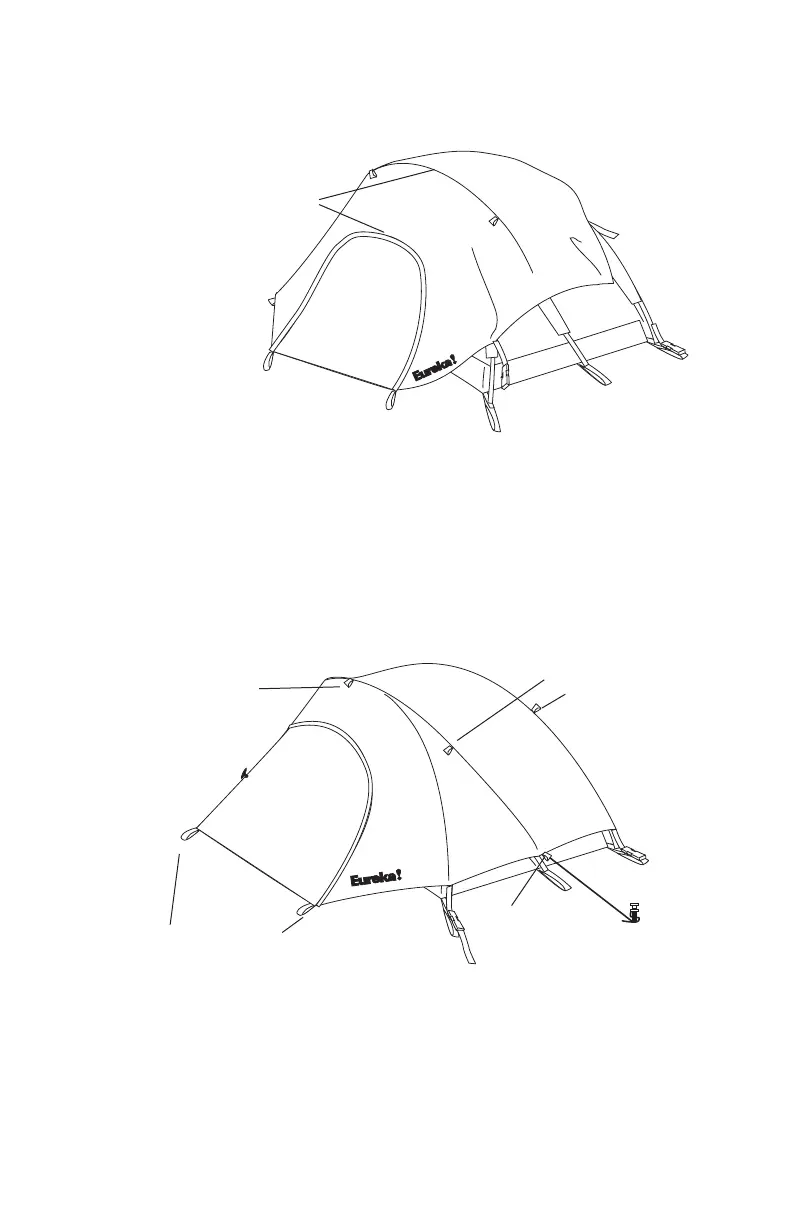
10' pull out cord
ties to rain y
here
10' pull out cords
tie to rain y here
Stake vestibule here
Tie 5' pull out cord
to rain y here
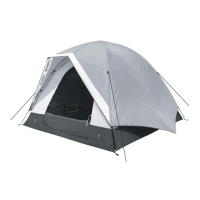
6. Move the tent into position and stake down the tent body at the
corners and at the side stake loops E and F.
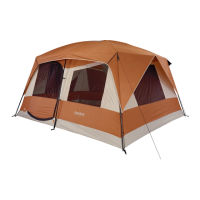
7. Choose the color and drape the reversible rain y over the tent.
Arrange the y so that the
arc of the door aligns with
the arc of the third pole.
NOTE:
Always stake your tent down - placing objects inside the tent is not
adequate. Use the 10' pull out cords for added stability in high winds. Tie
the cords to the loops on the rain y and stake them down 3-4 feet from the
tent. The cords should be taut, but they should not warp the poles or distort
the shape of the tent.
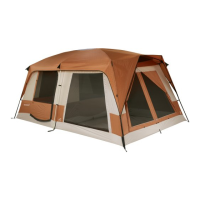
8. There are seven Velcro® wraps on the underside of the rain y.
Wrap these around the tent poles to secure the y.
9. Fasten the buckles at the corners of the y to their mates at the
corners of the tent.
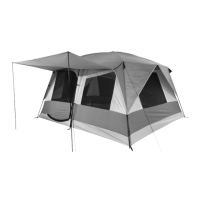
10. Stake down the vestibules. Attach the 5' pull out cords to the
loops at the sides of the y and stake them down.
11. Adjust the tension on the rain y at the corner buckles until the
y is taut and secure. Adjust 5' pull out cord if needed.