-fuse or internal relay damaged
- Locked or damaged electrobrake
works CORRECTLY upon ignition and that the
battery cables and motor cables are connected
correctly.
If the problem persists, replace the traction
board.
- Check the correct functioning and the
absorptions (absorption 0.9 – 1.1 A; resistance
22 - 25Ω)
- 9 FLASHES: under voltage
Battery voltage less than 19V.
- 10 FLASHES: overvoltage
Battery voltage exceeds 45V.
- 11 FLASHES:
- Amperometric protection
- Locked or damaged electrobrake
- Operation above the maximum rated current.
- Check the correct functioning and the
absorptions (absorption 0.9 – 1.1 A; resistance
22 - 25Ω)
- 13 FLASHES: incorrect power supply
Attention! If 13 flashes appear, the operator
should first ensure that at least 3-4 seconds
have passed between turning off the machine
(key in position 0) and turning on the
machine (key in position 1). This is the time
required for the traction electronic card to
activate. Otherwise 13 flashes are generated.
Check the cables.
- 14 FLASHES: data reading failed
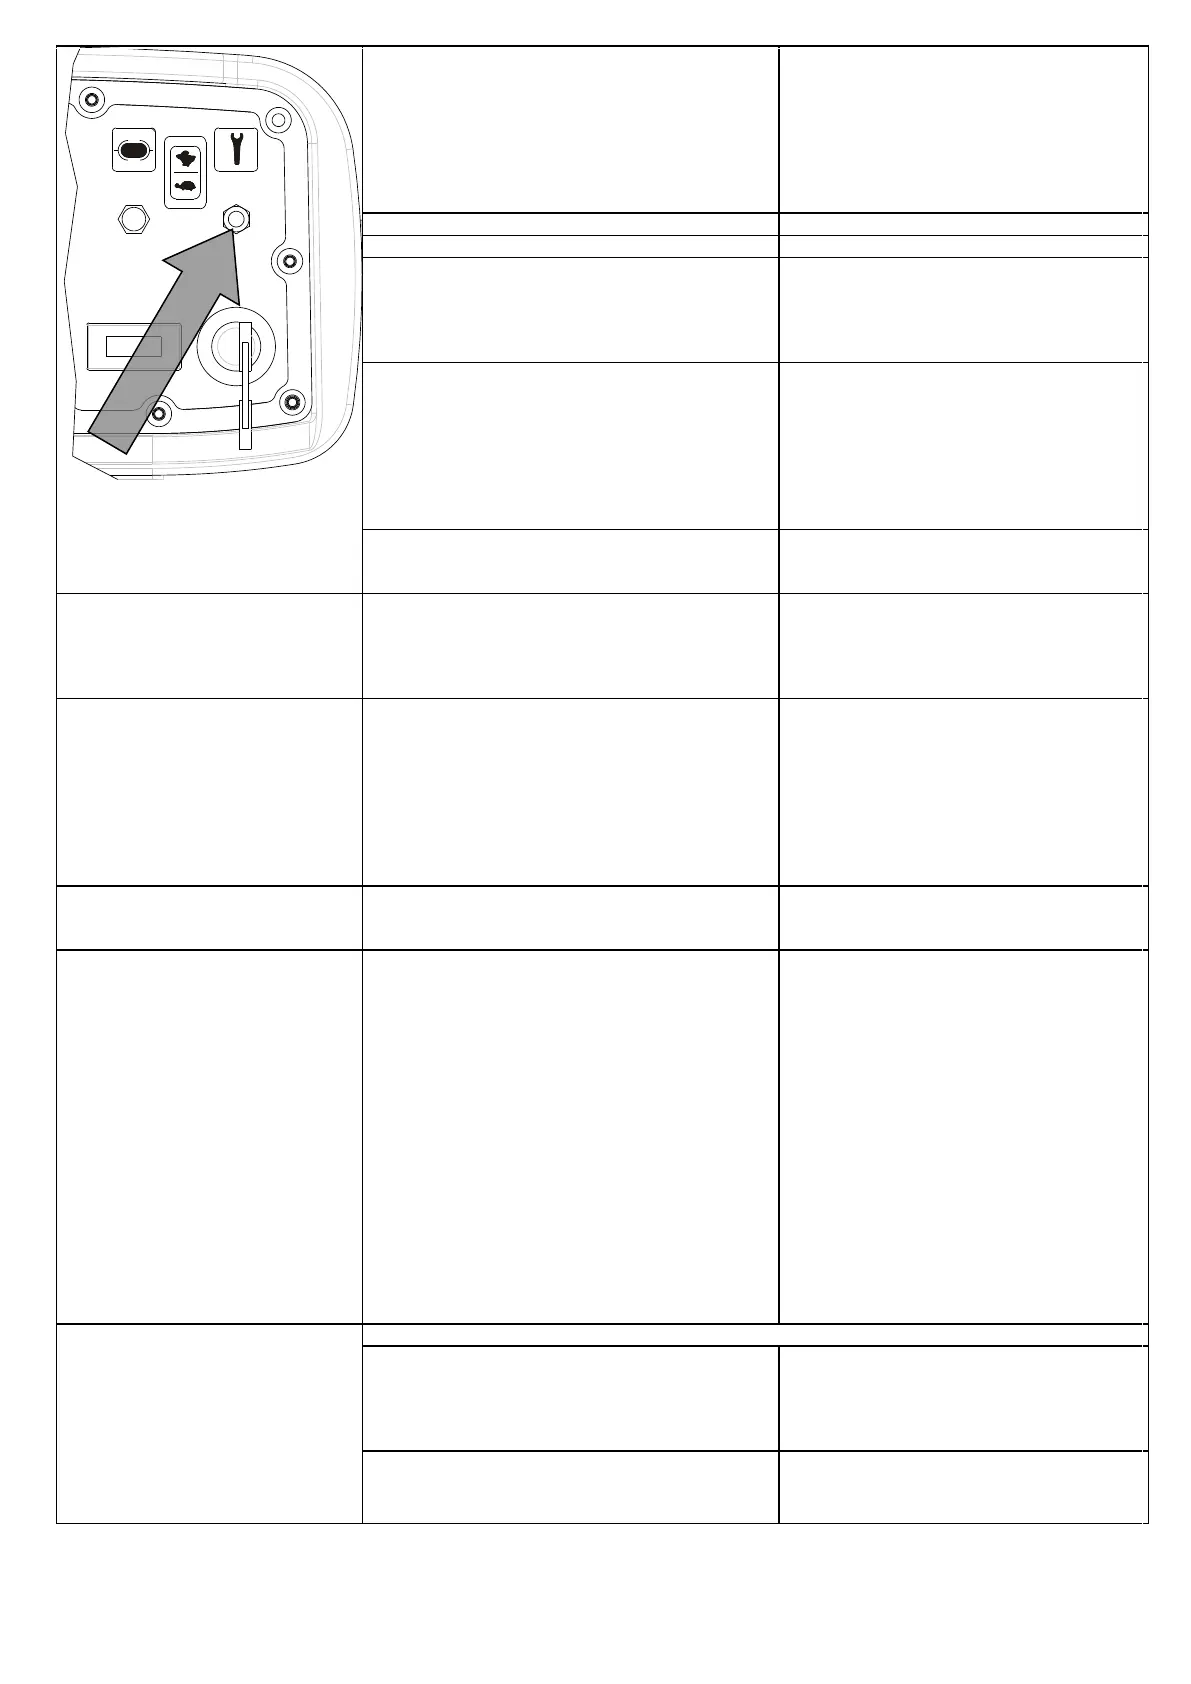
Remove the key and put the service switch in O
position
If necessary, replace the traction board
Little or no detergent solution flow on
the brush
27. Closed valve
28. Faulty detergent solution solenoid valve
29. Detergent solution filter clogged
30. The solution duct going from the tank to the brush
is clogged.
Open the valve
Replace the solenoid valve
Clean the filter
Make sure that there is no encrustation
The vacuum motor does not work
31. Faulty vacuum motor switch
32. Recovery tank full, floater engaged
33. Faulty floater
34. Low Battery
35. Faulty 30A vacuum motor fuse
36. Unplugged vacuum motor
37. Faulty vacuum motor
38. Vacuum motor carbon contacts worn out
39. Faulty remote switch
Replace the switch
Empty the tank
Replace the floater
Recharge the battery
Replace the fuse
Check the motor wiring
Replace the vacuum motor
Replace the contacts
Replace the remote switch
When you start the vacuum motor, it
works for 6/7 seconds, then it stops
40. Faulty floater
41. Dirty or blocked floater
42. Recovery tank full, floater engaged
Clean the floater
Replace the floater
Empty the tank
Poor suction on the squeegee
43. The recovery tank is full
44. Cap on the drain pipe of the tank is open
45. The vacuum pipe is not connected properly
46. Suction duct clogged
47. Damaged suction pipe
48. Dirty squeegee
49. Incorrect squeegee adjustment
50. Matter trapped on the squeegee’s blades
51. Worn or broken squeegee blades
52. Tank cover open or closed incorrectly
53. Damaged cover gasket
54. Damaged or faulty vacuum motor
55. Low Battery
56. Filter inspection cap not present or tightened
incorrectly
57. Damaged gasket on the vacuum filter inspection
cap
58. Vacuum filter clogged
Empty the tank
Tighten the cap correctly
Make sure it is mounted correctly
Clean the suction pipe
Replace the pipe
Clean the squeegee
Adjust the inclination and the pressure
Clean the blades
Rotate the squeegee blades or replace them
Close or check the cover
Replace the gasket
Replace or check the motor
Recharge the battery
Position and tighten the cap correctly
Check the gasket and replace it if necessary
Clean the filter
Battery charger flashing troubleshooting
56. Flashing troubleshooting:
- STOP AND CHARGE LED FLASHING:
Overheating
-------------------------------------------------------------------
Battery defective or wrong voltage
- Make sure that the hood is open during
charging and that the vents are not obstructed
-----------------------------------------------------------
- Check voltage and battery status
- STOP AND CHARGE LEDS TURNED ON FIXED:
Charger failure