10
GB
11
GB
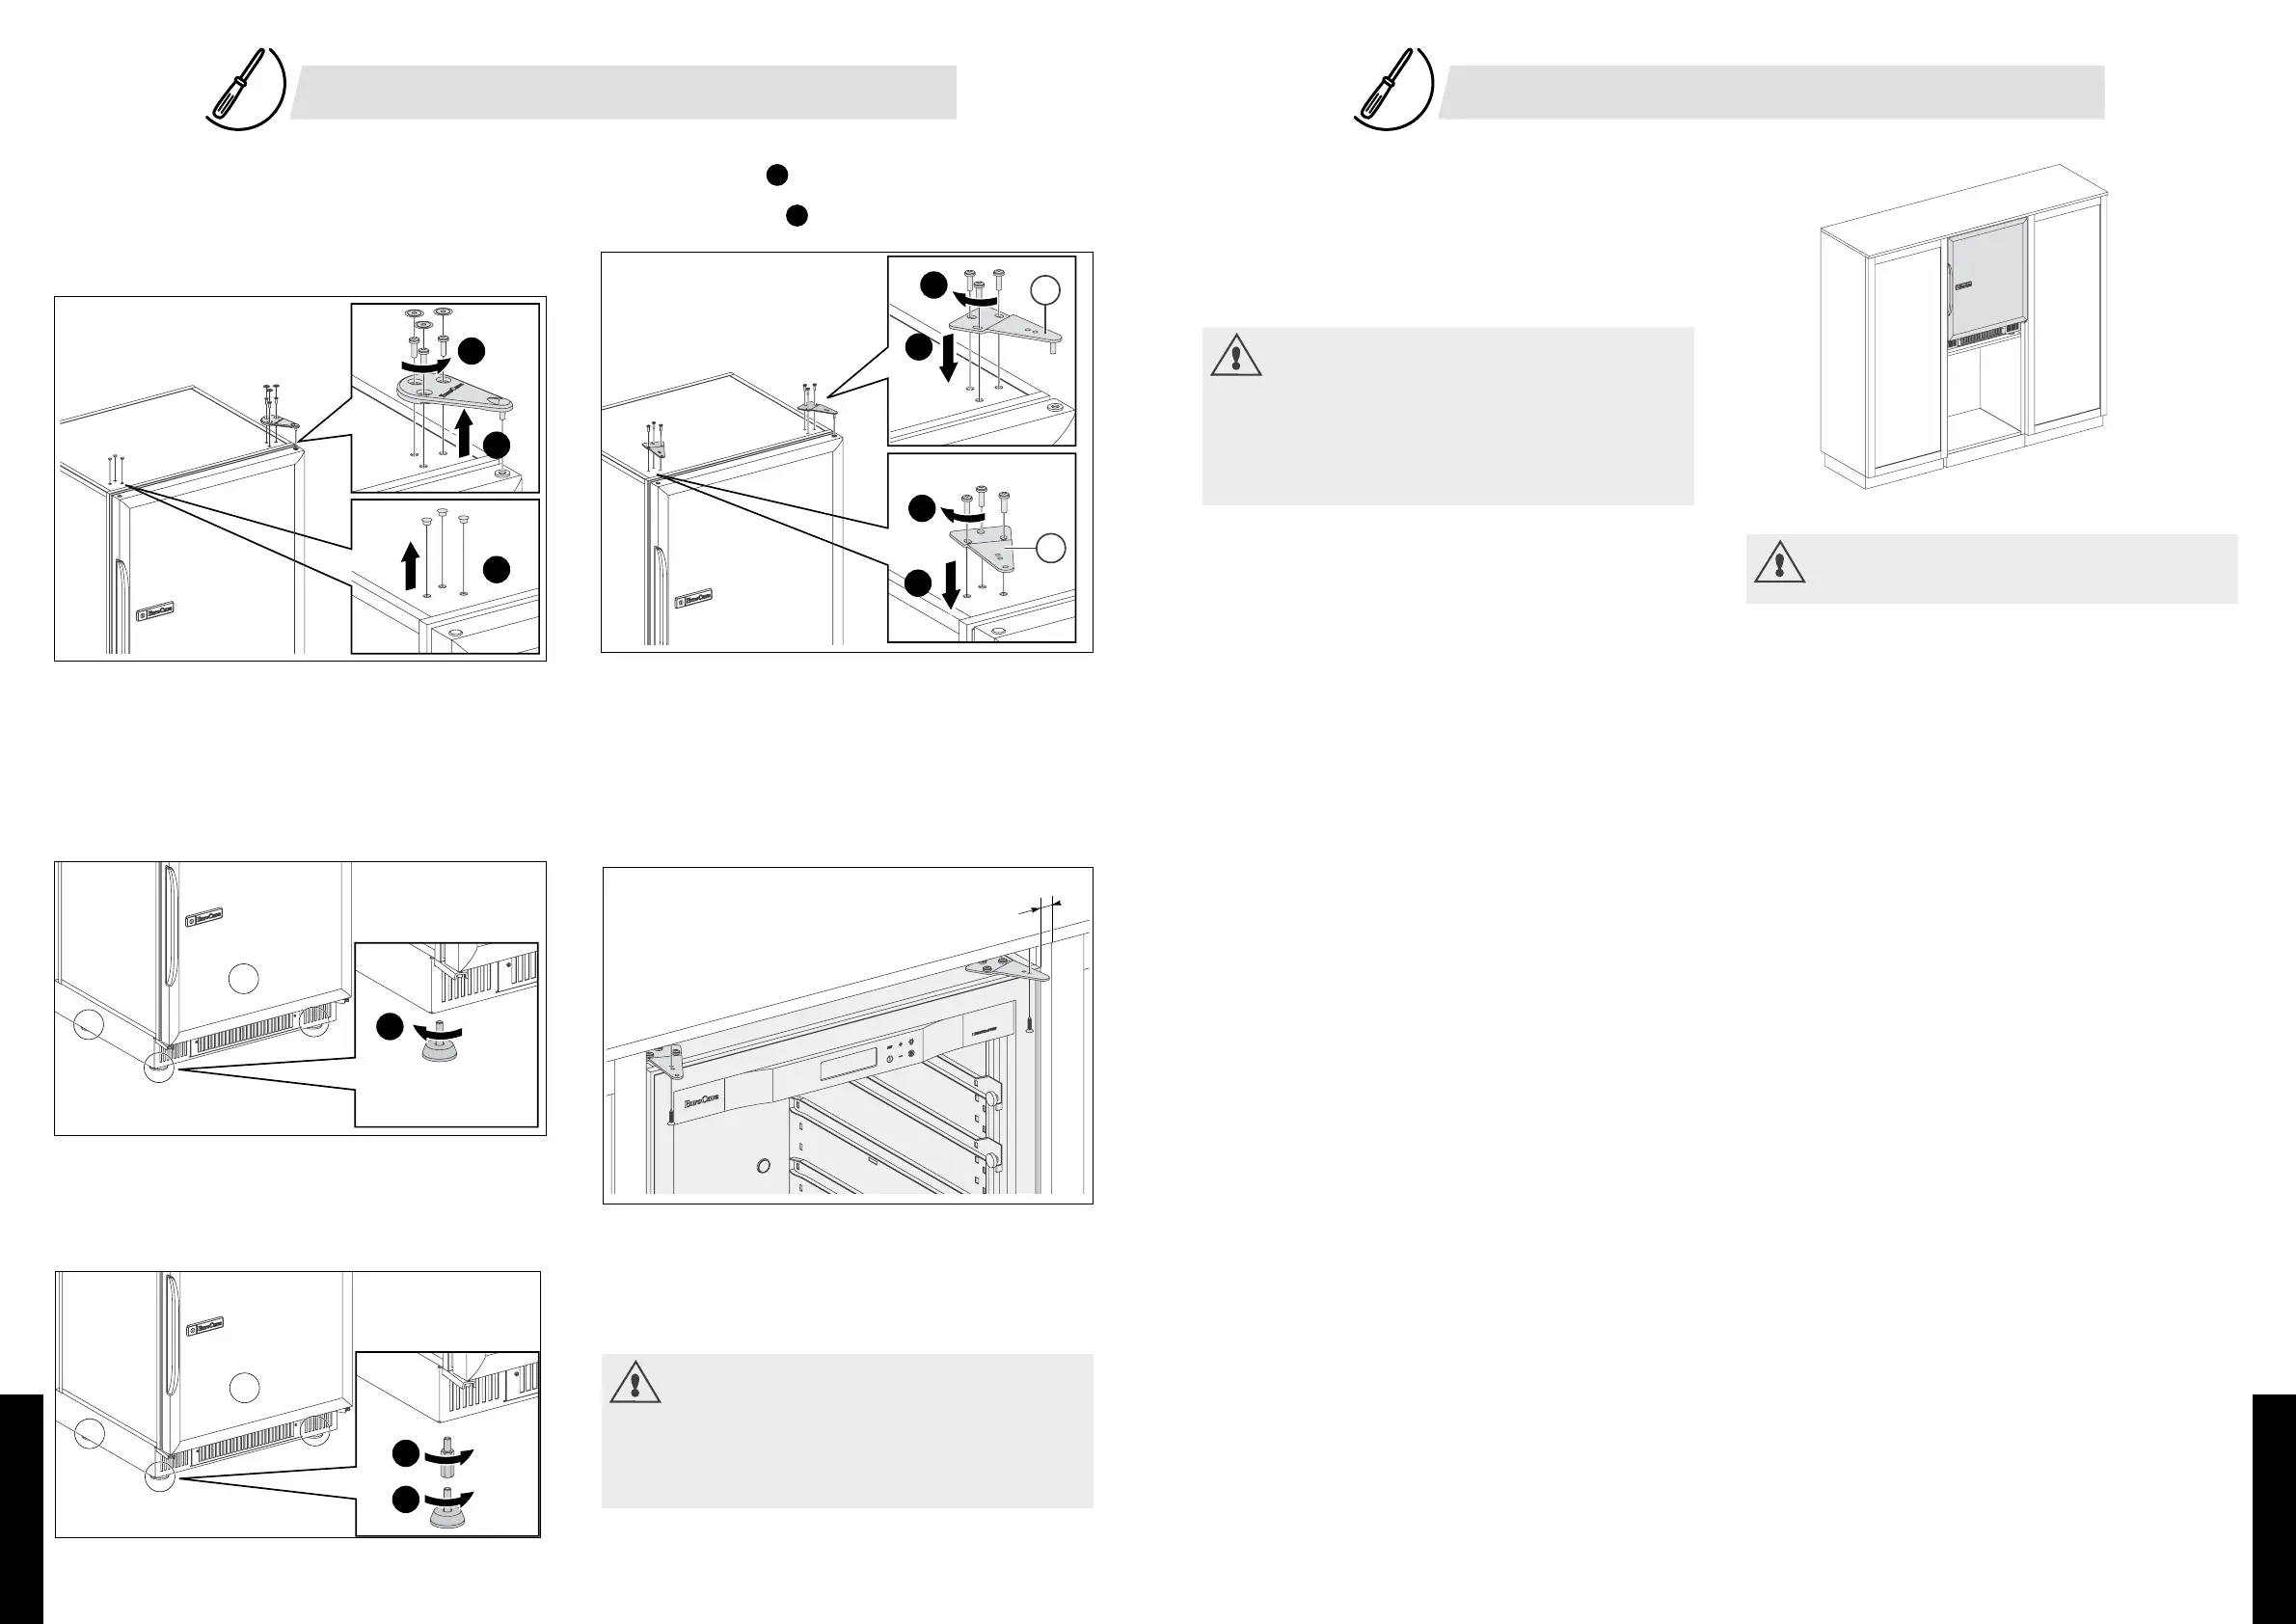
Changing the hinges
1 Loosen the three screws using the Torx “T25” tool.
2 Remove the upper hinge.
3 Remove the grommets gently using a fine blade.
Precautions: If you lift off the glass door of the cabinet, never place it
on its edges which may cause it to break.
Precautions: When closing the door, check that the seal adheres
correctly to the cabinet so that it is airtight.
• Fit the hinge with pin
B
using the screws so that the door is parallel
to the cabinet.
• Fit the hinge without pin
A
with the screws.
1
2
3
7
6
4
5
A
B
The mains power socket must be accessible after installation of
the unit.
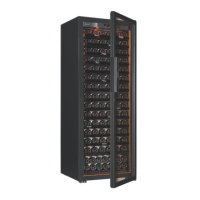
For medium and large models, it is essential to secure the
cabinet to the wall to prevent it from tipping forward. Have
your cabinet checked by a professional to confirm that it is fixed
to the furniture and that the furniture is fixed to the wall.
Attachment of a furniture door with a technical door
• Position the cabinet level under the work surface or in the furniture.
• Open the cabinet door 90°.
• Fix the facing of the kitchen furniture to the cabinet door (8 screws
supplied).
• Check that the seal is airtight.
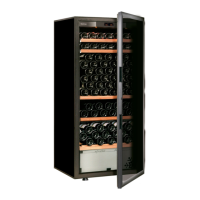
Installing a cabinet within a high level kitchen unit
For safety reasons, we do not advise installing the wine cabinet
in a kitchen unit.
If this is the case, check with a furniture specialist that the unit
supporting the equipment and the surrounding furniture can
support the weight of the cabinet when filled with full bottles,
or 200 kg. Have its stability checked by this specialist when
opening the door and removing shelves loaded with full bottles.
3 min.
• If necessary, use the hexagonalpillars that you will find in the
"accessories" bag.
• Tilt the unit forward, taking care to keepthe door closed.
• Unscrew the rear feet and install the pillars, using a 17 mm flat spanner.
• Screw the 2 rear feet back onto the pillars.
Adjusting the mounting feet and attachment (only when
the cabinet is empty)
• The 4 feet of the wine cabinet are adjustable in height so that the height
below the work surface orin the unit can be adjusted, and to align the
door with adjacent furniture.
1
2
3
• Repeat these operations for the 2 front feet, taking good care to tilt the
unit backwards.
Never obstruct the front ventilation grille which would impair the
operation of the wine cabinet
• Use the correct screws to secure the wine cabinet under the work
surface or in the unit through the holes provided in the hinges.
Precautions: on the side of the axis of rotation of the door,positionthe
latter a minimum of 3 mm from adjacent furniture.
4/ INSTALLING YOUR WINE CABINET 4/ INSTALLING YOUR WINE CABINET
The weight of the facing must not exceed 15Kg.