15
1. Secure child restraint to the vehicle seat.
aLocking clip is installed, if necessary (p. 37).
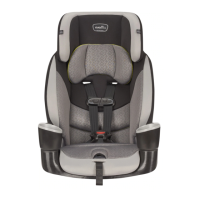
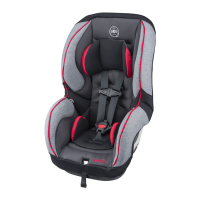
aChild restraint is securely installed with LATCH
system (shown at left) through belt path (p. 16)
OR
Child restraint is securely installed with vehicle
seat belt through belt path (p. 19)
aTether strap is attached and tightened (p. 18/21).
2. Place the child in the child restraint.
aThe child’s back and bottom are flat against the
back and bottom surfaces of the child restraint.
aThe tops of the child’s ears MUST be at, or below,
the top of the child restraint headrest.
3. Make necessary adjustments.
aHarness is no more than two-finger widths
from child (p. 23).
aCrotch strap is properly positioned (p. 27).
4.
Fasten both buckle tongues. Refer to page 22.
5. Position and connect chest clip.
aChest clip MUST be at armpit level (p. 23).
6. Check your work.
aTo properly protect the child, the child restraint
MUST NOT move more than 25 mm (1 inch)
from side-to-side or from front-to-back at the
belt path.
To make installation easier, watch the installation
video of this child restraint at www.evenflo.com.
Tip!
Tip!
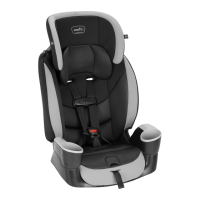
Using with the 5-pt Harness
Installation Checklist