Installation
3. Connect pump
to battery
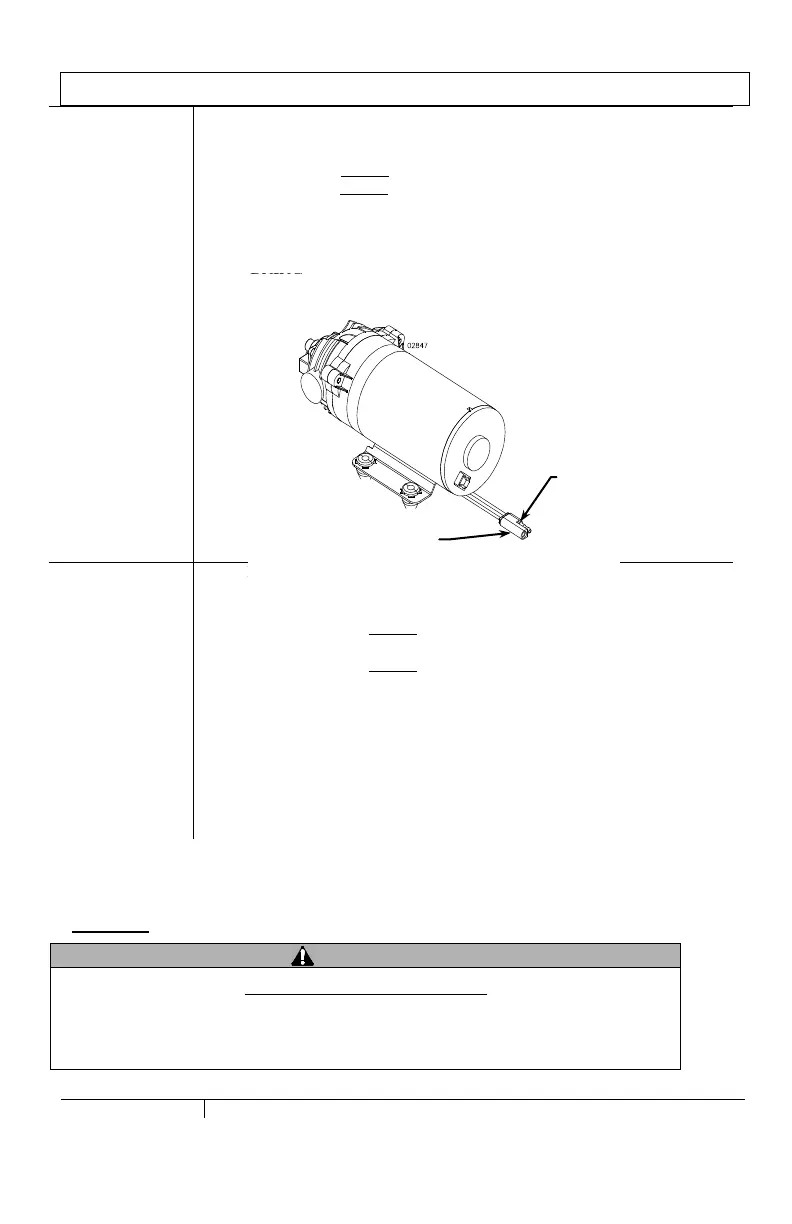
Connect the pump to a vehicle battery using the following procedure:
a) Disconnect the vehicle battery ground wire.
b) Connect the pump’s red wire to the positive (+) terminal of the battery.
c) Connect the pump’s black wire to the negative (-) terminal of the
battery.
d) Reconnect the vehicle battery ground wire.
Note: Skip steps (a) and (d) if battery is not in a vehicle.
WARNING: Always connect in this sequence to avoid possible shock.
AFTER EACH USE, disconnect power to the pump using the following
procedure:
a) Disconnect the vehicle battery ground wire.
b) Disconnect the pump’s black wire from the negative (-) terminal of
the battery.
c) Disconnect the pump’s red wire from the positive (+) terminal of the
battery.
d) Reconnect the vehicle battery ground wire.
Note: Skip steps (a) and (d) if battery is not in a vehicle.
WARNING: Always disconnect in this sequence to avoid possible shock.
NOTE: It is important to disconnect power to the pump when not in use for
safety reasons. ALWAYS verify that the power has been disconnected
before adding chemicals or servicing.
A remote switch is recommended for temporarily shutting off the pump’s operation.
Call EverFlo Product Support at 1-800-864-1649to order EverFlo Item #33-103233.
Step Four: Check and test completed assembly.
Check and test completed assembly
Serious injury could result from chemical leaks if pump is improperly assembled or the design
of the pump is modified.
Follow the steps below to ensure the pump is properly assembled. Never modify the pump
design.
Check assembly to assure the pump is properly assembled and in safe