6
Ver. 0517
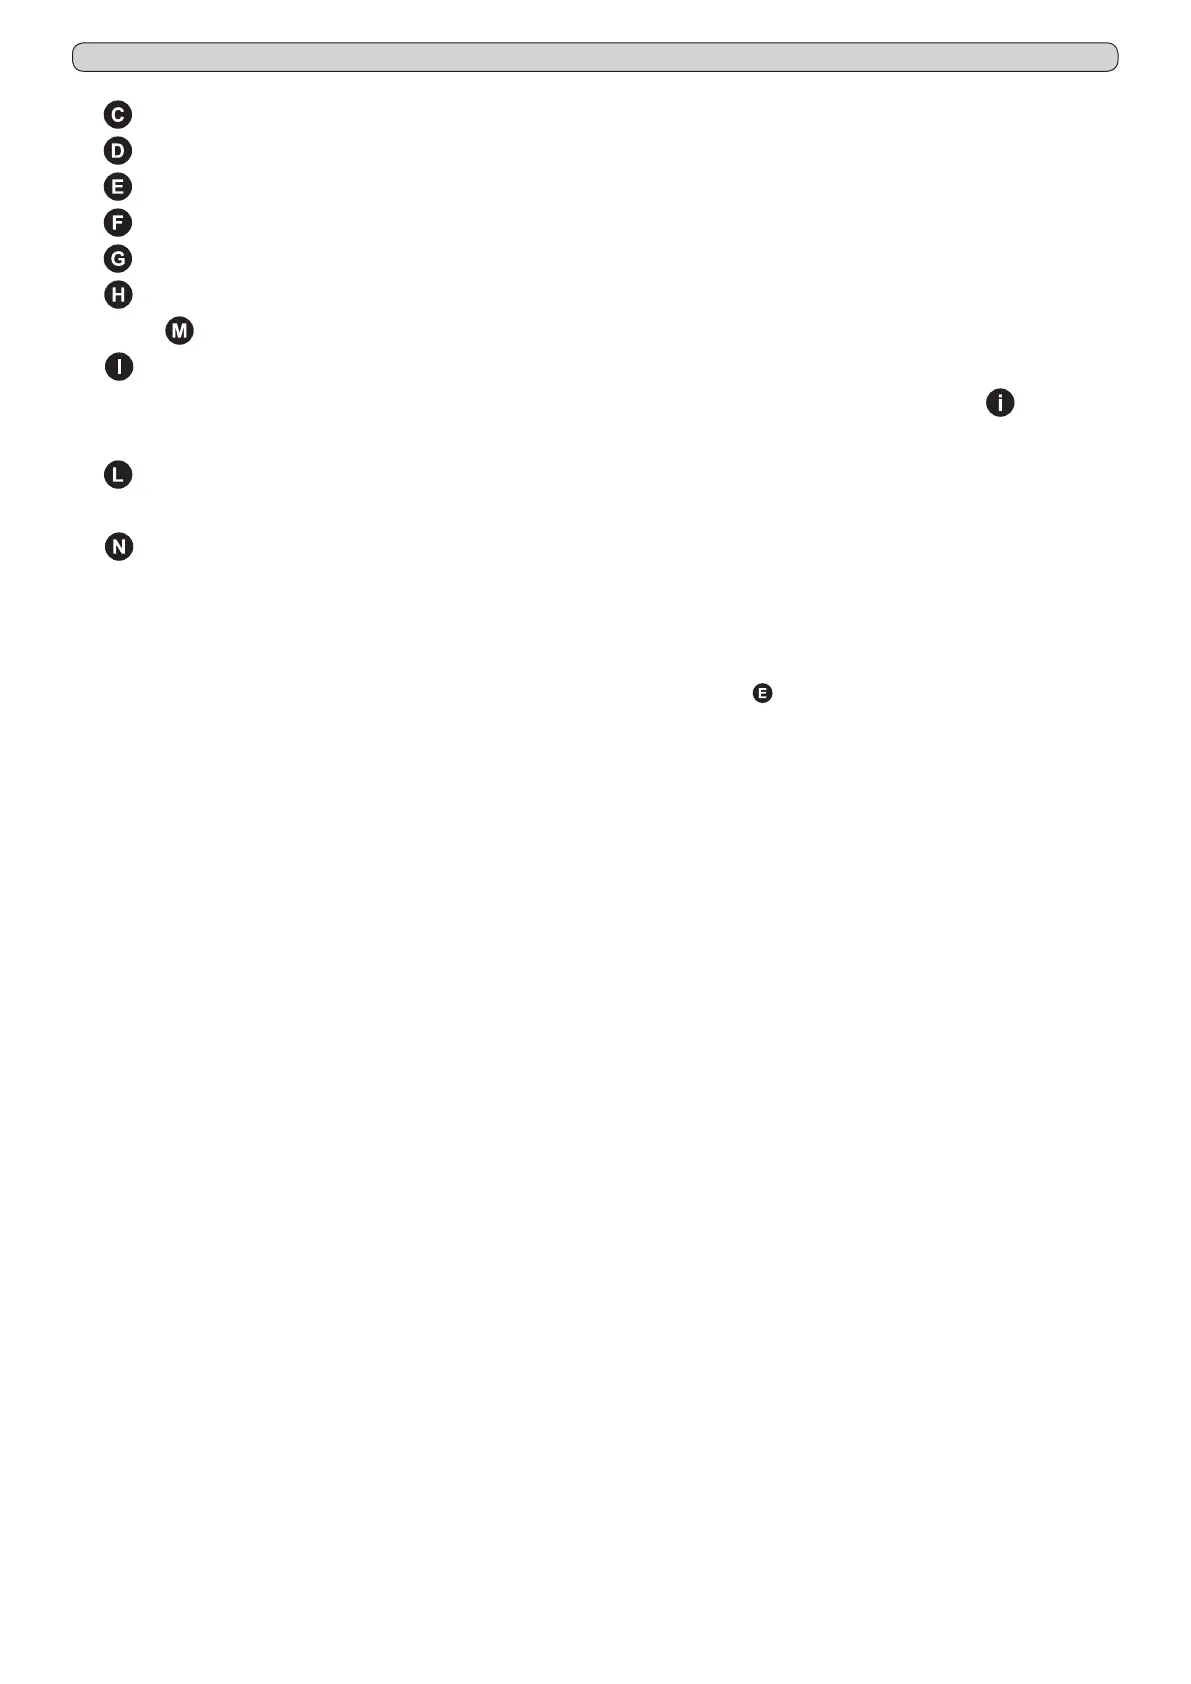
- FAN: lights steadily when the evaporator fan is working
-
BATTERY: shows the actual charging status of the back-up battery or if a e-charging is in progress
-
TOUCH-BUTTONS LOCKING: appears and lights steadily when the touch-buttons are in protection locking mode
-
DATE/TIME: shows the actual date and time
-
BUZZER: lights steadily when acoustic alarm indication has been muted through the touch-button (6)
-
ALARM ALERT: lights steadily when an alarm is in progress. This icon is always accompanied from the relative alarm de-
scription
- INTERNAL LIGHTING: lights steadily when the internal lighting is activated. Pressing the touch-button (7), it is possible
to switch manually the internal lighting ON or OFF. When the internal lighting is not activated, it appears the icon
. The internal
lighting switch also ON automatically at every door opening and switch OFF at the closing.
-
SETTINGS: show the actual appliance settings, set temperature, high and low alarm limits and if present (optionally avail-
able) the actual temperature of the stored product (simulation)
-
ACTUAL TEMPERATURE: shows the actual internal temperature of the appliance. In case the temperature is out of the
allowed limits, the indication of the temperature value pass to red colour
8.1.3 Automatic/manual touch-buttons safety locking protection and unlocking code
The xPRO control panel touch-buttons are provided with a safety locking protection to avoid tampering from unauthorized personnel.
The key locking protection has an automatic activation after 5 minutes from the last operation executed with the touch-buttons. The
key locking condition is signalled on the display, top part, with the icon of the lock-pad (
). To re-enable the use of the touch-buttons,
press any touch-button and enter the unlocking code 0010. To activate manually the touch-buttons safety locking protection, press
the ESC touch-button (11) and the HOME touch-button (10) even if not enlightened.
8.2 OPERATION OF THE xPRO CONTROL PANEL
8.2.1 Start-up
Before starting up the unit check that the electrical connections have been made correctly as indicated in headings 3.3 and 3.4 ”In-
struction and Maintenance Manual”.
Perform preliminary cleaning of the unit as described in sub-heading 5.2.1 “Instruction and Maintenance Manual”.
At the starting, when the xPRO control panel is powered, it will appear a screen-shot with the EVERmed logo for approx. 10 seconds.
Immediately after, the display will show the STAND-BY condition with the date and time with white indications on a black back-ground.
8.2.2 Sequence and ON/OFF code (Fig.10)
- if the appliance is switched OFF, but connected to the electrical network, the display shows the STAND-BY condition with the
date and time with write indications on a black back-ground
- press the ON/OFF touch-button (8) to switch the appliance ON; the display shows the screen-shot to insert the ON/OFF code
- enter the ON/OFF code 0050 through the touch-buttons (3) (6) and (4) (7)
- the touch-buttons (3)ç and (6)è have to be used to select the position where to enter the numerical value indicated from the
cursor that can be moved right and left
- the touch-buttons (4)- and (7)+ have to be used to lower and/or increase the highlighted numerical value
- having inserted the correct code, press the ENTER touch-button (12) to conrm, the appliance switch-on and the access to all
touch-buttons is enabled
At every appliance starting, it will appear the indication “Battery level low” which has to be reset pressing the enlightened touch-but-
ton (6). The battery low level alarm that appear at the starting will not be memorized in the alarms memory as it is not a real alarm,
but it is only the indication of the battery-charger starting.
8.2.3 Stopping the unit (Fig.10)
- deactivate the eventual keyboard touch-buttons locking protection (see par. 8.1.3)
- with control panel on, press the ON/OFF touch-button (8) to switch the appliance OFF
- the display shows the screen-shot to insert the ON/OFF code
- enter the ON/OFF code 0050 through the touch-buttons (3) (6) and (4) (7)
- the touch-buttons (3)ç and (6)è have to be used to select the position where to enter the numerical value indicated from the
cursor that can be moved right and left
- the touch-buttons (4)- and (7)+ have to be used to lower and/or increase the highlighted numerical value
- having inserted the correct code, press the ENTER touch-button (12) to conrm, the appliance switch-off
For further information about codes, see the menu CODE SETTING (par. 8.3.6.8).
8.2.4 Date and time setting (Fig.10)
To set the calendar and clock proceed as follow:
- deactivate the eventual touch-buttons locking protection (see par. 8.1.3)