20
www.evolutionpowertools.com
MAKING A CUT
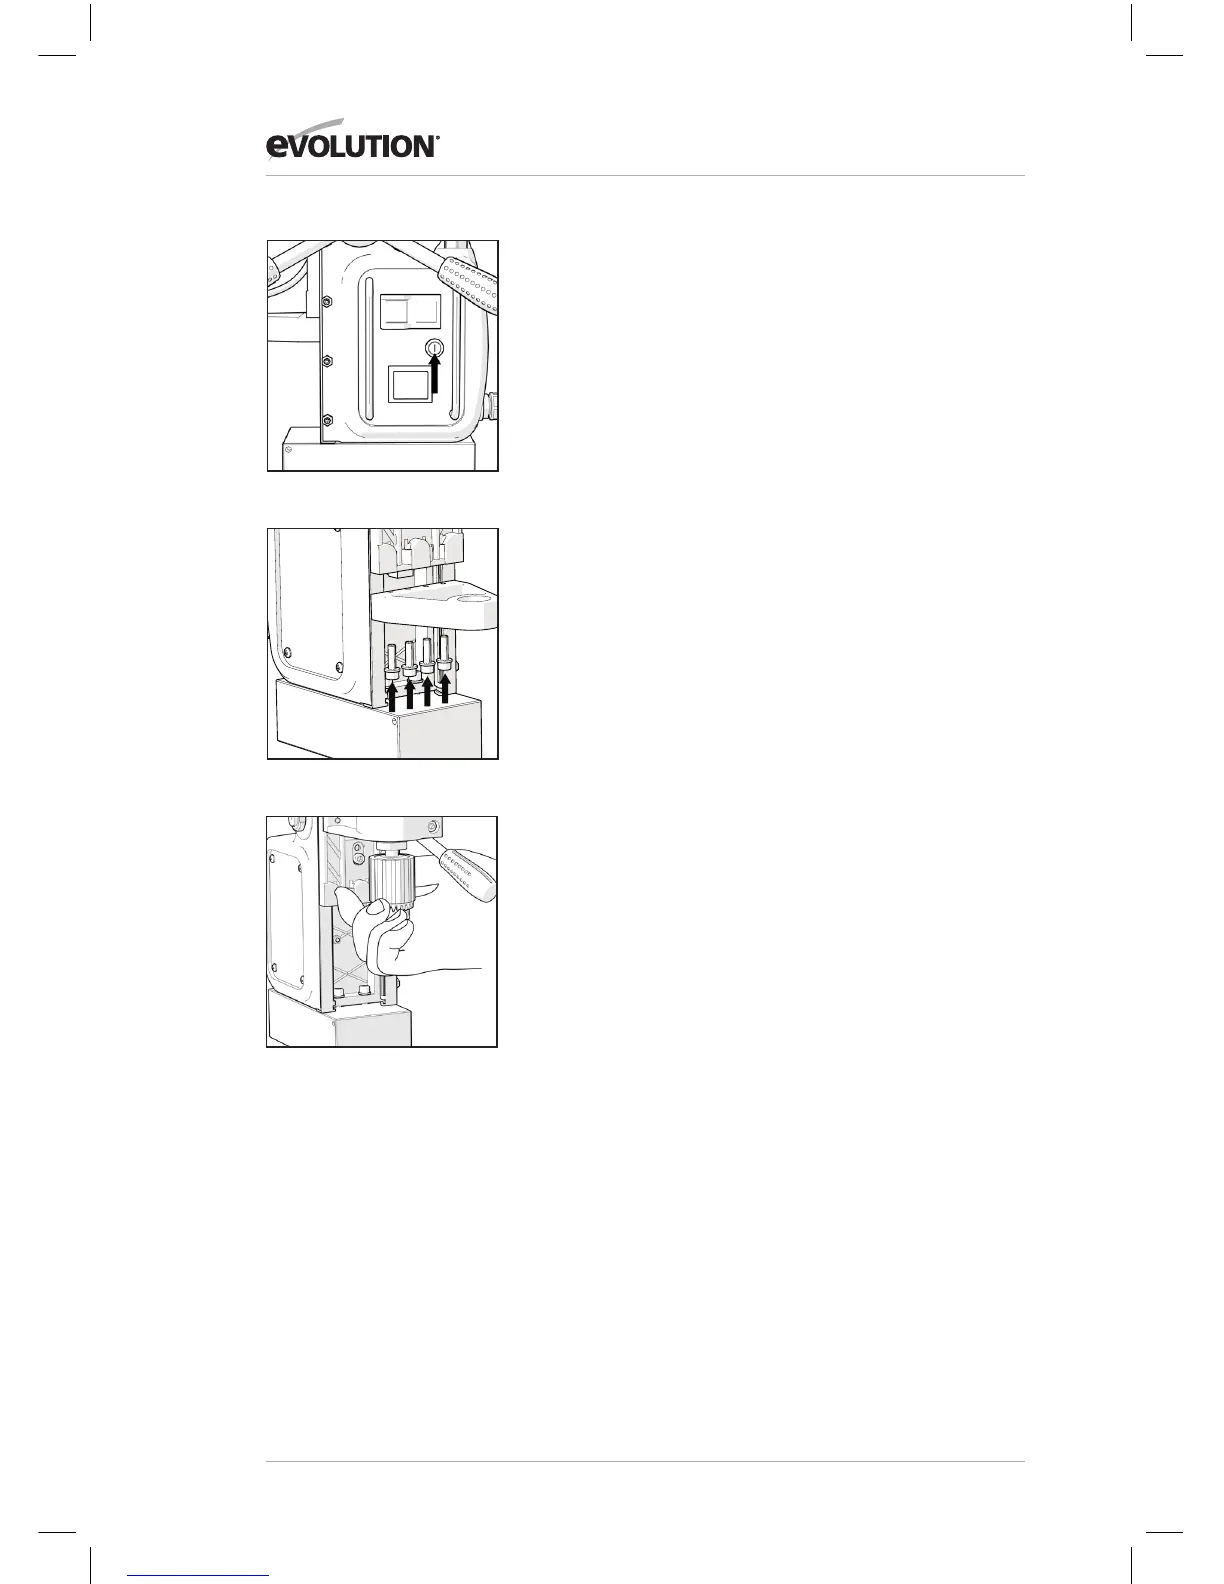
Note: This machine is fitted with a 10 Amp (5 x 20mm) Surge
Fuse (Fig. 7). If the machine fails to operate check the fuse. If it
has blown it must be replaced with an identical type.
• Correctly position the machine on the work piece, with
the electro magnet energised and with the safety strap
secured in place.
• Check for sufficient Coolant/Lubrication fluid flowing at
the cutter.
• Start the motor by pushing the green switch, located in the
machines switch panel.
• Using the feed handles slowly lower the cutting head until
the cutter makes contact with the work piece.
• Continue to apply only sufficient pressure to allow the
cutter to cut freely through the work piece.
• Depending on the thickness of the workpiece periodically
raise the cutter to clear the swarf build up prior to
continuing the cut.
WARNING: On completion of the cut the pilot pin will eject
the material slug. This slug will be very hot with sharp edges.
Use protective gloves if slug requires handling.
If the slug fails to be ejected from the cutter this could be
caused by the slug becoming twisted inside the cutter. To
release the slug lower the cutter onto a flat area of the work
piece, this will square up the slug and allow it to be ejected.
INSTALLING THE 3 JAW CHUCK
The chuck (part HTA 153) can be fitted onto the BORA2800
machines main drive spindle, and this enables the BORA2800
to take standard twist drills up to ø13mm.
WARNING: Ensure that the machine is disconnected from the
mains power supply when installing the 3 jaw chuck.
Note: The arbor of the BORA2800 Drilling System is machined
to perfectly match the main drive spindle of the machine. Both
parts are numbered with a unique code.
• Use a spanner (not supplied) to unscrew the arbor.
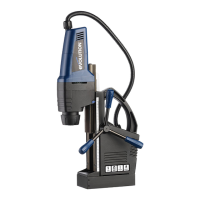
• Remove the arbor support bracket by removing the 4 x M5
socket headed bolts. (Fig. 8)
• Remove the coolant tank.
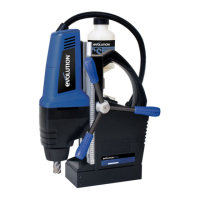
• Screw the chuck onto the main drive spindle. (Fig. 9)
FIG. 7
FIG. 9
FIG. 8
OPERATION