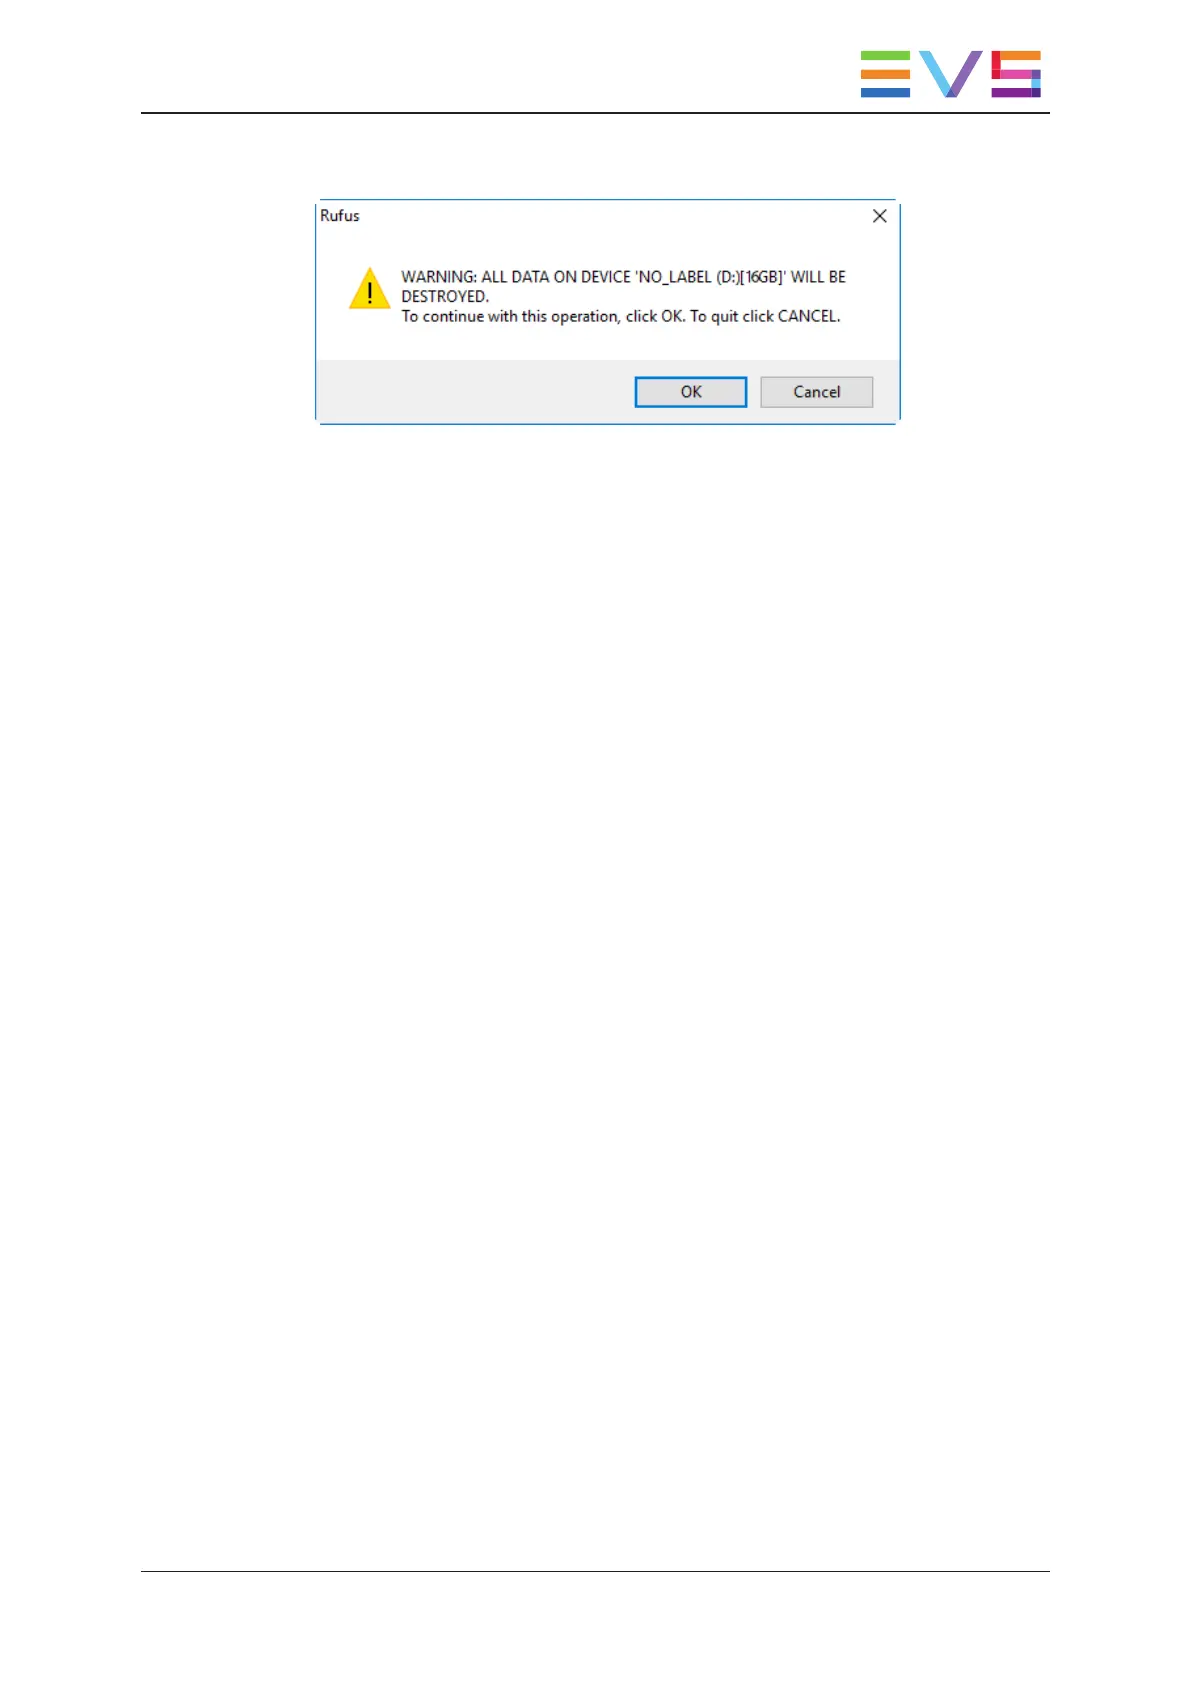
You will be notified that all data already on the USB drive will be overwritten.
8. Click OK to continue.
Wait until the ISOfile has been completely written to the USBkey. This may last 30
minutes depending on the USBkey you are using.
Installing X-One
1. Connect the USB key to the server.
Warning: only this USB key should be connected to the machine.
2. Reboot the server.
3. Press F11 to enter the Boot menu.
4. If you're asked to enter a password: evsdvb.
5. Select your USB key as boot device.
6. From the EVSProduction menu, select the desired installation package and press
ENTER:
◦ X-One Server 1.7 - CentOS 7.5 1804 or
◦ X-One Client 1.7 - CentOS 7.5 1804
7. Wait until you see the message "Installation complete. Please return to quit", then
press ENTER. Do not remove the USB key.
The server will reboot.
8. From the EVSProduction menu, select Start Operating System and press ENTER.
9. Press ENTER when you are prompted to start the operating system again.
10. Enter the serial number of the server and press ENTER.
You can find the serial number at the back of your machine.
INSTALLATION AND CONFIGURATION MANUAL X-One 1.7
3. Installation 3