Copyright © 2011 MAT Industries, LLCM100135 7 - ENG
ASSEMBLY INSTRUCTIONS (CONT.)
• SAVE ALL INSTRUCTIONS
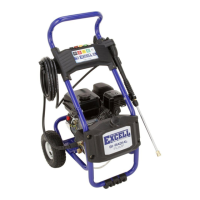
4. Slide handle onto bottom portion of frame assembly.
(Fig. 3)
5. Insert saddle bolts into appropriate hole location and
attach with knobs (both sides). Tighten securely. (Fig. 3)
6. Roll the unit off the carton and discard carton.
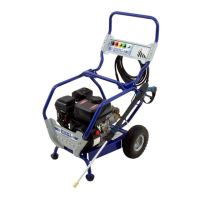
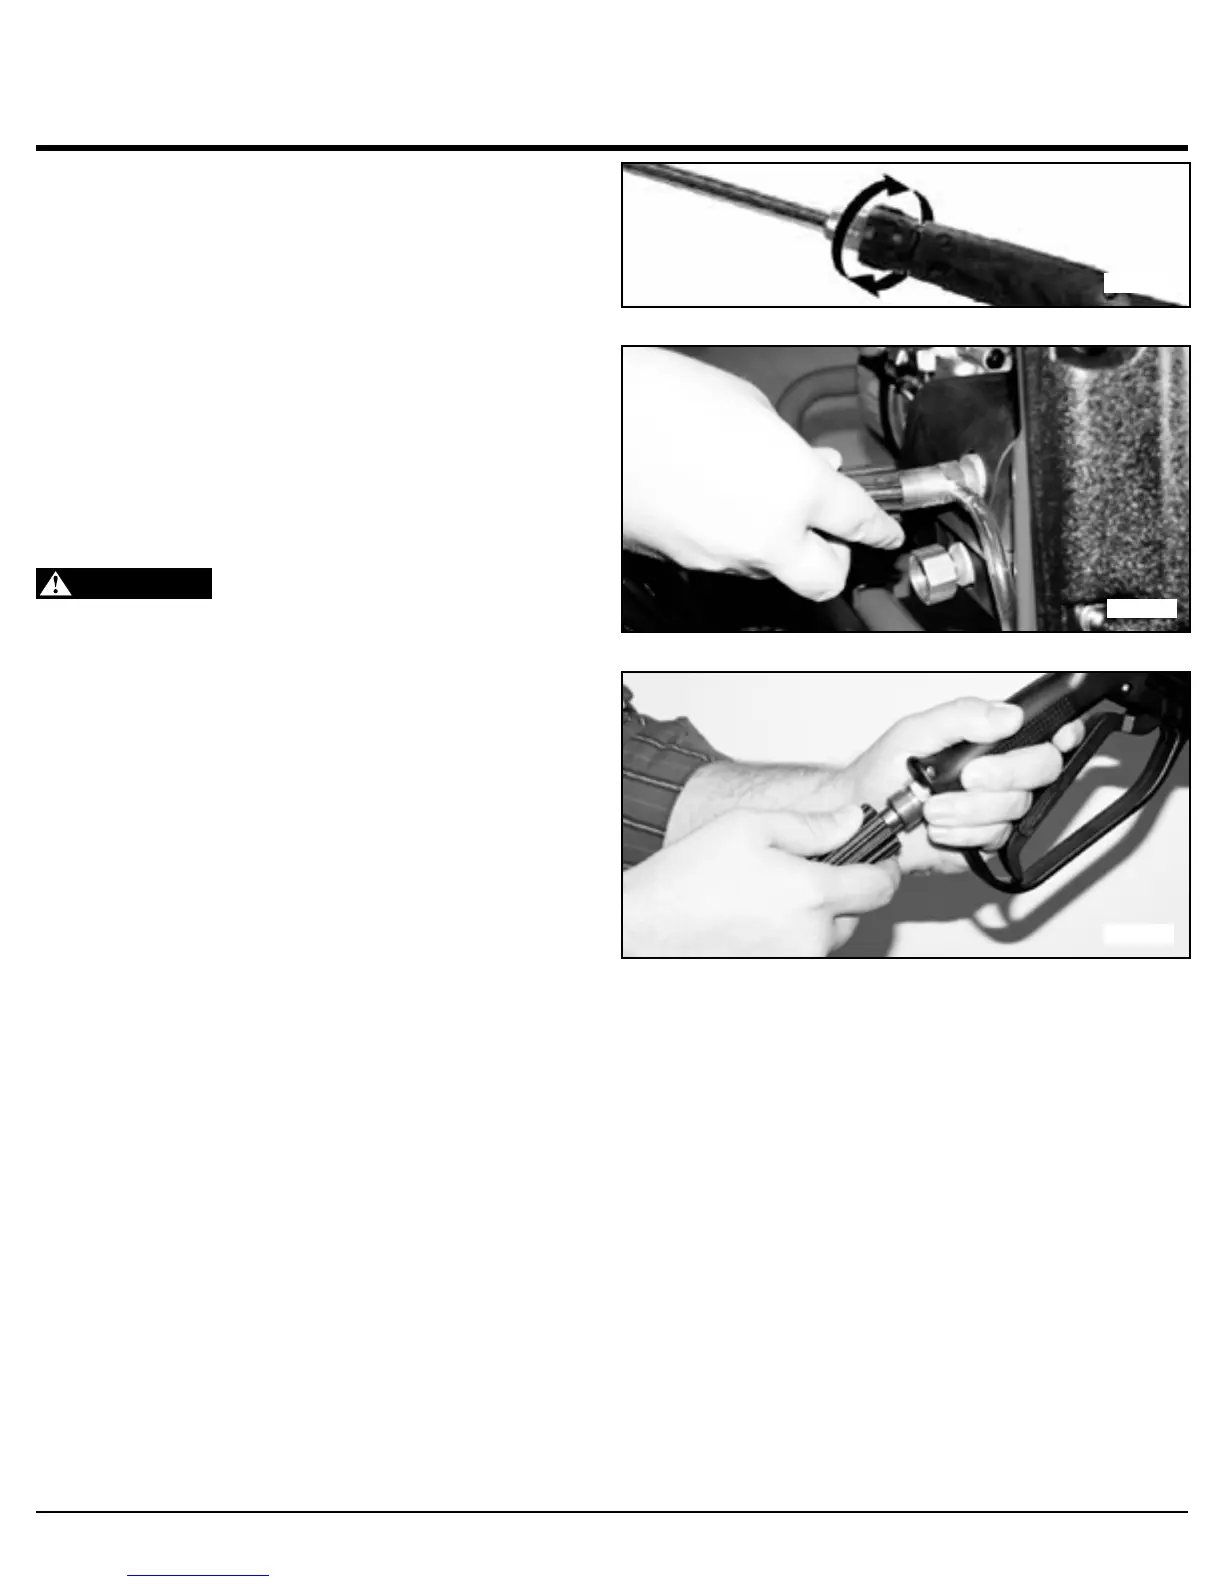
7. Connect high-pressure hose to pump outlet. Tighten
securely. (Fig. 4)
8. Connect wand to gun. Tighten securely. (Fig. 5)
9. Attach high-pressure hose to gun. Tighten securely.
(Fig. 6)
NOTE: The pump on this unit is maintenance free and
requires no oil, if there is a problem with the pump contact
an Authorized Service Center.
WARNING
RISK OF BURSTING. Use a tire pres-
sure gauge to check the tires pressure before each use
and while inating tires; see the tire sidewall for the correct
tire pressure.
NOTE: Air tanks, compressors and similar equipment
used to inate tires can ll small tires similar to these very
rapidly. Adjust pressure regulator on air supply to no more
than the rating of the tire pressure. Add air in small incre-
ments and frequently use the tire gauge to prevent over
ination.
FIG. 4
FIG. 5
FIG. 6
 Loading...