6
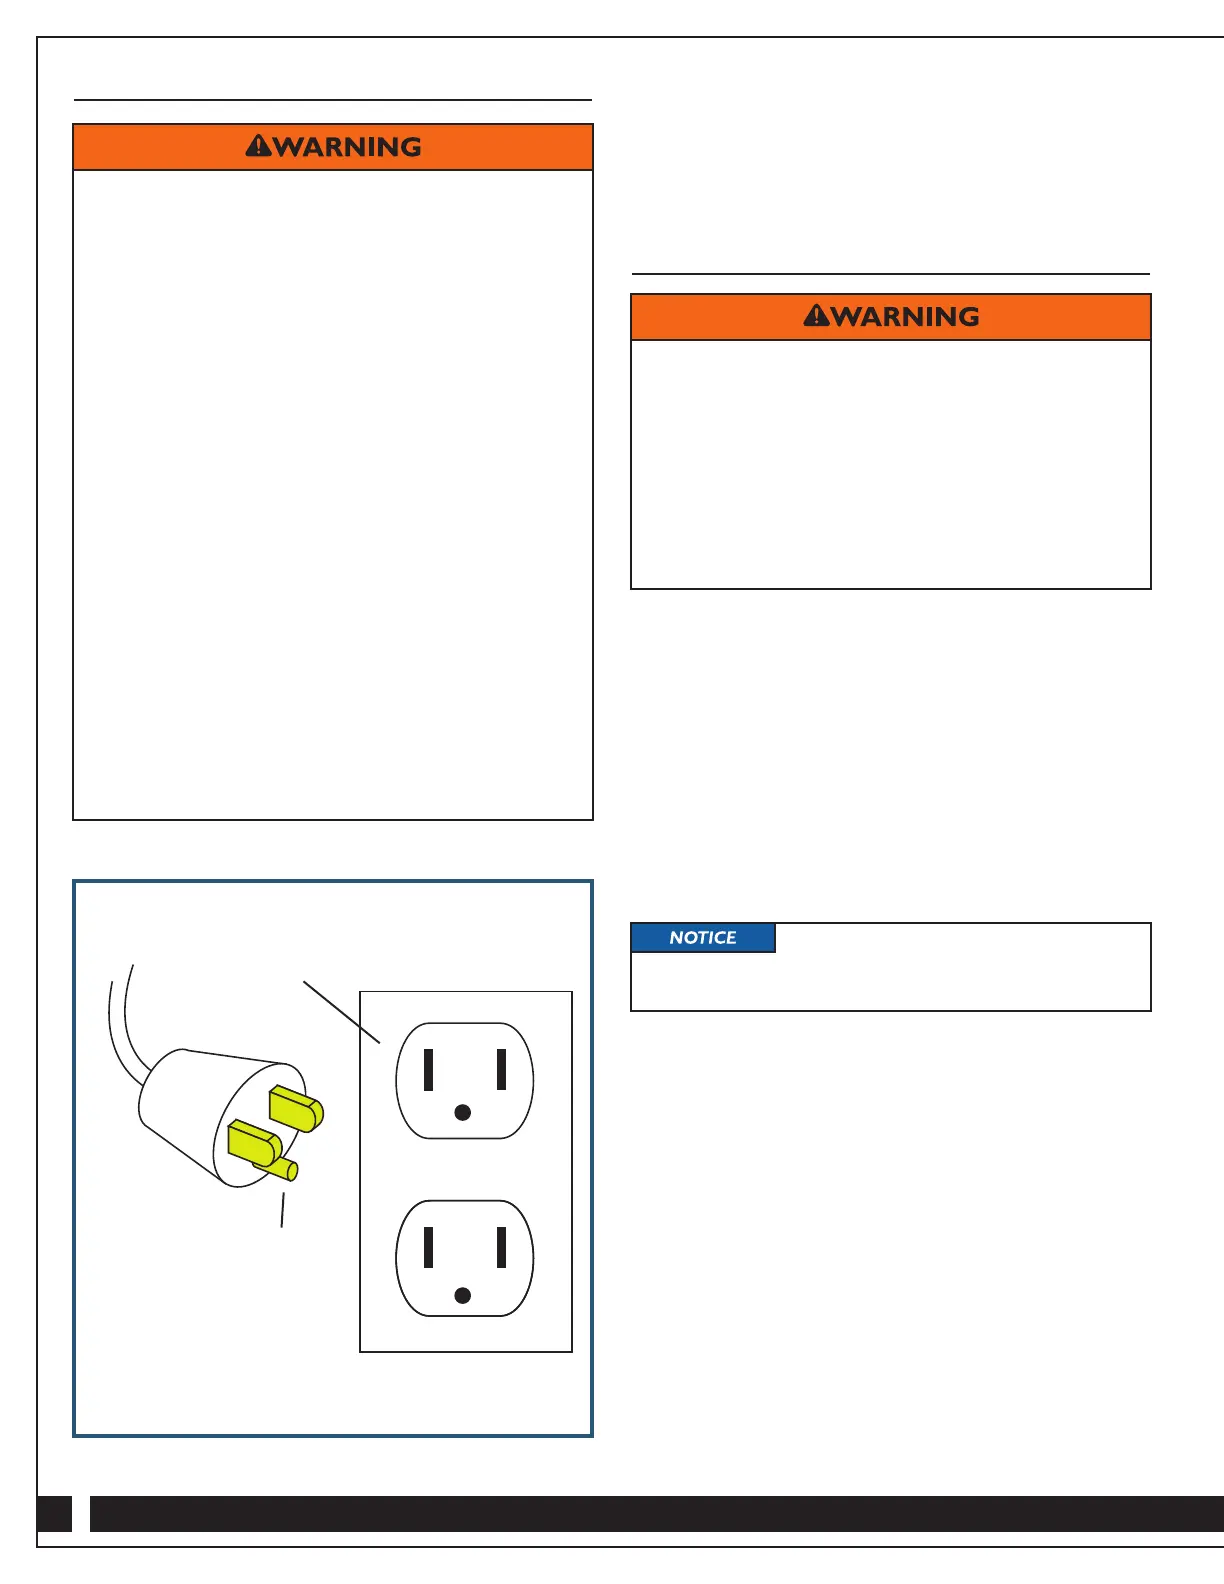
This appliance is for use on a nominal 120V circuit and has a
grounding attachment plug that looks like the plug illustrated in
Fig 1. Make sure that the tool is connected to an outlet having
the same configuration as the plug. Do NOT use an adapter with
this appliance.
Getting Set Up
1. With the lathe unplugged, fit the socket screw into the
Quill Handwheel Handle and use the appropriate Hex Key
to secure the handle to the Quill Handwheel.
2. Create a space for the lathe in your work area. Make
sure that the bench or table holding the lathe is level and
strong enough to bear the weight of the lathe, any tools, the
workpiece, and the forces exerted when the lathe is in use.
The bench or table must be solid and rigid. The lathe weighs
more than 80 lbs., and serious injury could result if the
support were to fail. Also keep in mind the height: For most
comfortable turning, the lathe should be set up at a height
so that the axis of turning is at about the level of your elbows.
Finally, make sure that you will have sufficient room in front
of and behind the lathe to maneuver your tools.
3. If your work surface isn’t uniform and level and the lathe
does not sit solidly on all four adjustable feet, turn the feet at
the appropriate corner(s) to eliminate any wobble and to level
the lathe. It is recommended to place a level on each axis of
the lathe bed to make certain the lathe is level.
4. Familiarize yourself with how to move and fully secure the
Tool Rest Banjo, the Tool Rest, and the Tailstock. Also
practice moving the quill by turning the Quill Handwheel.
It is very important when turning that these components be
positioned properly and fully secured; failure to do so could
result in serious injury to you as well as damage to the lathe,
your tools and your project.
Electrical Connections and Grounding
> Connect only to a properly grounded outlet only,
preferably a GFCI outlet. In the event of a malfunction
or breakdown, grounding provides a path of least
resistance for electric current to reduce the risk of
electric shock. This tool is equipped with an electric
cord having an equipment-grounding conductor and
a grounding plug. The plug must be plugged into a
matching outlet that is properly installed and grounded
in accordance with all local codes and ordinances.
> Do NOT modify the plug provided – if it will not
fit the outlet, have the proper outlet installed
by a qualified electrician. Do NOT use a
three-prong-to-two-prong adapter.
> Improper connection of the equipment-grounding
conductor can result in a risk of electric shock. The
conductor with insulation having an outer surface
that is green with or without yellow stripes is the
equipment-grounding conductor. If repair or replacement
of the electric cord or plug is necessary, do NOT connect
the equipment-grounding conductor to a live terminal.
> Check with a qualified electrician or service personnel
if the grounding instructions are not completely
understood, or if in doubt as to whether the
tool is properly grounded.
> Use only three-wire extension cords that have
three-prong grounding plugs and three-pole
receptacles that accept the tool’s plug.
Fig. 1
> Do NOT lift more than you are able. If the Excelsior Mini
Lathe feels too heavy for you to lift on you own, obtain
the help of another adult to lift the unit into position. Use
proper lifting techniques
> Make sure that the bench or table holding the lathe is
level and strong enough to bear the weight of the lathe,
any tools, the workpiece, and the forces exerted when the
lathe is in use. The bench or table must be solid and rigid.
The lathe weighs more than 80 lbs., and serious injury
could result if the support were to fail.
If desired, you can unscrew and remove
the rubber feet and secure the lathe to a level work surface
with 1/4" lag bolts and nuts or 1/4" lag screws (not included).
Grounding Plug
Cover of
grounded
outlet box

 Loading...