GB2
CFI EXTEL QUATTRO
2
- 12/2015
1. SAFETY INSTRUCTIONS
Important !
• Please read the user manual thoroughly before installing or using this product.
• If you install this product for other people, please give the manual or a copy to the end user.
Warning :
• The different elements can only be dismantled by an authorised technician.
Safety instructions :
• To safety use this system, it is essential the tters, users and technicians follow the safety procedures described
in this manual.
• Specic warnings and caution symbols are indicated on the elements if necessary.
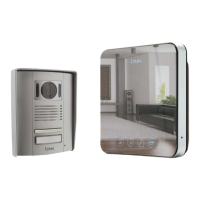
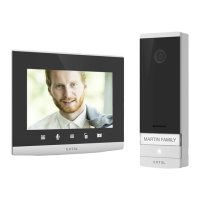
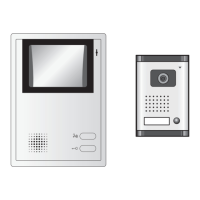
2 . DESCRIPTION (g 1)
1 • Monitor 4 • Outdoor station
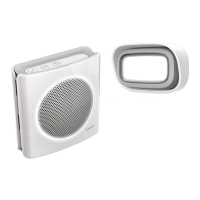
2 • Wall mounting 5 • Rain Shield
3 • Mains adapter
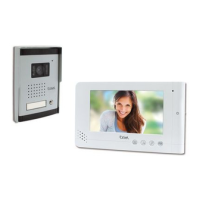
Generality
This videophone consists of an interior unit with a colour, liquid crystal display screen, a free hand interphone, and
a surface-mount exterior outdoor station which makes it possible to see and speak to the visitor who as rung. To
make the most of the videophone, please take the time to read this instruction manual thoroughly, and do not
lose it.
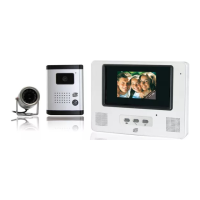
3 . COMPONENTS
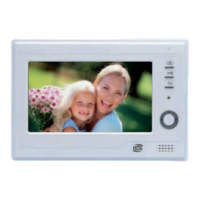
a. Monitor (g. 2)
1. 7” colour screen (18 cm).
2. Monitoring or image resume key.
3. Communication with the road side panel after a call.
4. Control of a strike or electrical lock (12 V output at the rear of the camera).
5. Control of an automatic gate opener (contact without current at the back of the camera).
6. Ring tone volume adjustment.
7. Brightness adjustment.
8. Colour adjustment.
9. Selection of the ring tone
10. Microphone to communicate with the roadside panel.
11. At the rear of the monitor, outlet for the 17V plug of the adapter (adapter to connect to an installation
compliant with standards in force: NFC 15-100 for France).
12. Terminal block to connect the wires.
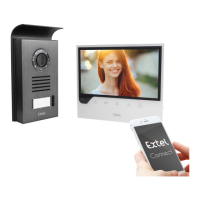
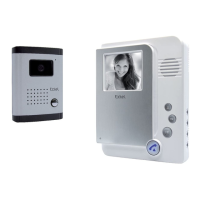
b. Outdoor station, exterior camera (g. 3)
1. IR LED for improved visibility in poor light (light invisible to the naked eye).
2. Lens of C-MOS video camera with adjustable iris (from back of video camera).
3. Loudspeaker: for communicating from outside building.
4. Call button: when this button is pressed the name-plate lights up and the chime is heard inside the building.
The screen and video camera start working.
5. Name-plate. To change the name-plate label, lift the plastic cover (9) using a small screwdriver and slide the
label out. The name-plate ignites with the half-light
6. Microphone: enables visitors to communicate with those inside the building.
7. Camera adjustment holes.
8. Terminal block to connect the wires.