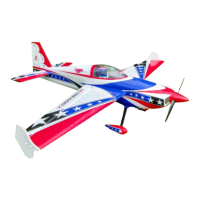
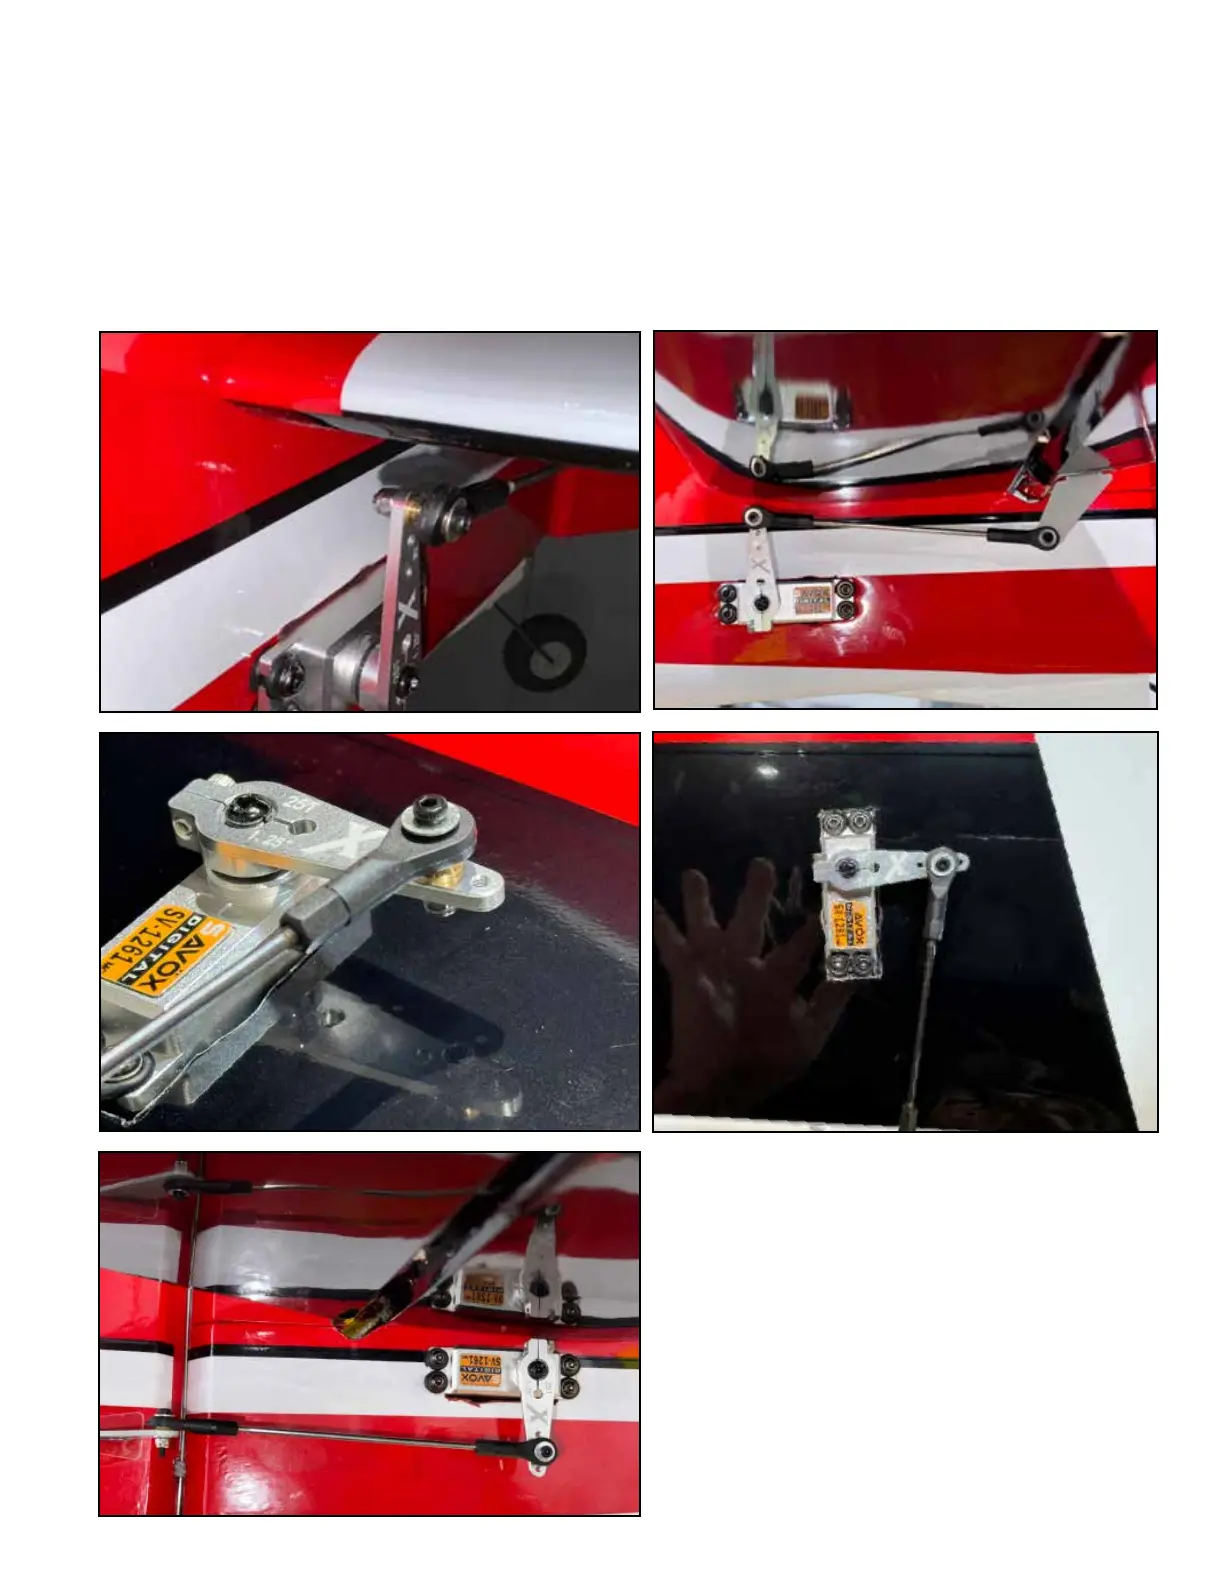
6.
Attach servo wire extensions to your servos and use tape or a wire lock to make sure they do not be-
come disconnected in ight. Install the servos in the positions and orientations shown. Center your
servos using your radio or a servo tester, then install your arms. Install the linkage as shown using
screws, washers, and locking nuts as shown.
NOTE: e exact position of the pushrods on the servo arms will vary with dierent setups. Shown
is our typical set for 3D/Freestyle ying. We use the outermost hole on the elevtor arm, and we use
the #2 hole on the ailerons and rudder. is allows us to “max out” the servo travel in our radio on
all channels, and get our desired high-rate throws. Your setup may vary.