Installation Guide 17
For standard power adapter (non Power Injector) and line cord installations:
a. Connect a RJ-45 Ethernet cable between the network data supply (host) and the
Access Point’s GE1/POE port.
b. Verify the power adapter is correctly rated according the country of operation.
c. Connect the power supply line cord to the power adapter.
d. Attach the power adapter cable into the power connector on the Access Point.
e. Attach the power supply line cord to a power supply.
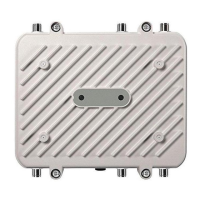
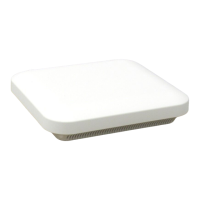
3. Verify the unit has power by observing the LEDs. For more information on AP-7522
LED behavior, see LED Indicators on page 19.
4. Align the bottom of the ceiling T-bar with the back of the Access Point.
5. Orient the Access Point chassis by its length and the length of the ceiling T-bar.
6. Rotate the Access Point chassis 45 degrees clockwise.
7. Push the back of the Access Point chassis on to the bottom of the ceiling T-bar.
CAUTION If not using an AP-PSBIAS-2P3-ATR power injector,
ensure only the AP-7522’s designated power supply
(PWRS-14000-54R) is used to supply power to the
Access Point. Using an incorrectly rated power supply
could damage the Access Point and void the product
warranty. Do not actually connect to the power source
until the cabling portion of the installation is complete.
 Loading...