20
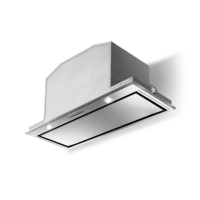
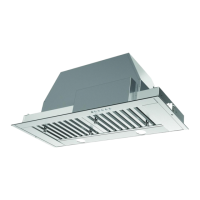
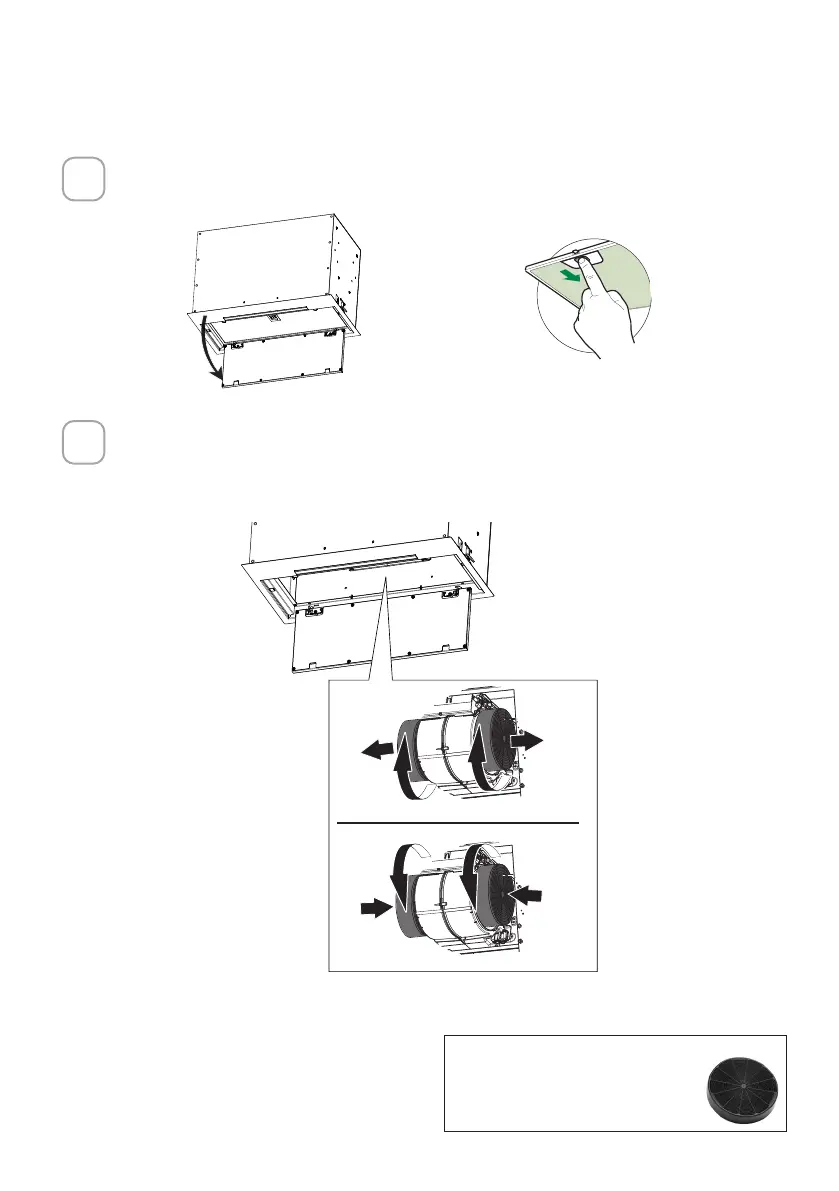
Open the Panel by pulling it down. Remove the grease lter, pushing the
ever towards the back of the unit while pulling downward.
Attach each charcoal filter to the black grid on each side of the blower.
Press the charcoal filter tightly to the black grid on the blower side and
rotate the filter clockwise (towards the front of the insert hood) until it locks
into place. Turn counterclockwise (towards the back of the insert hood) to
remove.
Required Activated Charcoal Filter
Accessory - sku sku #FILTER1 or
#FILTER1LL2
FOR NON-DUCTED RECIRCULATION OPTION
1
2
EN
7
7
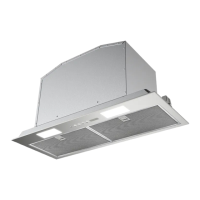
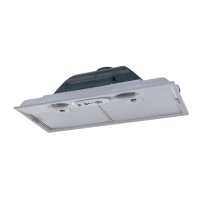
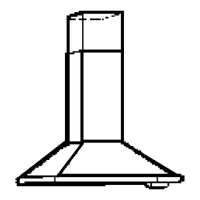
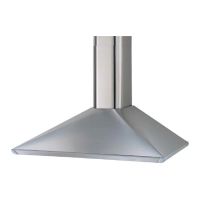
INSTALLATION
Fitting the Hood canopy
BEFORE FITTING THE HOOD TO THE WALL UNIT, PROCEED AS FOLLOWS:
• Disconnect the wires to the Commands at the connectors.
• Disconnect the wires to the Light at the con-
nectors.
• The Hood can be installed directly on the
underside of
the wall unit (Minimum 650 mm
from the Cooker Hob).
• Create an opening in the bottom of the wall unit,
as shown.
• Insert the hood until the side supports snap into
place.
• Fasten using the 10 screws 12a provided.
• Lock in position by tightening the screws Vf from
underneath the hood.
• Open the suction panel by turning the specific knob.
• Disconnect the panel from the hood canopy by sliding the
fixing pin lever.
• Remove grease filters.
• Screw the Frame into place
using the 6 scr
ews 12f, re-
connect the wires to the
Commands and Light, re-
place the metal grease filter
and the Panel.
260
13
495 - 675
W
W
 Loading...