76
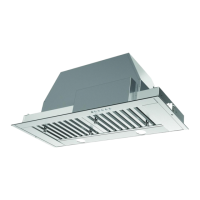
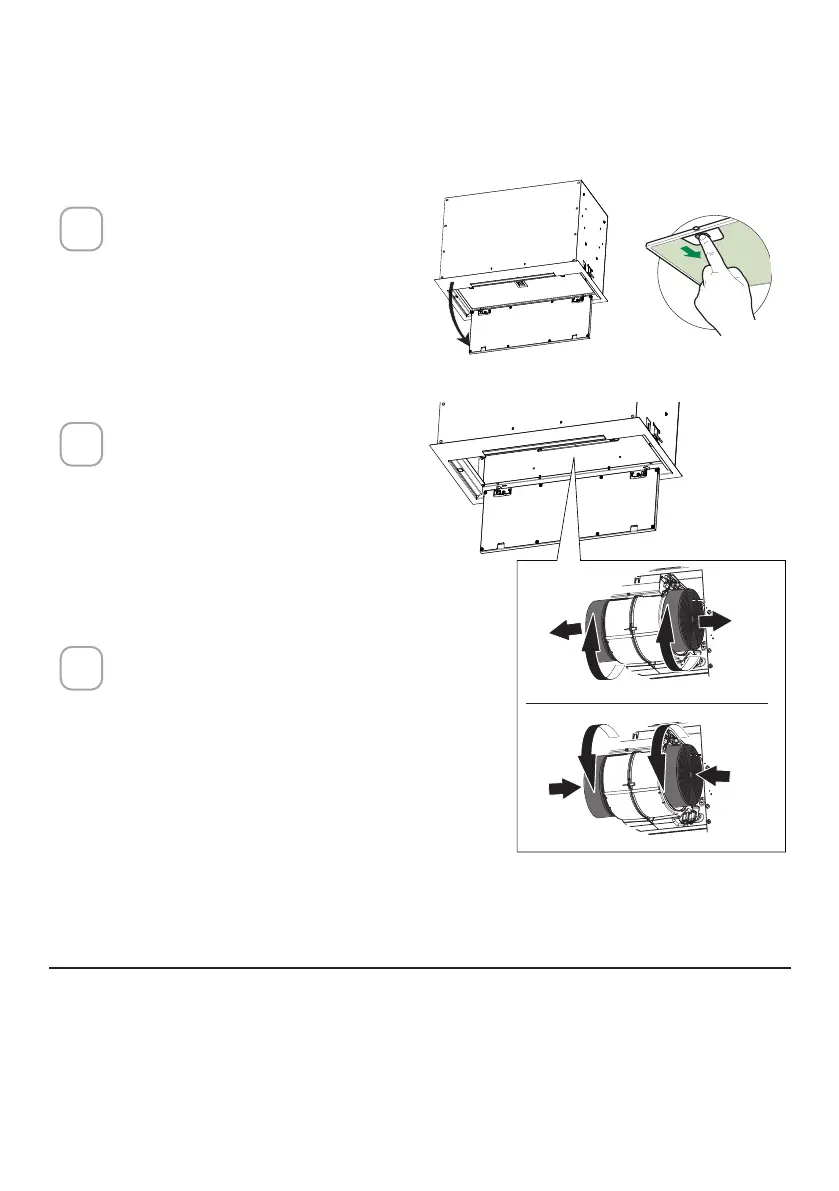
Abra el panel tirando de él
hacia abajo. Retirar el ltro,
empujando la palanca hacia
la parte posterior de la uni-
dad mientras se tira hacia
abajo.
Retire el filtro de carbón
saturado girándolo hacia la
derecha (hacia atrás) hasta
que se desbloquee de la car-
casa del motor y tire hacia el
lateral.
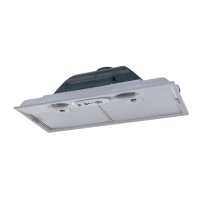
Para volver a colocar cada
filtro de carbón, colóquelo
contra el lateral del ven-
tilador y presiónelo hacia
dentro. Después gire el filtro
de carbón hacia la derecha
(hacia delante) hasta que se
quede en su posición.
1
2
3
SUSTITUCIÓN DEL FILTRO DE CARBÓN ACTIVADO
Los ltros de carbón activado no son lavables y no pueden ser regenerados,
por lo que deben ser reemplazados aproximadamente cada 4 meses de fun-
cionamiento, o con mayor frecuencia en caso de uso intensivo.
SUSTITUCIÓN DE LA ILUMINACIÓN
Las luces LED deben ser sustituidas por el servicio técnico autorizado de
Faber.
EN
7
7
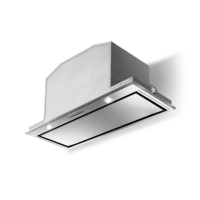
INSTALLATION
Fitting the Hood canopy
BEFORE FITTING THE HOOD TO THE WALL UNIT, PROCEED AS FOLLOWS:
• Disconnect the wires to the Commands at the connectors.
• Disconnect the wires to the Light at the con-
nectors.
• The Hood can be installed directly on the
underside of
the wall unit (Minimum 650 mm
from the Cooker Hob).
• Create an opening in the bottom of the wall unit,
as shown.
• Insert the hood until the side supports snap into
place.
• Fasten using the 10 screws 12a provided.
• Lock in position by tightening the screws Vf from
underneath the hood.
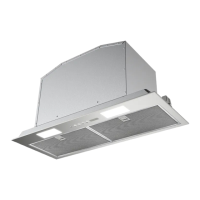
• Open the suction panel by turning the specific knob.
• Disconnect the panel from the hood canopy by sliding the
fixing pin lever.
• Remove grease filters.
• Screw the Frame into place
using the 6 scr
ews 12f, re-
connect the wires to the
Commands and Light, re-
place the metal grease filter
and the Panel.
260
13
495 - 675
W
W
 Loading...