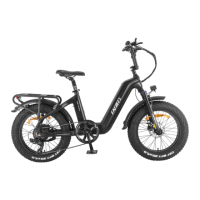
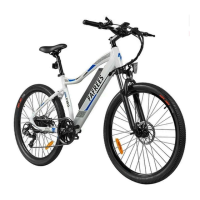
EN
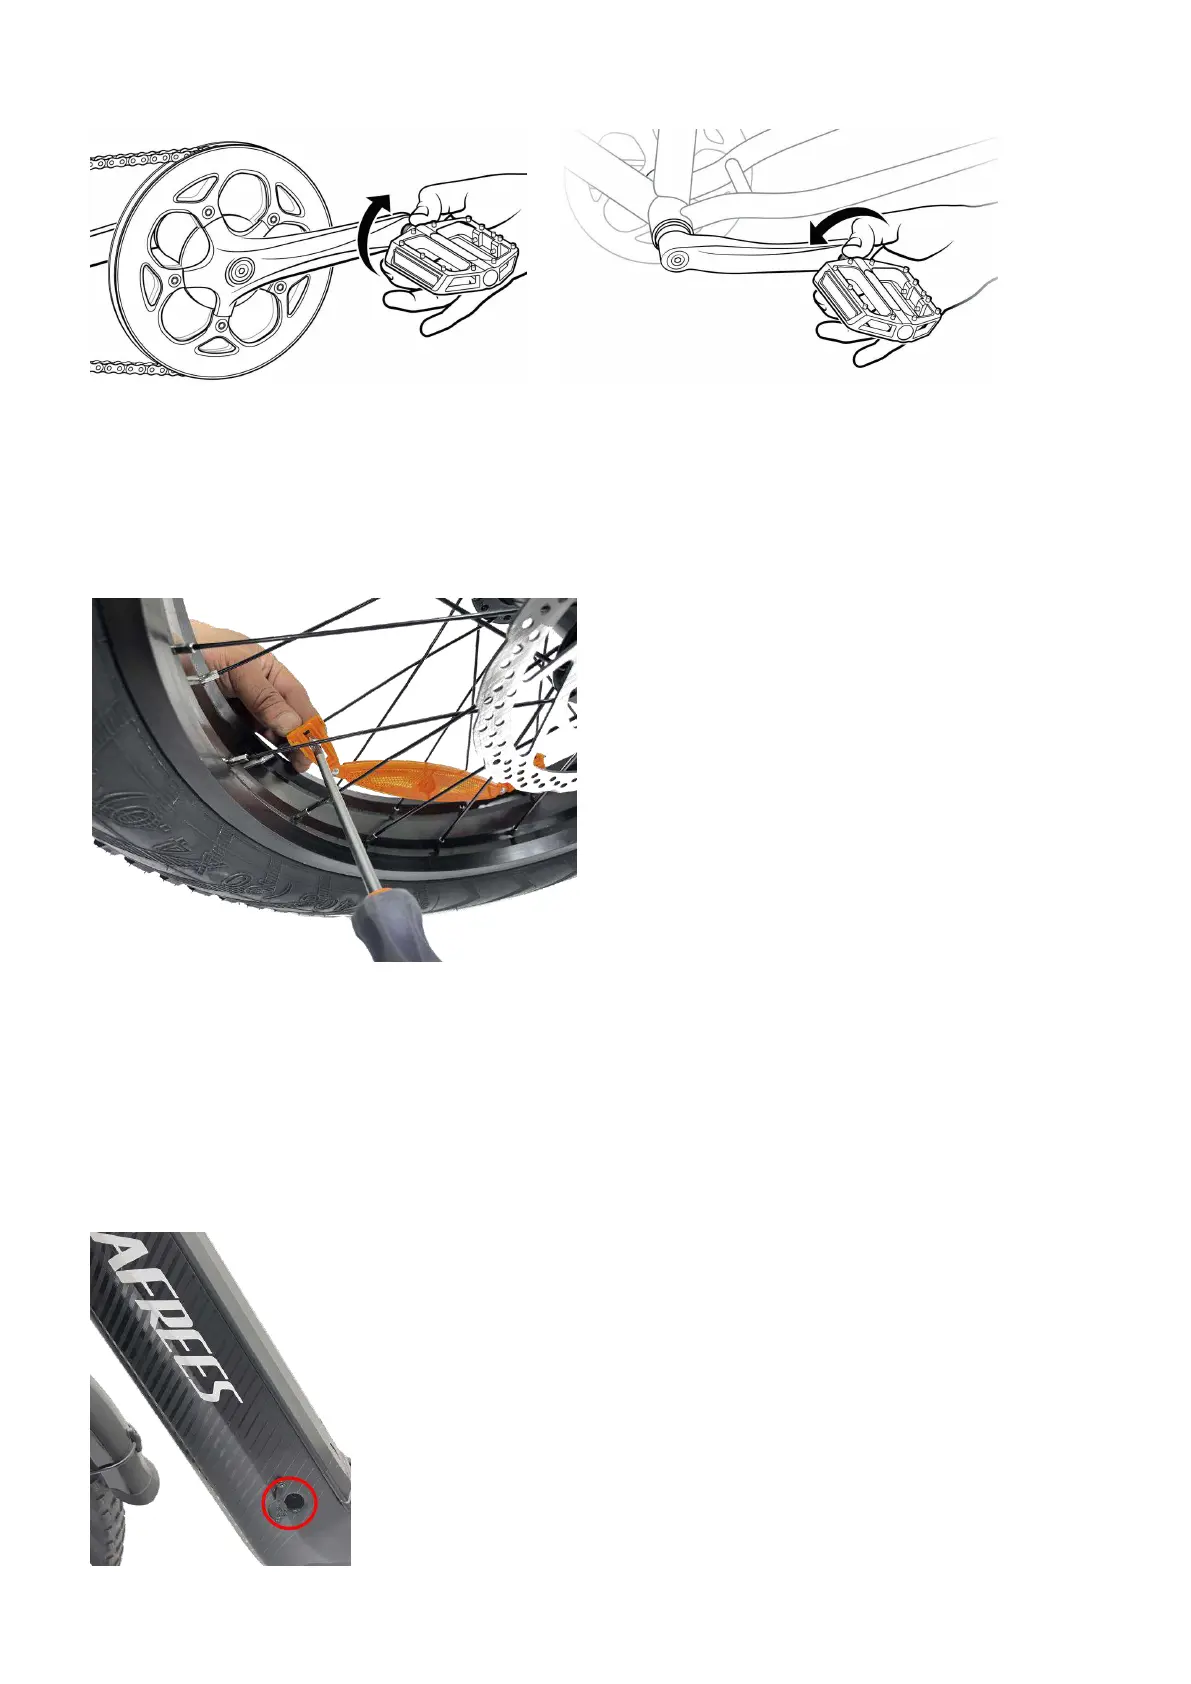
Step 5: Pedal installation.
Note the markings on the pedal screws and on the crank arms. Stamp with "L" is the left pedal, stamp
with "R" is the right pedal, the right pedal is installed on the side of the sprocket.
NOTE: The right pedal (pedal with "R" sticker label) is threaded so that it is tightened by turning
clockwise. The left pedal (pedal with "L" sticker label) is reverse-threaded and tightens counterclockwise.
Step 6: Tire reflector installation.
Put the reflector between the spokes. Use a
screwdriver to tighten the screws.
Step 7: Inflate tires.
Check that the tire beads and tires are evenly seated on the rims. Use a pump with a Schrader valve to
inflate each tire to the recommended pressure indicated on the tire. Do not overinflated or underinflate
tires.
BATTERY CHARGING
Charging procedure
Follow these steps for charging your ebike battery from Fafrees Bikes:
1. Ensure the battery is off.
2. Remove the rubber cover on the charging port.
3. Plug the charger into the battery ’ s charging port, BEFORE
PLUGGING CHARGER INTO POWER OUTLET.
With the battery on or off the bike, place the charger in a flat, secure place,
and connect the DC output plug from the charger to the charging port on
the side of the battery.
4. Plug the charger into a power outlet: Connect the charger input plug