Do you have a question about the Faller POWER TOWER and is the answer not in the manual?
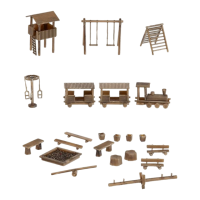
Familiarize with parts, read instructions, and handle missing components.
Lists necessary materials for assembly, including plastic cement, instant modelling cement, and oil.
Lists specific FALLER products recommended for kit assembly, such as cement and cutters.
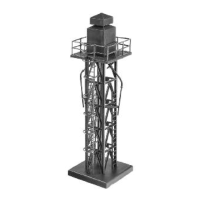
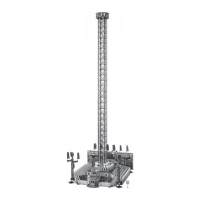
Instructions for assembling the main tower structure, ensuring clean surfaces and smooth transitions.
Guidance for assembling the brass diverter pulleys, ensuring free movement and careful fixing.
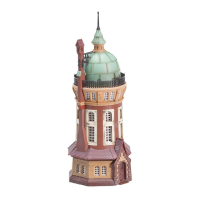
Instructions for assembling lower tower sections, including applying glue and allowing drying time.
Attaching decorative elements like Deco 9 to the tower structure.
Test the tower's car movement without thread to ensure smooth operation.
Steps to identify and correct problems found during the practical test.
Step-by-step guide for routing the thread through the tower and car mechanisms.
Important step to press the motor out of its holder before fitting the thread.
Further instructions on routing the thread through various points of the model.
Important step to ensure the car is at the bottom before knotting the thread securely.
Perform a test with the thread installed, ensuring the tower is vertical for accurate results.
Identifies common issues during the threaded test and provides solutions, including safety warnings.
Connect wires and controller to test the program run in continuous or individual operation modes.
The model is not suitable for continuous operation; requires pauses between cycles.
Identifies causes for program interruptions and suggests checking wiring, sensors, and magnets.
All CVs are programmable via a DCC digital command station connected to the programming track.
The start contact initiates the automatic sequence regardless of the control status when closed.
Information regarding the illumination feature, which is not included with the kit.
Instructions for attaching specific decorative elements like "Deco 6" and "Deco 12" to the model.
Cut and carefully apply the window foil to the rear side of the window frames using a small amount of glue.
Attaching decorative panels like "Deco 16" and "Deco 1" to the main structure.
Instructions for assembling Variant I of the model, including specific decorative elements.
Instructions for assembling Variant II of the model, including specific decorative elements.
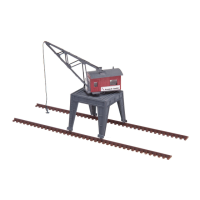
Assembling the trailer chassis and attaching the wheels to the structure.
Constructing the trailer's body and attaching it to the chassis, including glue application.
Assembling the internal components of the trailer, such as supports and base.
Applying decorative elements like "Deco 21" and "Deco 20" to the completed trailer.
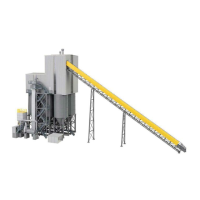
Final assembly view of the Power Tower model, showing all components integrated.
| Category | Toy |
|---|---|
| Name | Faller POWER TOWER |
| Type | Model Building |
| Material | Plastic |
| Recommended Age | 14+ |
| Assembly Required | Yes |