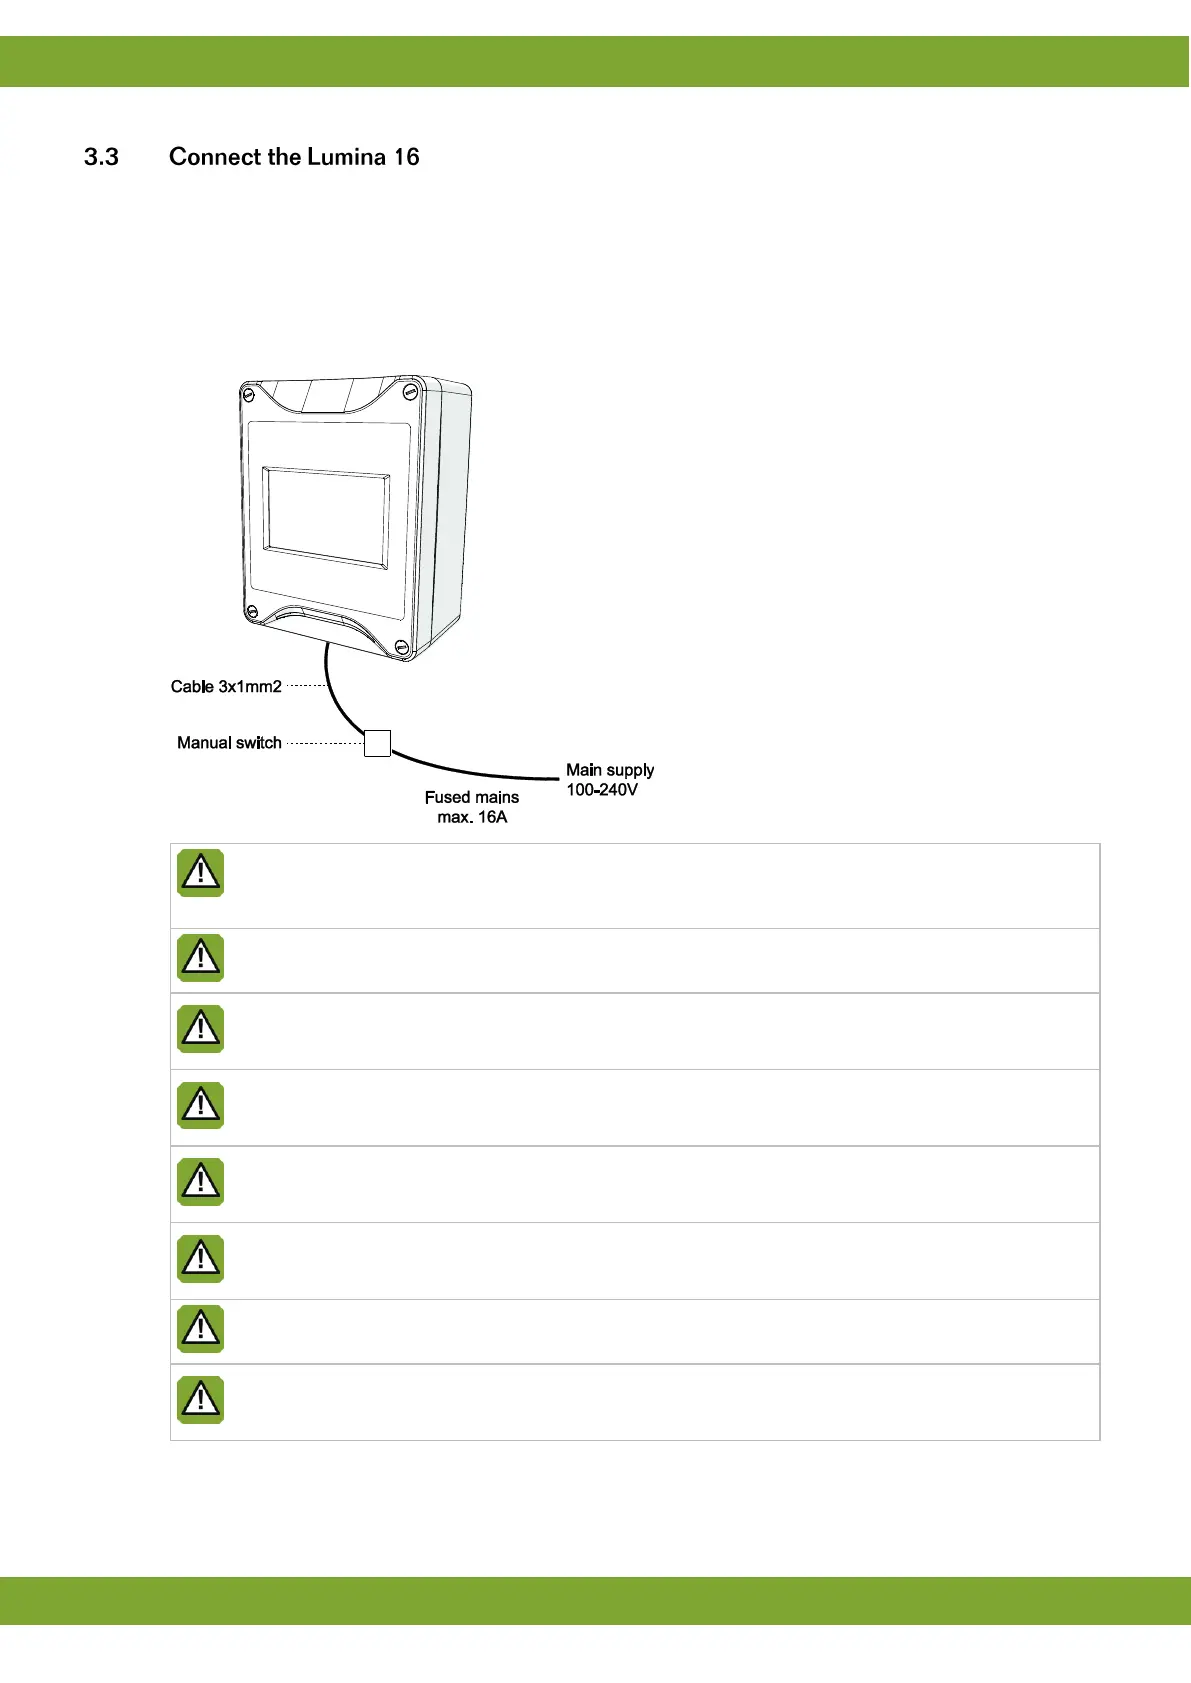
Connect the Lumina 16 as follows:
1. Open the cover.
2. Connect the Lumina 16 to the manual switch.
3. Connect the manual switch to the main supply (be sure power is disconnected).
4. Connect other (signal wires) to the Lumina 16, see chapter Technical specifications.
5. Close the cover.
Always use the cable swivels when connecting the Lumina 16. Use the sealing discs supplied to seal off
any unused swivels. Use a sealant to seal all swivels, after the computer has been connected, to
prevent the entry of moisture, dust and/or aggressive gasses.
Check that the mains voltage and frequency, for which this computer is suitable, correspond to the
mains voltage and frequency on site.
Be sure that the Lumina 16 is properly grounded. When using metal cable trays, grounding at one point
of the tray is recommended.
The Lumina 16 should be possible to shut down with a double pole switch.
Connect the Lumina 16 to a group from the main distributor and mount in separate cable trays.
Limit the length of the signal wires much as possible; avoid crossing high/low voltage wires.
To protect against lightning, place an over voltage protection device in the power supply of the Lumina
16.
Condensation should never occur in the control computer.
 Loading...