18
2. Charging procedure
To charge the batteries, you just need a standard USB-A
charger or a common powerbank.
Some powerbanks might not charge the battery
completely if they have a minimum charging voltage
superior than what Assioma PRO MX needs.
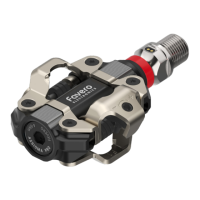
To charge Assioma PRO MX, insert the magnetic
connectors into a battery charger plugged into a socket
and clip the magnetic ends on to the pedal as shown in the
gure.
Always clean the golden contacts present both on the
sensors and the magnetic connectors with a damp
cloth before charge for the correct functioning of the
product.
To learn more about the LED’s behaviour, see Ch. 21.
The sensors’ LEDs turn on and stay on during the whole
charging process. Once the charge is completed, the LEDs
start blinking every 0,5 sec.
The charging time, if the battery is drained, is of around 4
hours.
Charge in an environment with a recommended
temperature between +10°C and +45°C. Outside this
range, charging may be blocked to preserve the
functionality of the batteries.
LED indicating if voltage is present
Led of the sensor
blinking: IN CHARGE
Fig. 17
Micro-USB connector
Magnetic connector