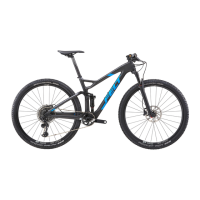
0504
SHOCK SETUP
It is very important to have the correct amount of sag so that the suspension can be
in the part of its travel that is most efficient and compliant. Felt recommends starting
at 30% and adding/subtracting up to 5-10% to fine tune to your personal preference.
To measure sag, follow these 4 steps:
1. Push the o-ring to the top of the shock shaft.
2. Sit on the bike with the seat at full ride height to compress the shock. Bounce a
few times, then push the o-ring back to the top of the shaft.
3. Gently get off the bike, taking care not to change the position of the o-ring On
some shock models, the sag gradients will be printed on the shaft. In this case,
simply read your sag percentage as it is printed on the shock shaft. If there are no
sag gradients, measure the distance of the o-ring from the top of the shaft. To
achieve 30% sag, the o-ring should be 20mm from the top of the shaft. If there is
too much sag (>30%) add air pressure, if there is not enough sag (<30%), reduce air
pressure.
4. Repeat process until desired sag is achieved.
CORRECT
NOT CORRECT
OR
20MM
+ PRESSURE- PRESSURE
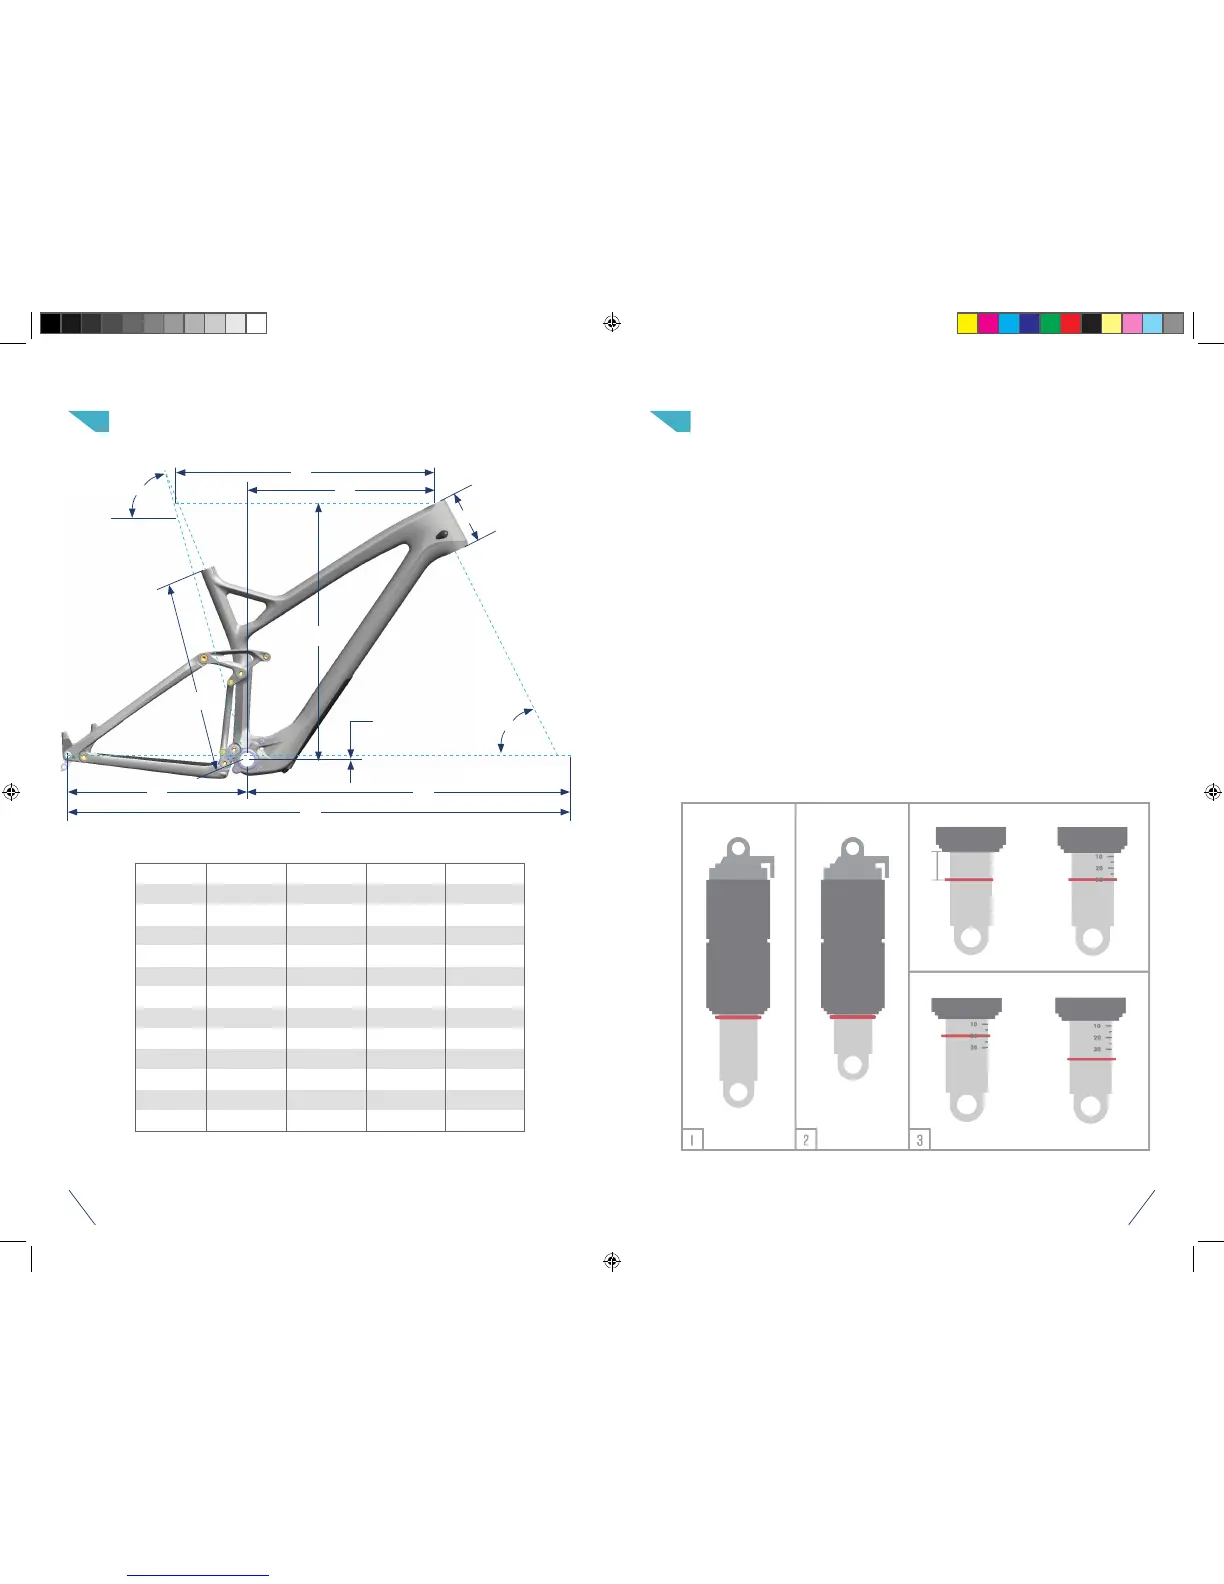
GEOMETRY
GEOMETRY IN MIDDLE CHIP POSITION
I
G
J
D
K
F
C
B
A
E
H
SMALL 16” MEDIUM 18” LARGE 20” EXTRA LARGE 22”
65 65 65 65
74.4 74.4 74.4 74.4
568 597 627 654
90 105 125 150
405 435 470 505
10 10 10 10
433 433 433 433
723 754 788 819
1154 1187 1221 1252
708 722 735 750
405 430 455 475
583 597 615 638
A
B
C
D
E
F
G
H
I
-
J
K
SIZE
HA
SA
TT HORIZ
HT LENGTH
SEAT TUBE C-T
BB DROP
CS
FRONT CENTER
WHEELBASE
STANDOVER
REACH
STACK
2019 Compulsion Series Supplement Manual_V6_21119.indd 4-5 2/11/19 9:20 AM