Do you have a question about the Fermax DUOX PLUS VEO XS and is the answer not in the manual?
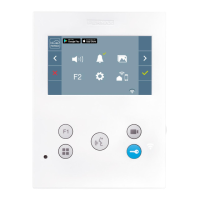
Details the F1 button's use for menu access, conversation, and auxiliary functions.
Explains ring tone volume, standby melody volume, and conversation audio settings.
Describes the meaning of Red, Blue, and Green LED states for various operations.
Guides users on navigating the On-Screen Display (OSD) menu using monitor buttons.
Allows users to adjust the monitor's volume during calls or doorbell events.
Enables or disables call notifications, controlling whether calls are heard.
Instructions to display stored photos taken during calls with date and time.
Explains the extra function of the F2 button, requiring installer configuration.
Guides users to the screen for various configuration parameters via the User Menu.
Allows customization of melodies for panel, doorbell, and concierge calls.
Covers setting the date format, time, and handling incorrect date notifications.
Explains how to enable/disable automatic picture capture upon receiving a call.
Resets the user's configuration parameters to their default state.
Details the option for automatic door opening upon receiving a call.
Allows adjustment of video settings like brightness and contrast via dedicated buttons.
Enables adjustment of audio settings, such as volume, during an established communication.
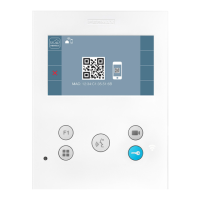
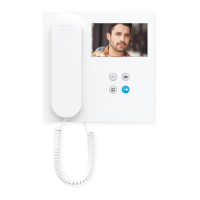
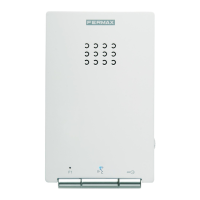
The VEO XS DUOX Plus monitor is a sophisticated intercom system designed for residential and commercial use, offering a range of features for communication, security, and user convenience. This quick guide details its functions, usage, and maintenance aspects.
The VEO XS monitor serves as the central interface for the DUOX Plus intercom system, enabling various communication and control functions. It features a digital menu for internal parameter settings and configuration, allowing users to customize their experience. Key functions include:
The VEO XS monitor is designed for intuitive operation, primarily through its push buttons and an On-Screen Display (OSD) menu.
While the manual primarily focuses on usage, some aspects touch upon maintenance and system integrity:
| Type | Video Intercom |
|---|---|
| Resolution | 480 x 272 pixels |
| Hands-free | Yes |
| Surface Mount | Yes |
| Consumption (active/call) | 300 mA |
| Door release function | Yes |
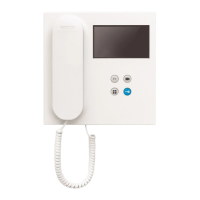
| Material | ABS plastic |
| Color | White |
| Screen Size | 4.3 inch |
| Communication | Full duplex |
| Audio Frequency Response | 300 Hz - 3.4 kHz |
| Technology | DUOX PLUS (digital 2-wire) |