Pag 8
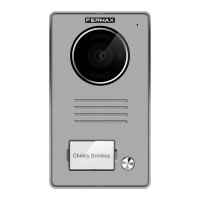
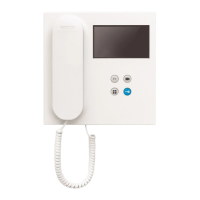
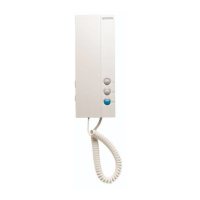
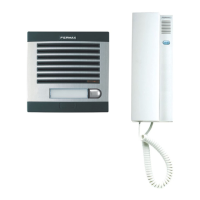
Kit Halo & iLoftKit Halo & iLoft
Kit Halo & iLoftKit Halo & iLoft
Kit Halo & iLoft
Kit Halo & iLoftKit Halo & iLoft
Kit Halo & iLoftKit Halo & iLoft
Kit Halo & iLoft
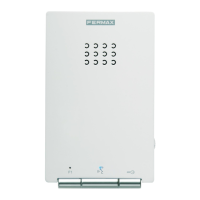
Desmontaje
Instalación en carril DIN
Montaje
Fijación con tornillos
+18V 1.5A
50
-60 H
z. 50VA
M
A
X
.
12V 1A
F
U
E
N
T
E
A
L
IM
E
N
T
A
C
IO
N
K
IT
D
I
G
I
T
A
L
M
A
D
E
I
N
S
P
A
I
N
NOTAS:
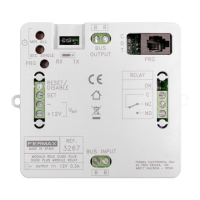
OVERLOAD
Led indicador máxima corriente excedida.
ON
Led ON + OVERLOAD parpadeando indica cortocircuito.
FUENTE DE ALIMENTACION (Leds)
Led de encendido
+
1
8
V
1
.
5
A
5
0
-6
0
H
z.
5
0
V
A
M
A
X
.
F
U
E
N
T
E
A
L
I
M
E
N
T
A
C
I
O
N
K
I
T
D
I
G
I
T
A
L
M
A
D
E
I
N
S
P
A
I
N
O
N
O
V
E
R
L
O
A
D
O
N
O
V
E
R
L
O
A
D
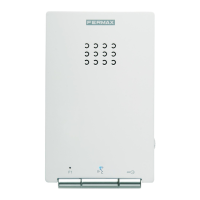
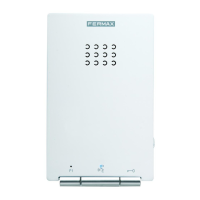
INSTALACIÓN DEL ALIMENTADOR
PASOS DE INSTALACIÓN
1º. Instalar los equipos que componen el Kit, tal y como se muestra en el presente
manual.
2º. Alimentar la instalación.
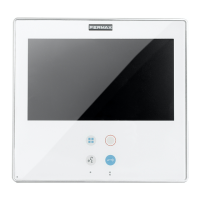
3º. Programar el monitor de videoportero
Ver apartado: «Programación del monitor».
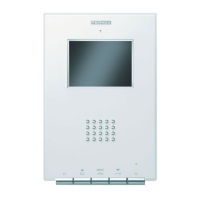
4º. Programar función control de accesos: dar de alta tarjetas de proximidad.
Ver apartado: «Configuración de placa».
5º. Realizar los ajustes de la Placa de calle y del monitor de vivienda necesarios:
ajustar tiempos de apertura, brillo, color, etc...
Ver apartados:
- «Ajustes de placa».
- «Configuración de placa».
- «Ajustes del monitor».