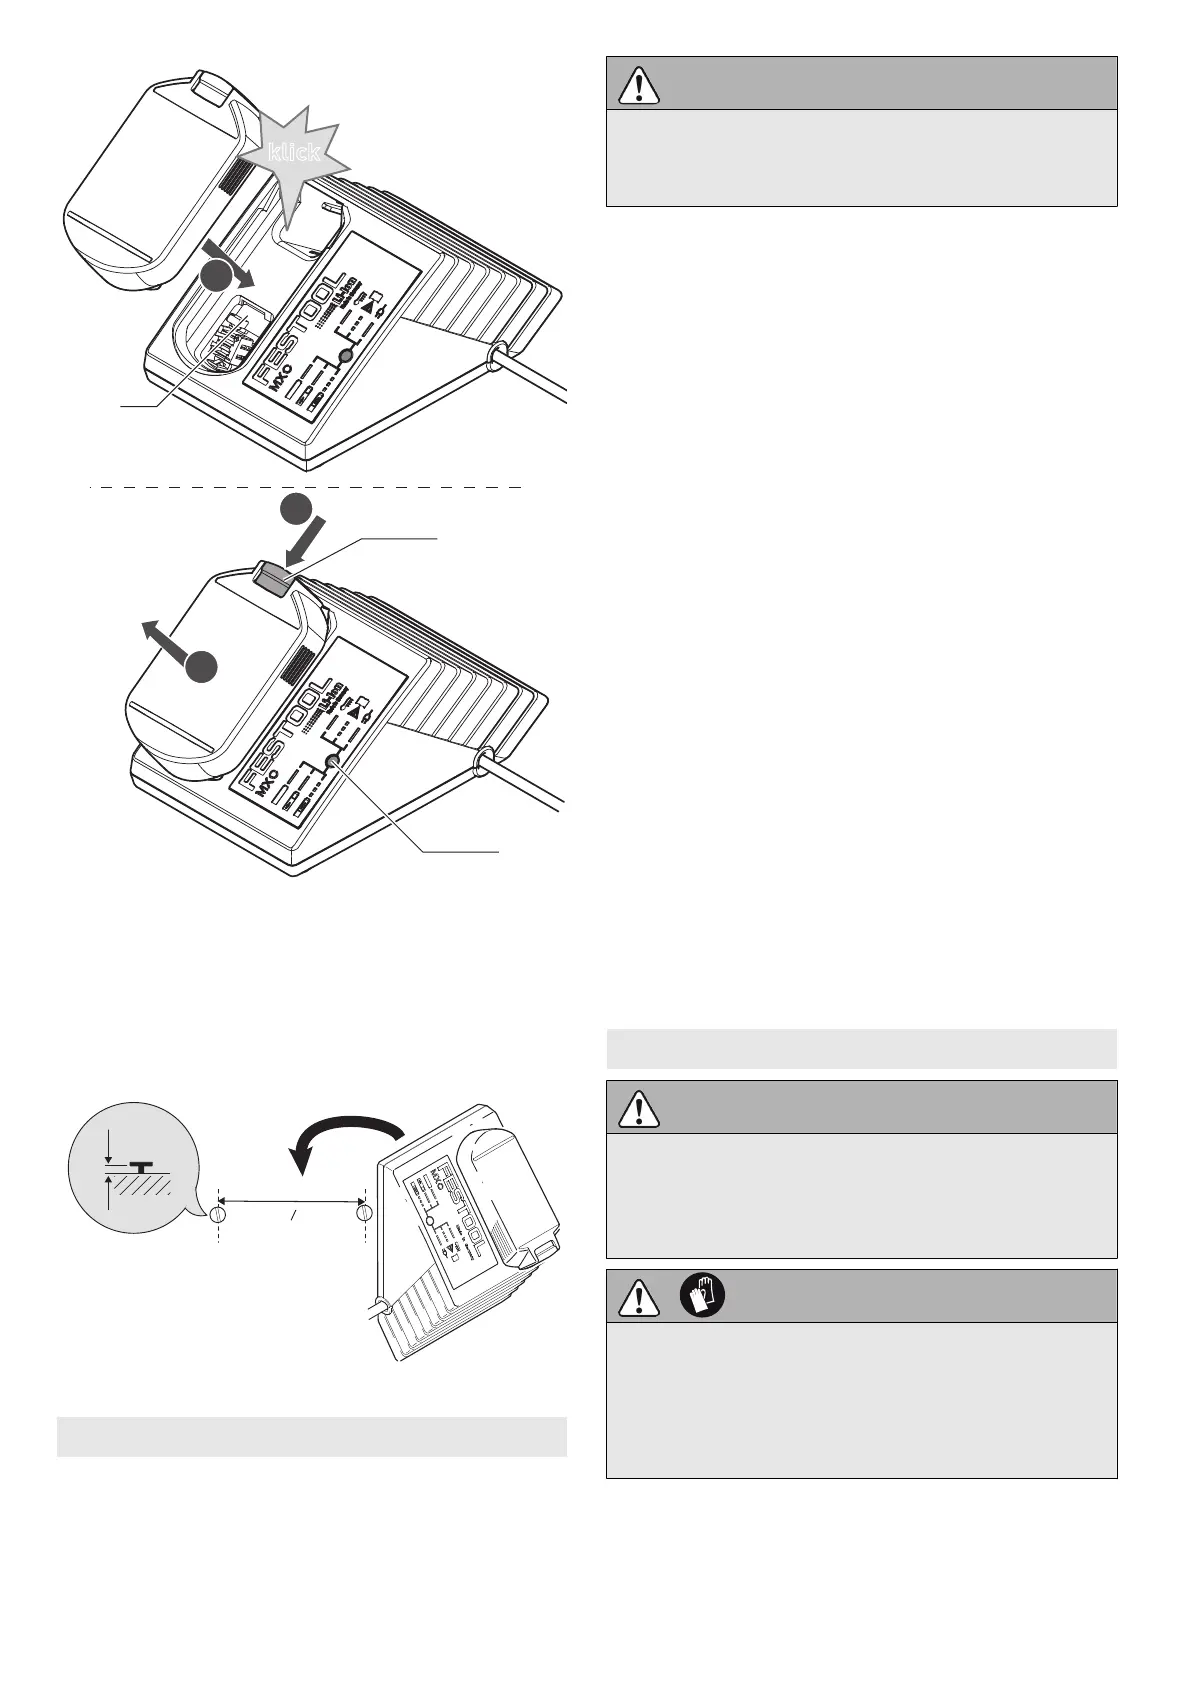
7.4 Charger wall mount
The charger MXC has two elongated holes on
its back. It can be mounted on a wall using two
screws (e.g. round head or flat head screw with
shank diameter of 5 mm) (see Fig. [5]).
8 Settings
Consider the pictures on the fold-out page.
CAUTION
Risk of injury
► Always switch off the power tool before ad
justing settings!
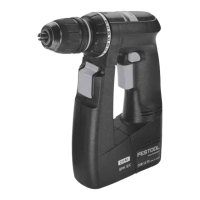
8.1 Changing direction of rotation [1-5]
• Switch to the left = clockwise rotation
• Switch to the right = counterclockwise rota
tion
8.2 Changing gear [1-4]
• Gear switch forwards (digit 1 visible) =
1st gear
• Gear switch to rear (digit 2 visible) =
2nd gear
8.3 Adjusting torque
By turning the torque thumbwheel [1-2] the re
quired torque can be adjusted. The arrow [1-3]
aligns with the adjusted state.
Drilling
Turn the torque thumbwheel [1-2] so that its
marking [1-3] faces the drilling symbol [1-1].
Maximum torque is set in this position.
Fastening
Adjust the torque accordingly at the torque
thumbwheel [1-2]:
Position 1 = low torque
Position 12 = high torque
The machine switches off when the present tor
que is reached. The machine only continues
running when the on/off switch [1-6] is re
leased and pressed again.
9 Tool holder, attachments
WARNING
Risk of injury
► Always disconnect the battery pack before
performing any type of work on the ma
chine!
CAUTION
Hot and sharp tools
Risk of injury
► Do not use insert tools that are blunt or de
fective.
► Wear protective gloves.
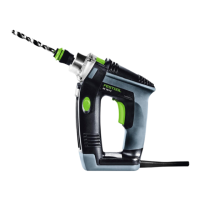
9.1 Tool chuck CENTROTEC WH-CE
The tool chuck CENTROTEC WH-CE allows you
to change tools with a CENTROTEC shank in a
matter of seconds.
English
12